|
Look at what showed up today.
J.C.
Whitney Part #135858 Selling price $40.99, plus shipping.
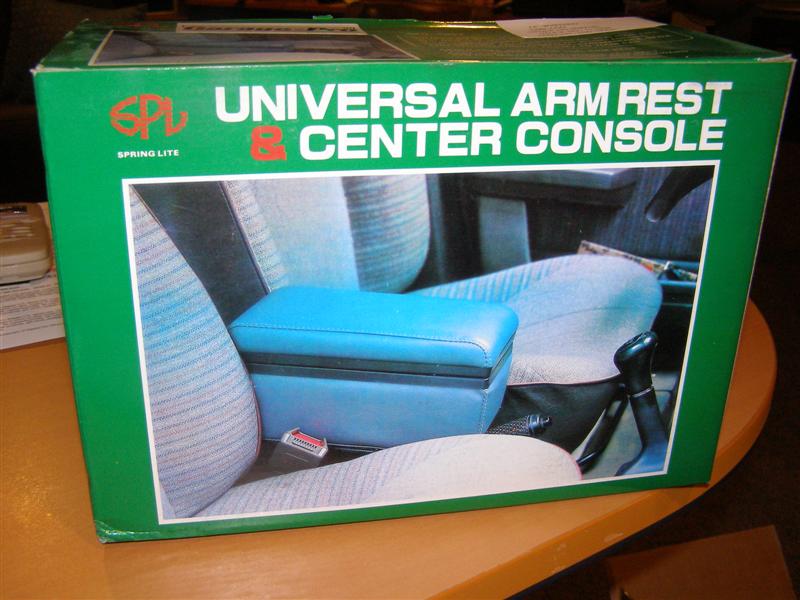
This is NOT
the way that it fits in the car, but is how it is shipped.
One off and
one on.
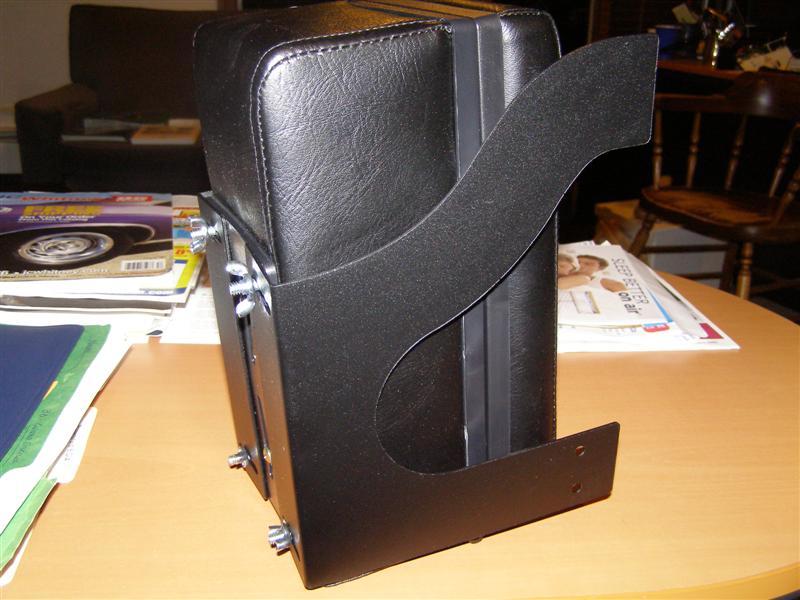
The
mounting positions and adjustments are here.
One of the
guys on 6-Pack suggested a dowel across these hinges. I just may
do that before I put it in,
but it' so easy to slide in and out, that I may wait until later.
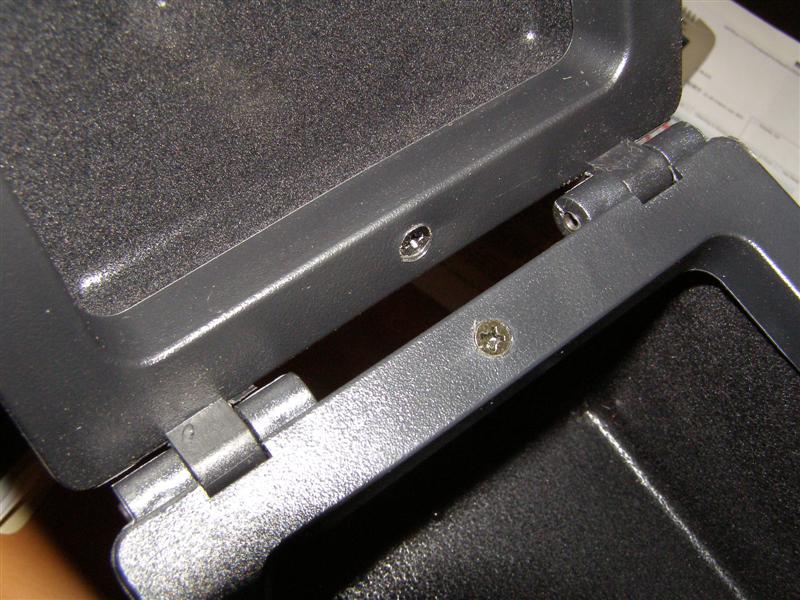
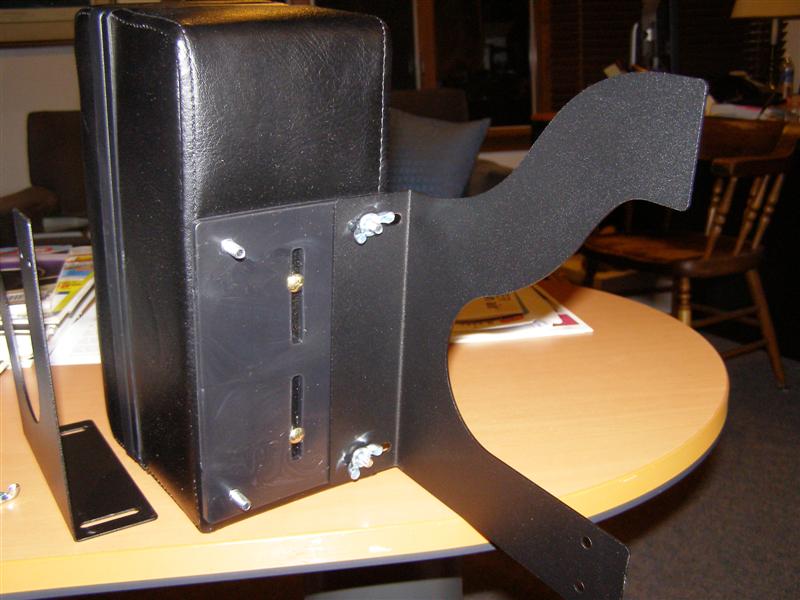
I have to
check the width and the fit before I tighten the bottom wing
nuts.
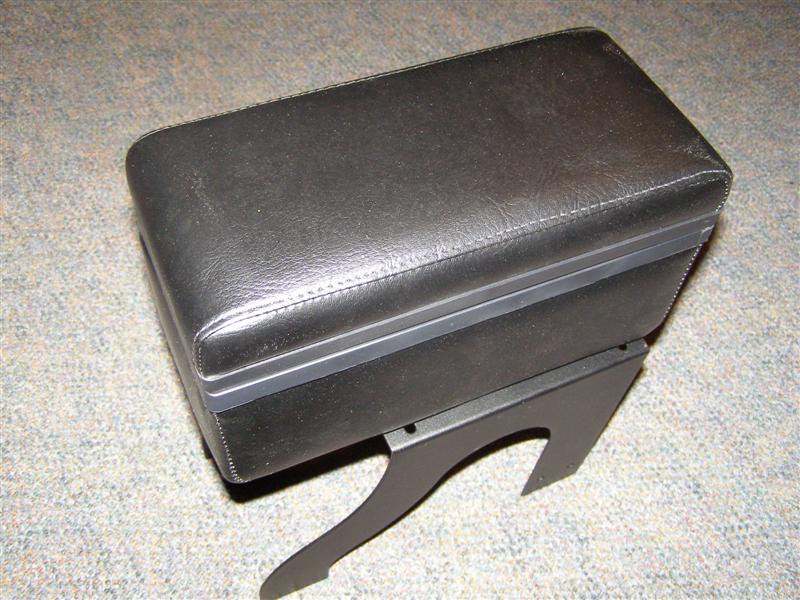
That's what
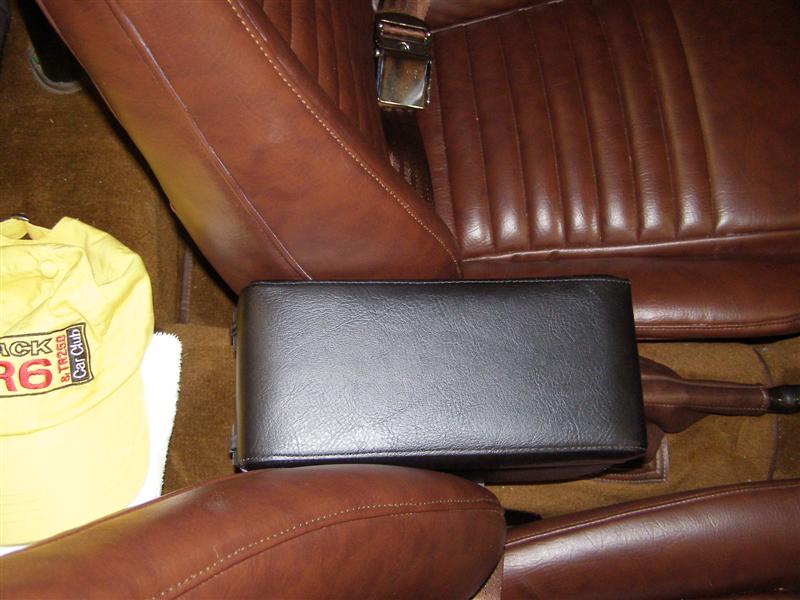
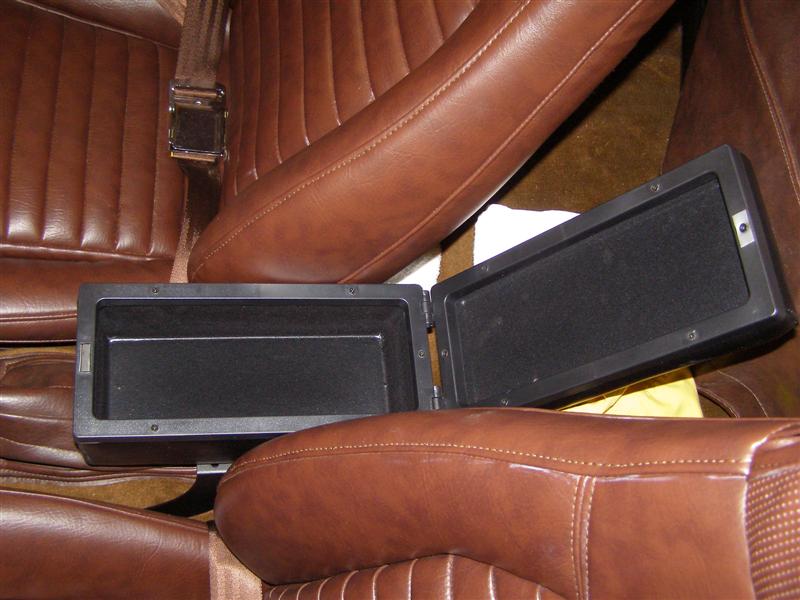
it looks like just before installing.
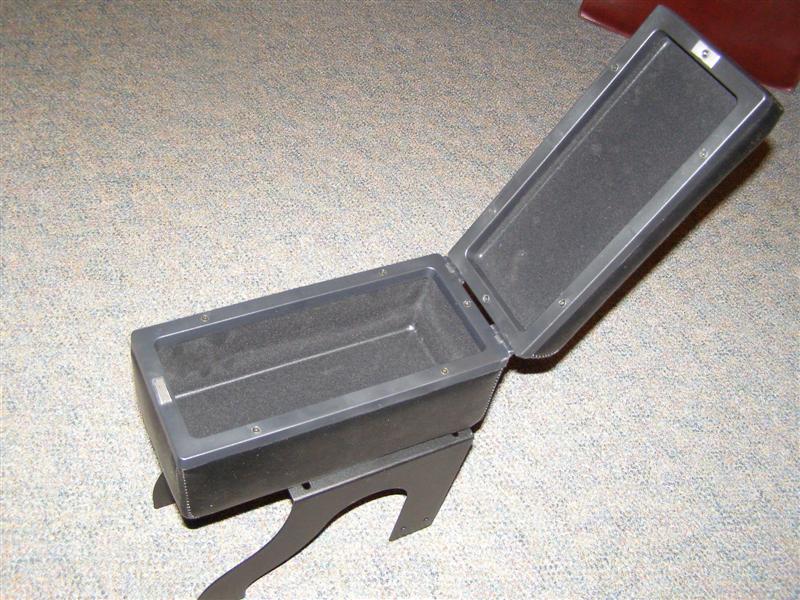
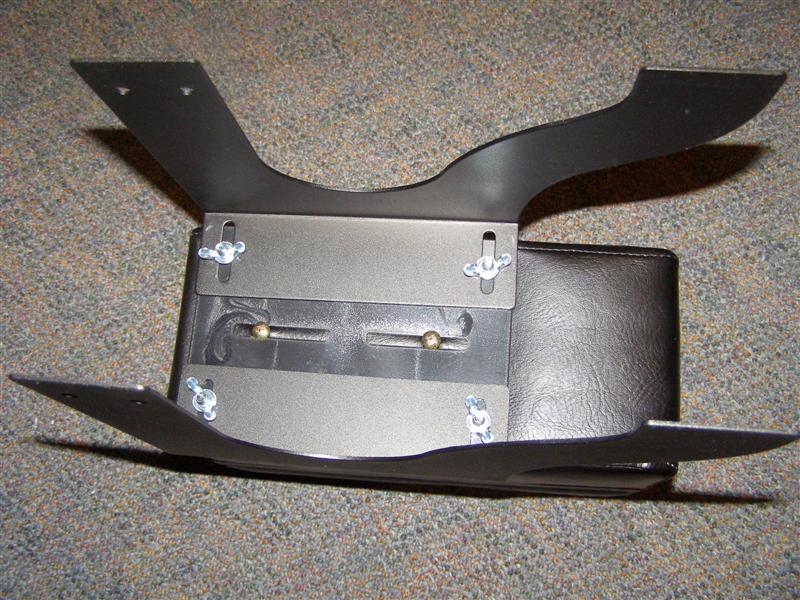
The inside
compartment is spacious enough and pretty well put together.
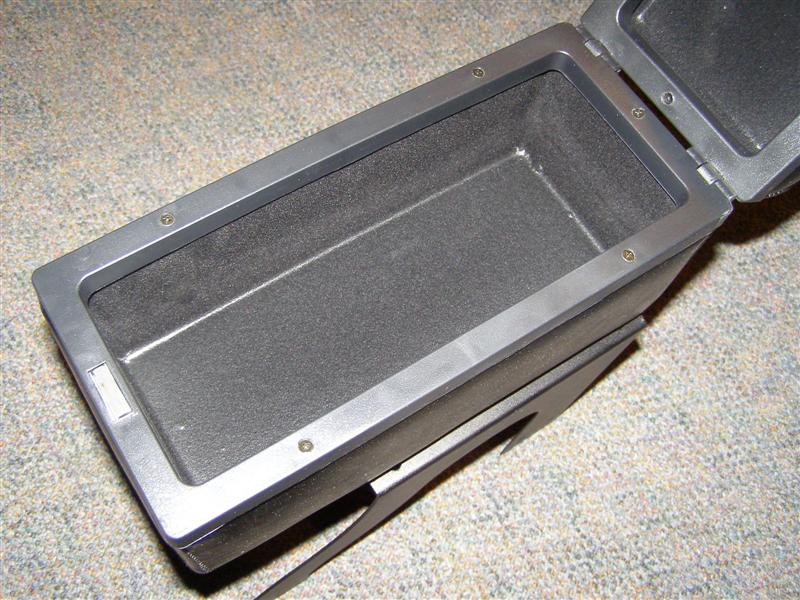
The inside
compartment is spacious enough and pretty well put together.
Now I
really need that folding cup holder!
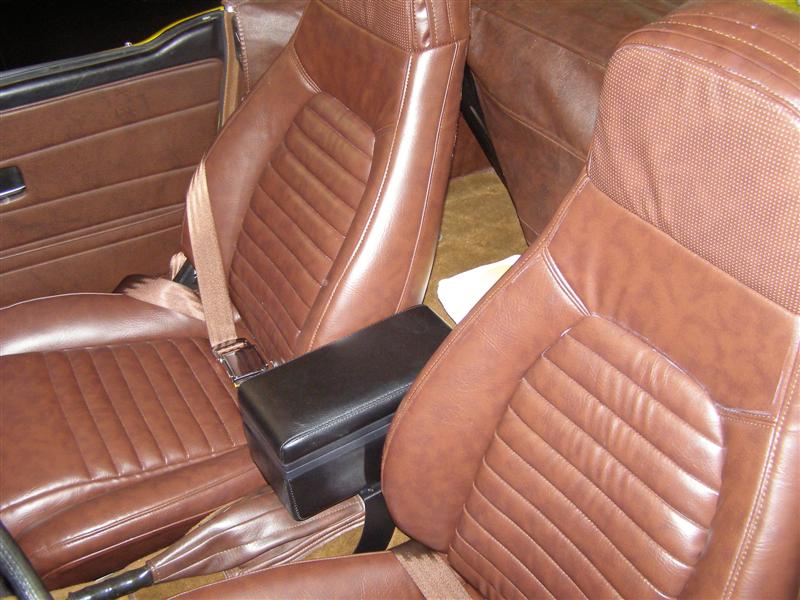
OK, this
can't get much simpler. Leave the wings nuts slightly snug
and slide it in place. Then remove and tighten, slide back
in and you are done.
That's nice
and neat.
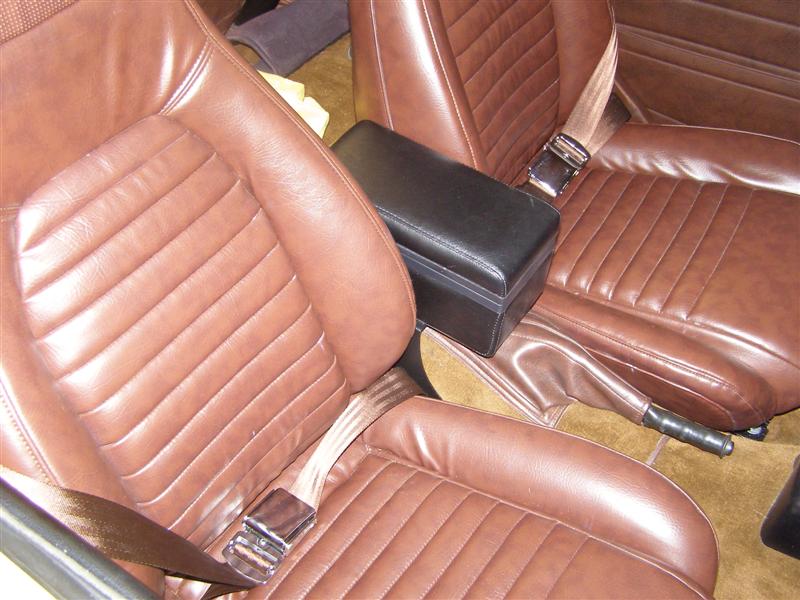
This should
be just fine with the emergency brake and as it shows in the
next two pictures, it is.
There is
plenty of room to slide this back and forth after I get
comfortable in the car.
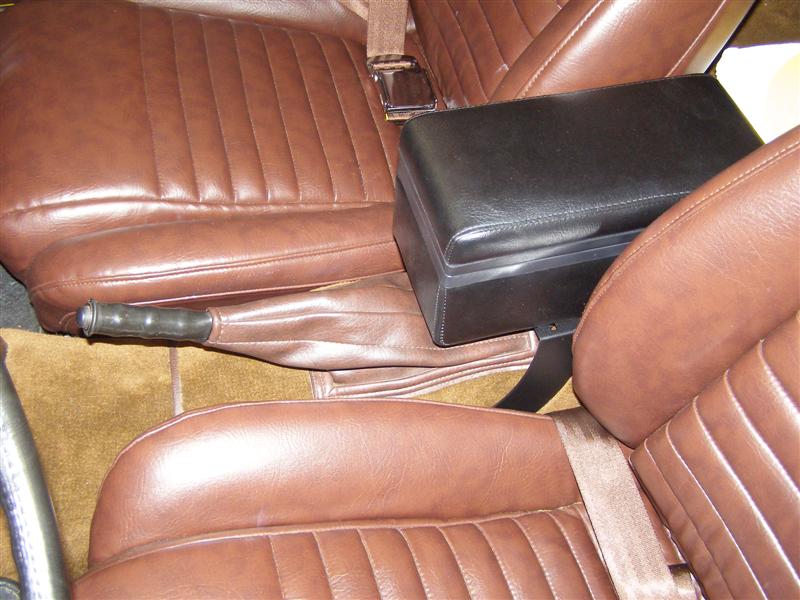
A nice
amount of space in there, but possibly not as much as another
version by BobbyD. More on that later.
That's
about it until I find the folding cup holder locally.
|
