|
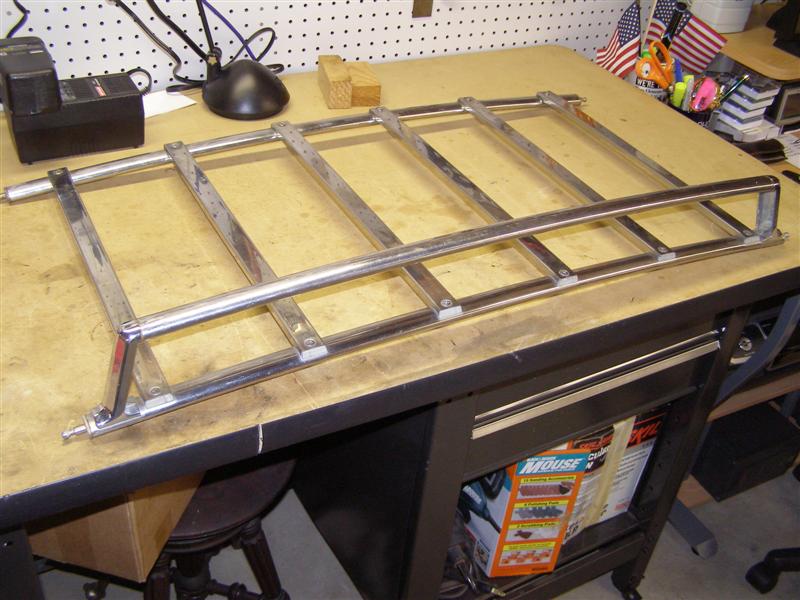
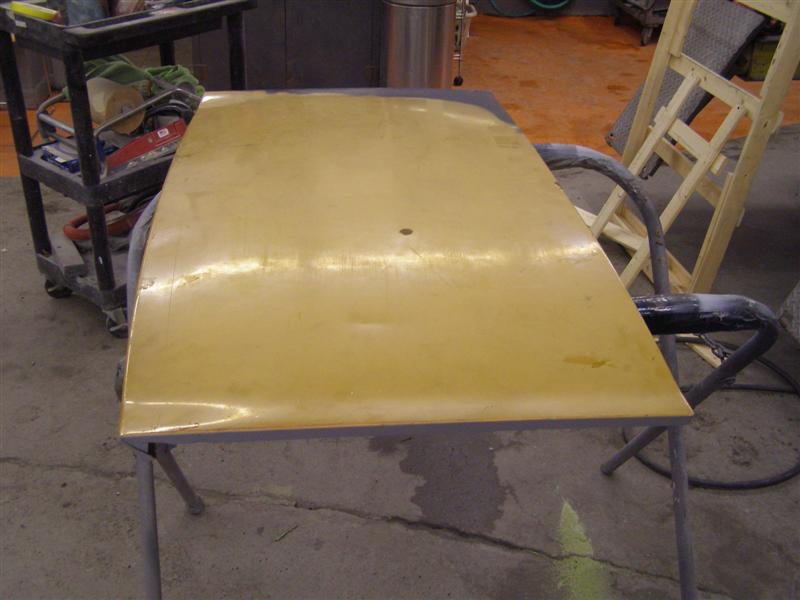
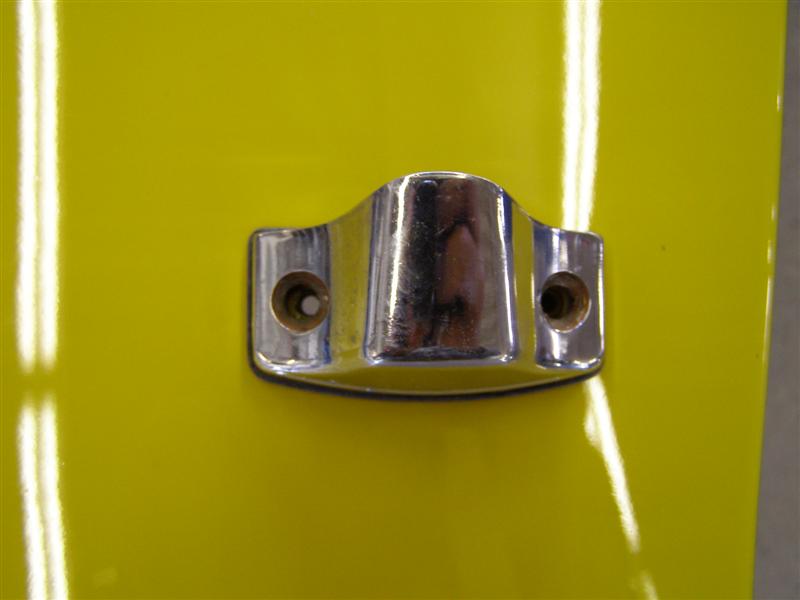
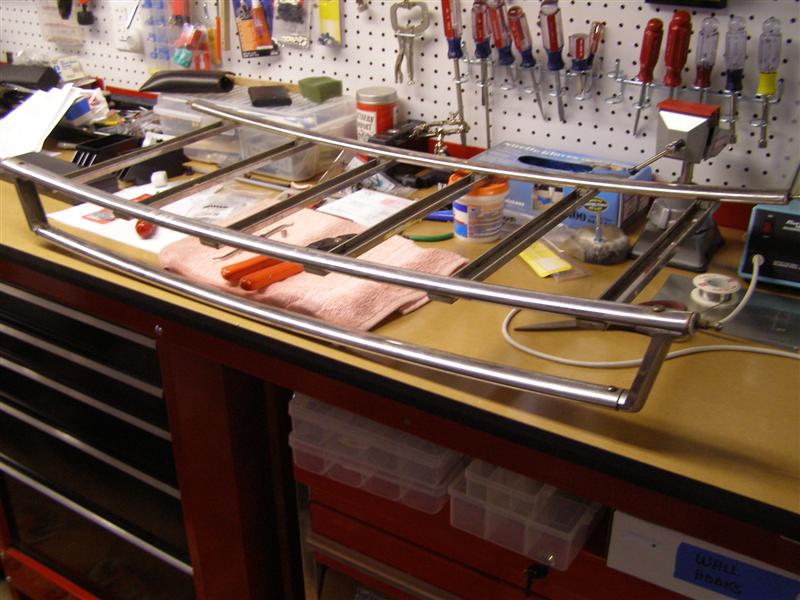
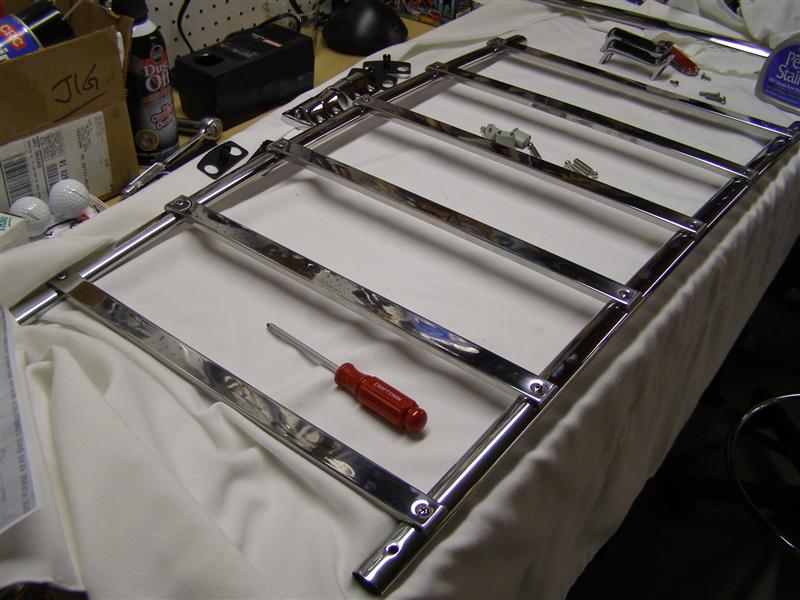
This is
what I purchased from eBay. It's not in too bad
of shape, but needs polishing beyond my capability to make it
look new again.
Also, another friend from the forum's, Bob Hunt was kind enough
to send me some spare slats that he did not use to help take
care of
any of mine that had dents that would not straighten or were
scratched too deeply. All in all, mine weren't too bad,
but I swapped a few out.
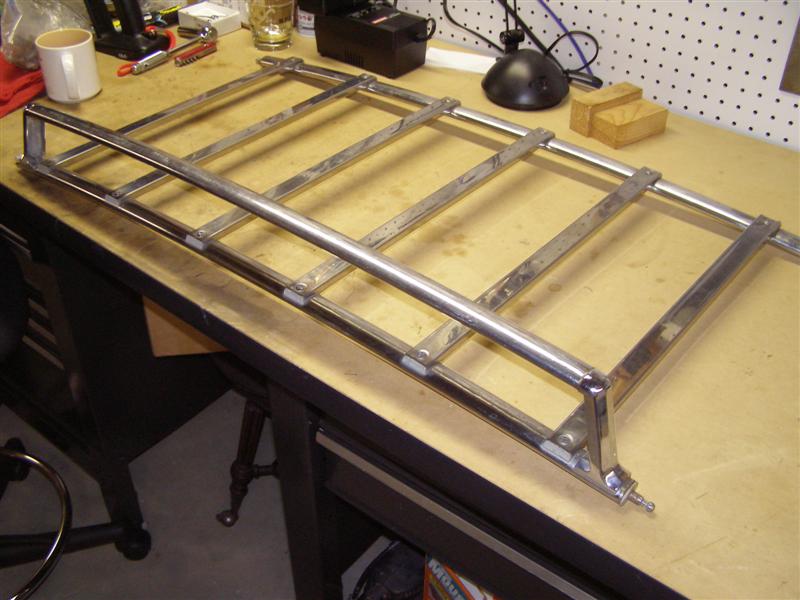
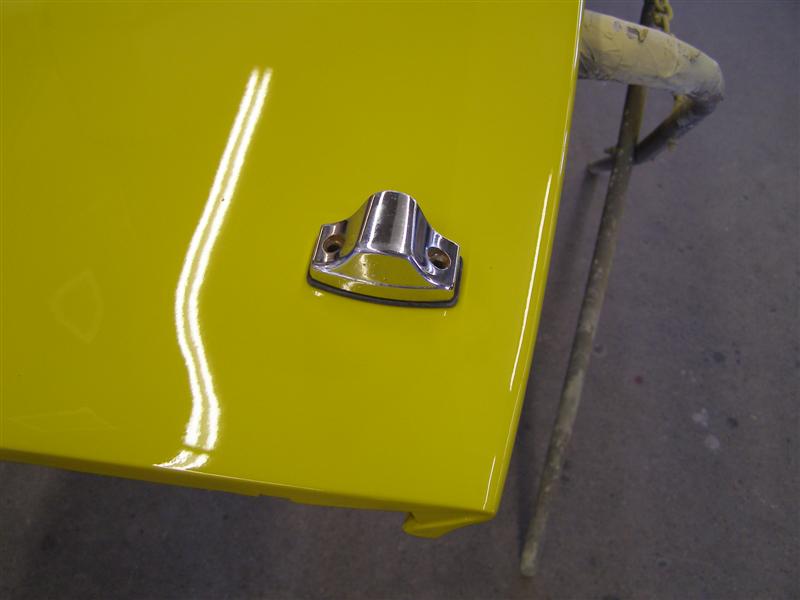
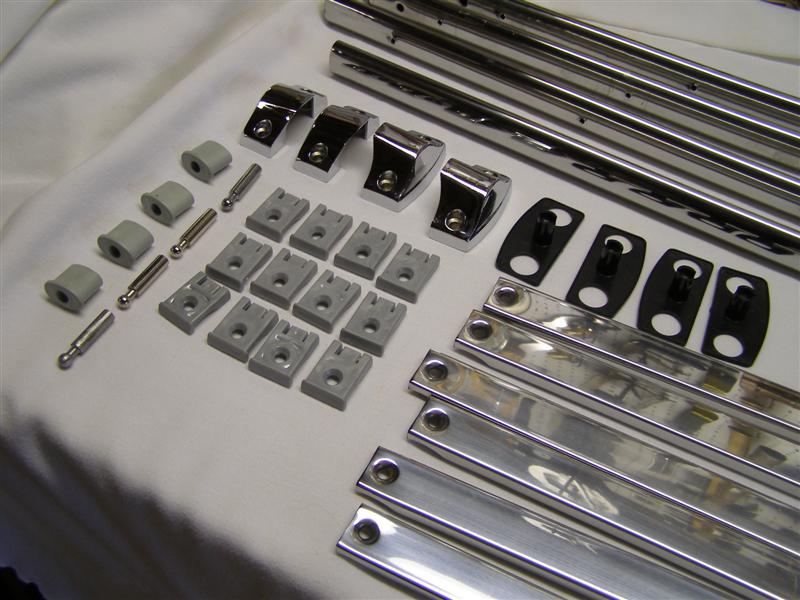
I did get
the attaching feet and the plastic clips that actually hold the
rack off the deck surface.
I'll post pictures and a link of where to get some spare parts
for these as we assemble.
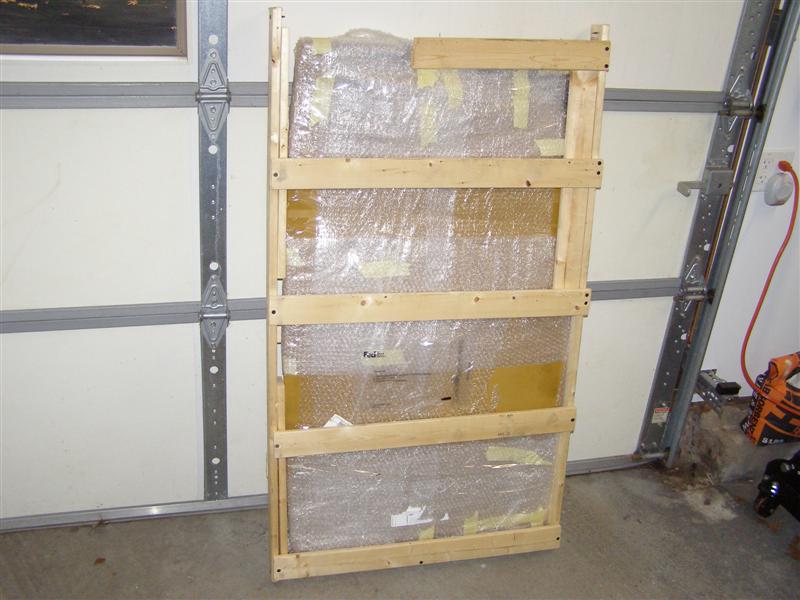
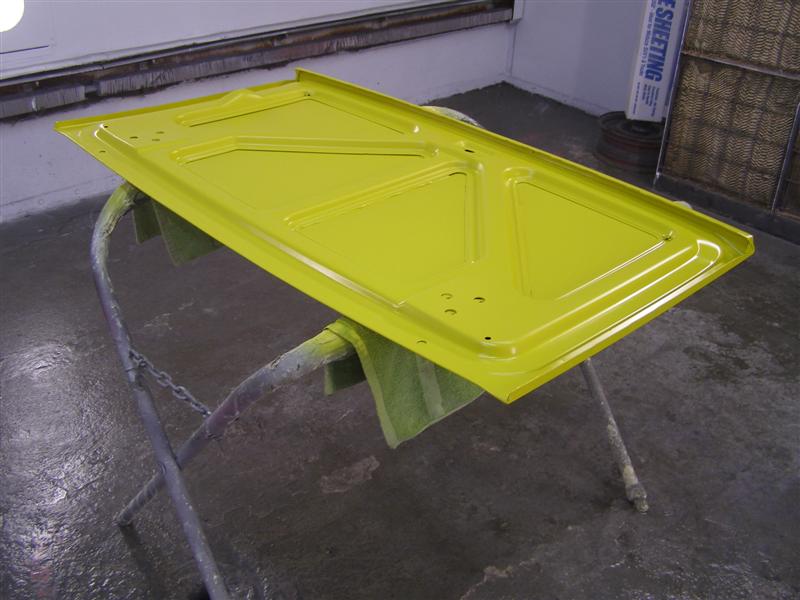
Thanks to a
great packaging job by Panda, the deck lid arrived with only one
broken support and
minor damage to the corner. That will be taken care of at
A&E very soon. Thanks again Andy!!
This looks
pretty good, with no rust which is huge. But if you look
dead center at the rear of the deck,
you will see what happens when you have a gas filler cap
pointing the wrong way and you open a deck lid too far.
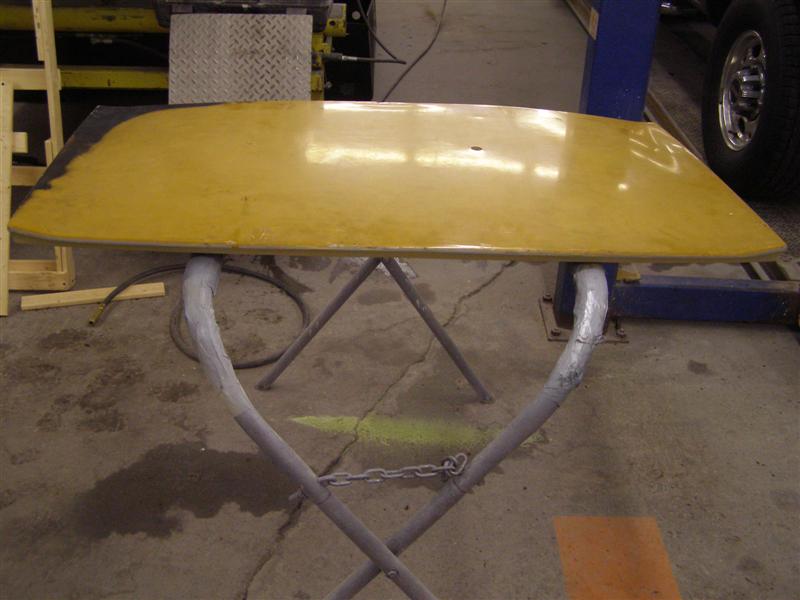
It's hard
to see, but there is a slight bend in there. We will fit
the lid to the car before painting to
insure that if any straightening is called for, it will be done
prior to color and clear coating.
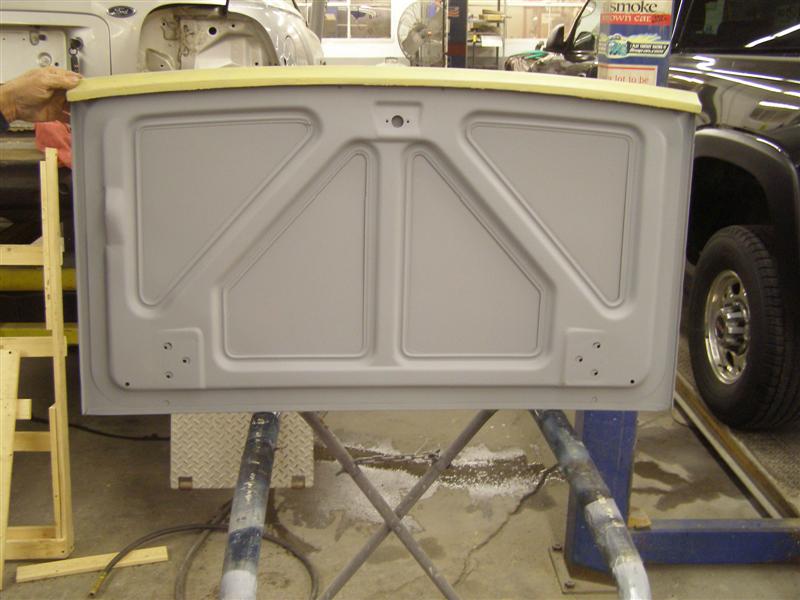
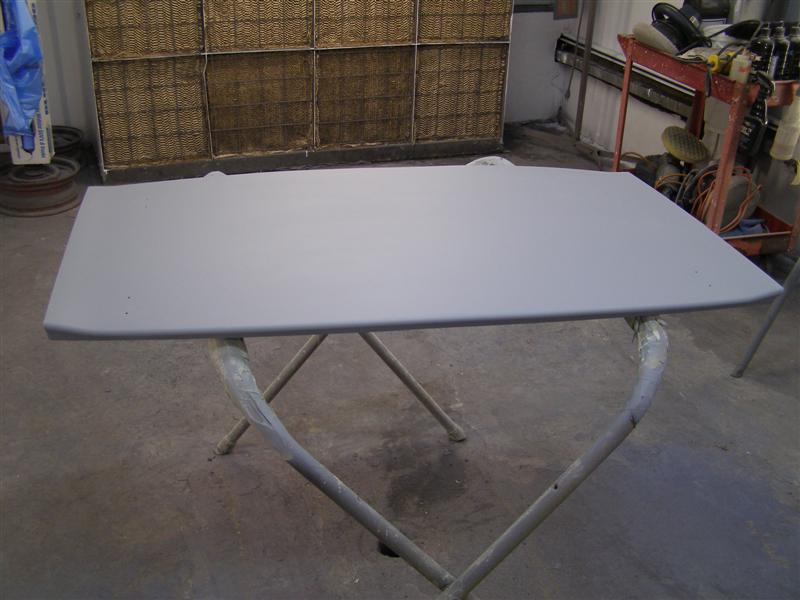
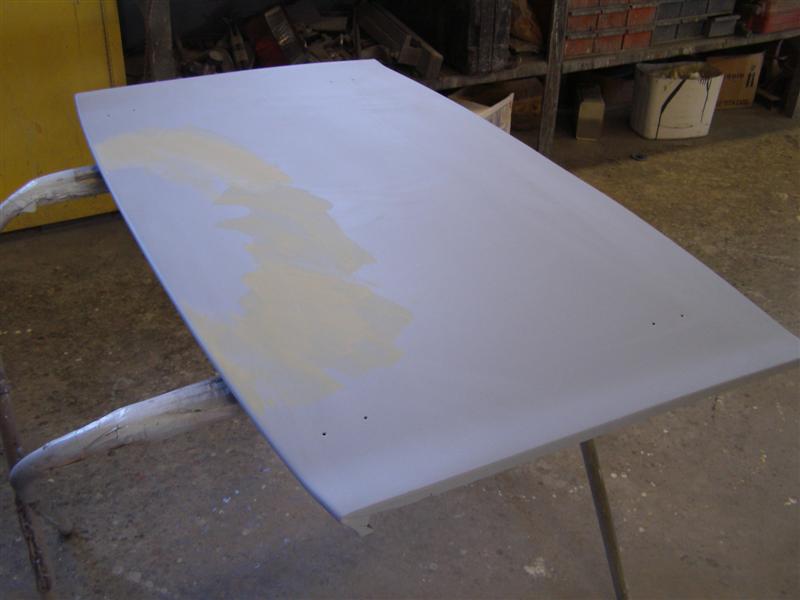
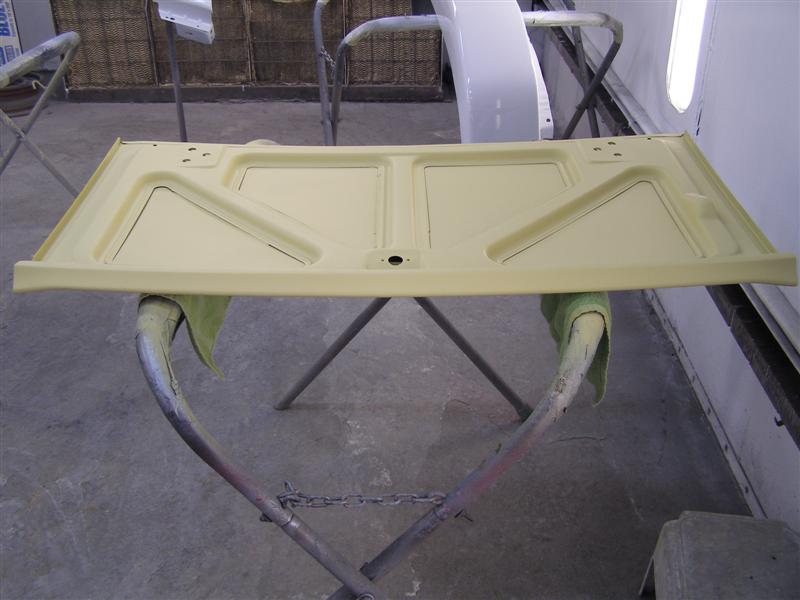
The bottom
was easily stripped and epoxy primed. Nice and clean with
no rust makes it easy.
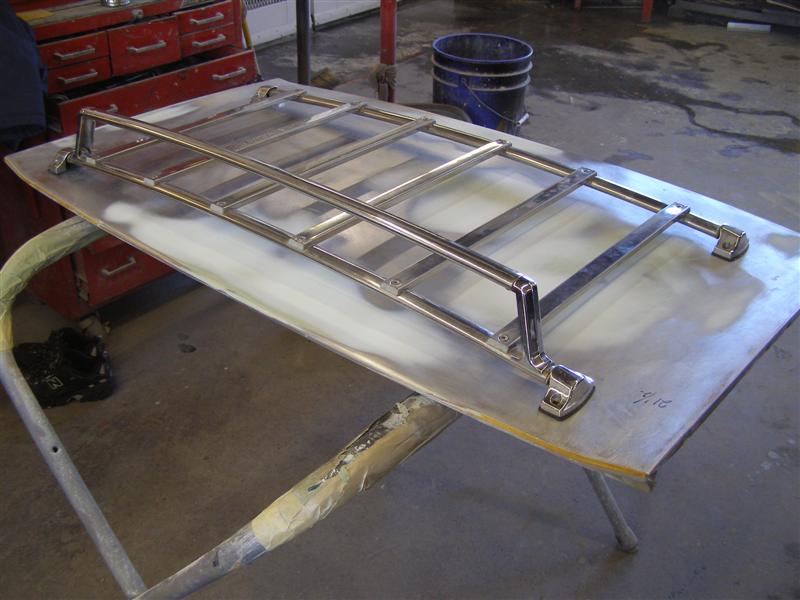
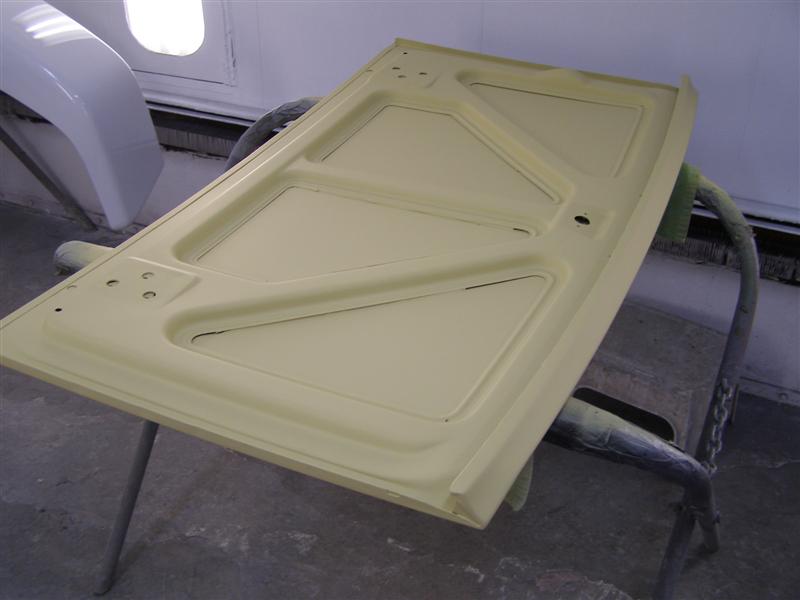
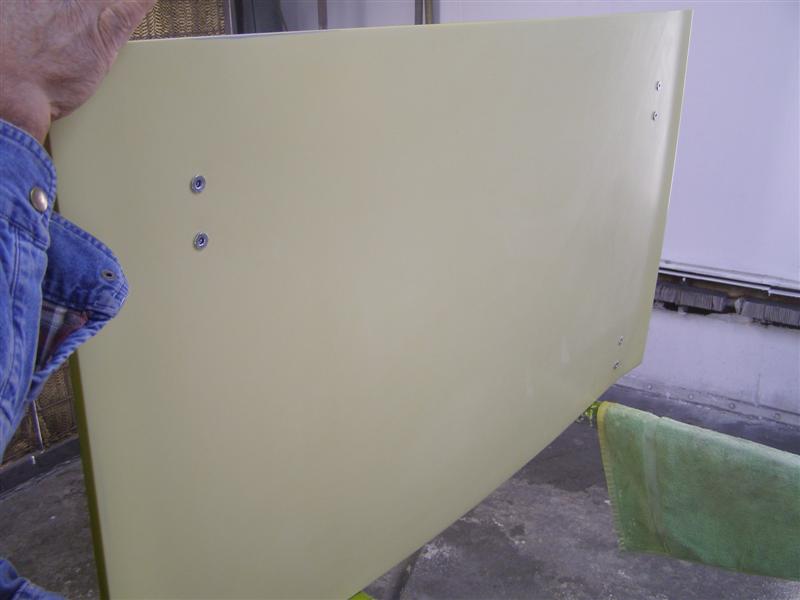
The top has
been blasted, dents removed and we begin to place the rack for
drilling the mounting holes.
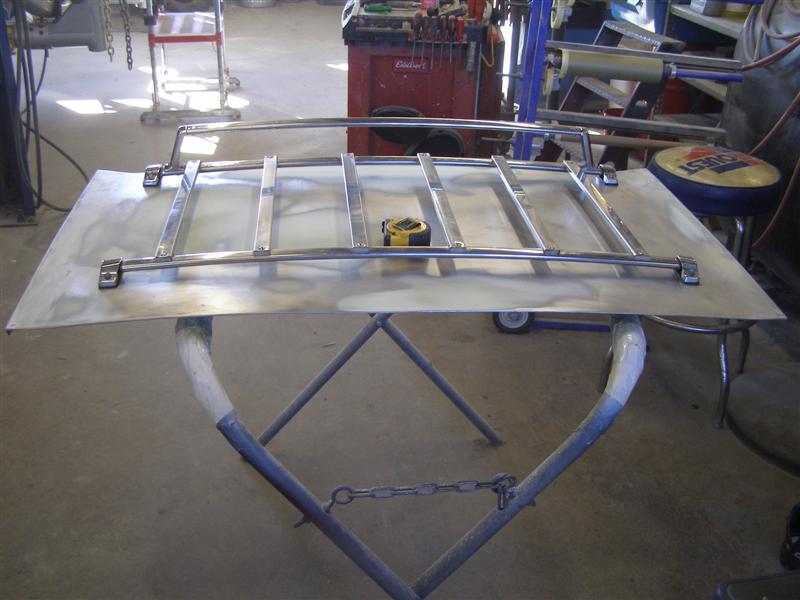
After
talking to several owners with these platform racks, the
consensus was that the distance from
the rear edge of the deck, to the back of the forward mounting
feet was 21 1/2". This will allow for
plenty of clearance over the gas filler cap and keeps all of the
holes hidden under the bottom reinforcements.
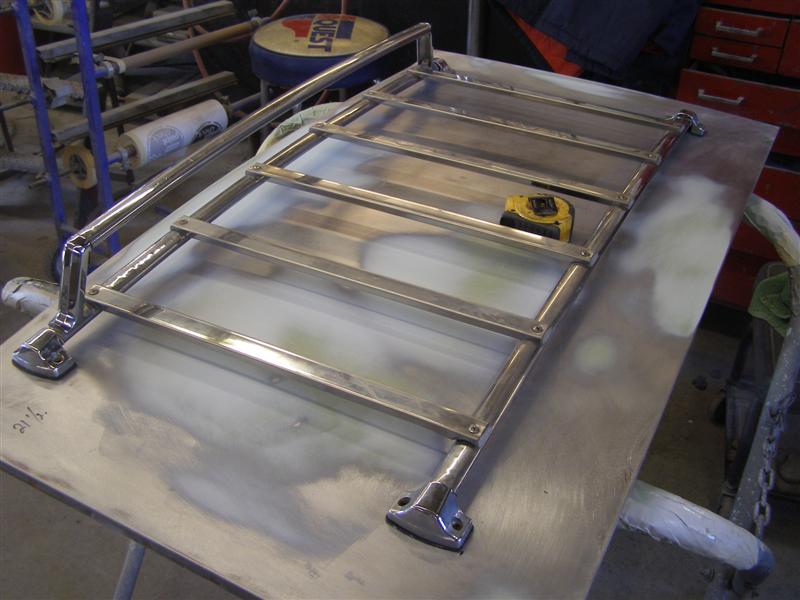
Side
placement dimensions are between 4.25" and 4.5" based on your
actual deck lid and rack.
That's easy enough to measure and center once you have it all
together and placed front to back.
I am not a
fan of just using sheet metal screws to attach luggage and roof
racks of any type. There are
several ways around this and I really liked the 10 X 24 Pop JackNuts.
These close up as drawn tight and provide
a good backing that will securely fit the inside of the deck lid
and allow me to get new matching stainless screws.
Deck lid is under epoxy prime
and waiting for the Pop JackNuts to arrive.
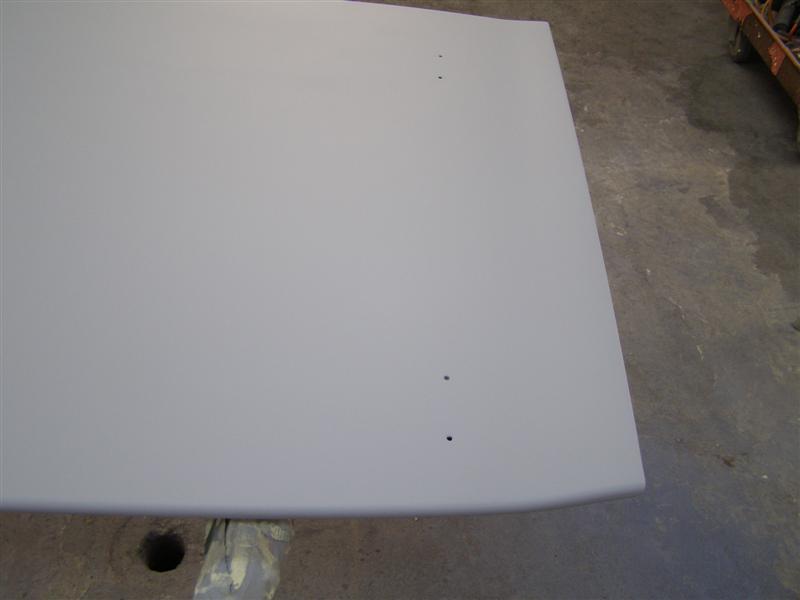
Pilot holes on the left.
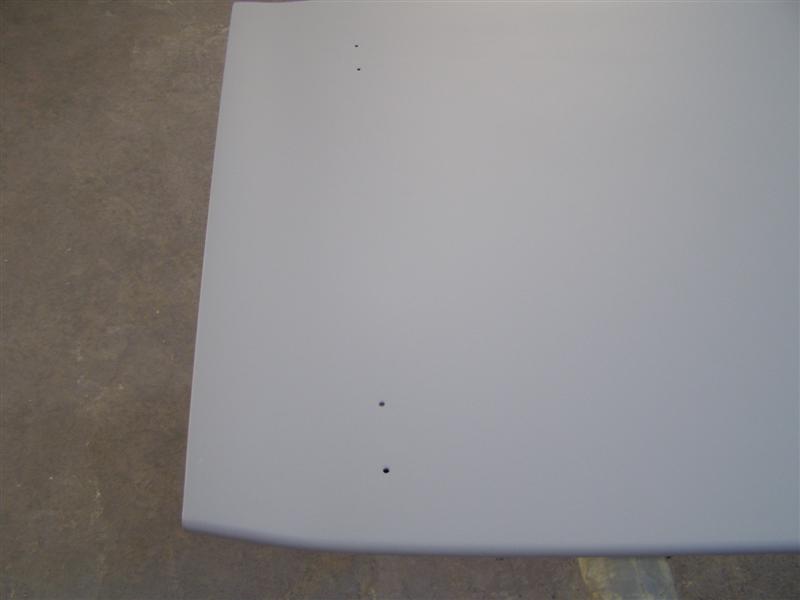
And pilot holes on the right.
Well the
Pop Jack Nuts came in the wrong size, so that option is gone.
More on the well nut that I'm using later.
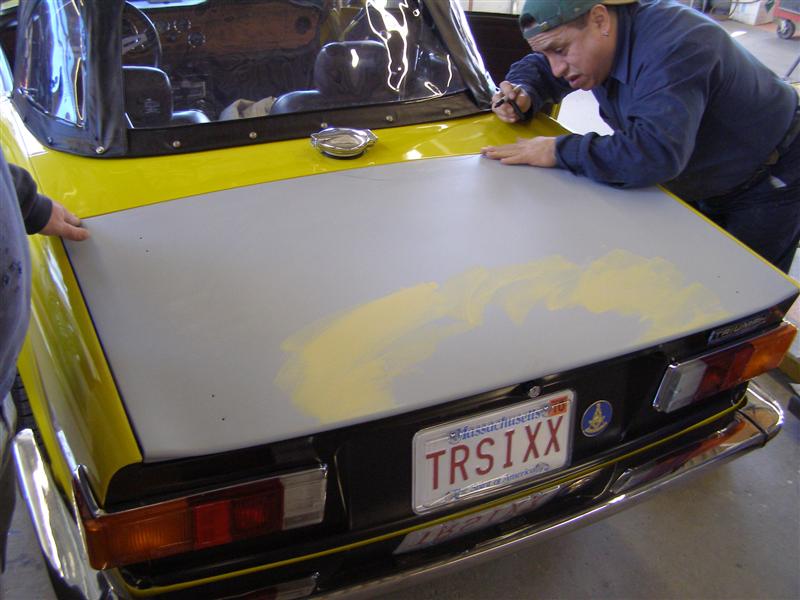
Today's
exercise was test fitting the deck lid. It had some "gas
filler" damage and one side was higher than the other,
but Jorge and Joe took care of that and made sure that
everything will line up perfectly before it's painted.
Just for
reference, here's the proper paint line for the Kammback Satin
Black.

Before anything else is done,
let's see just how straight this is.
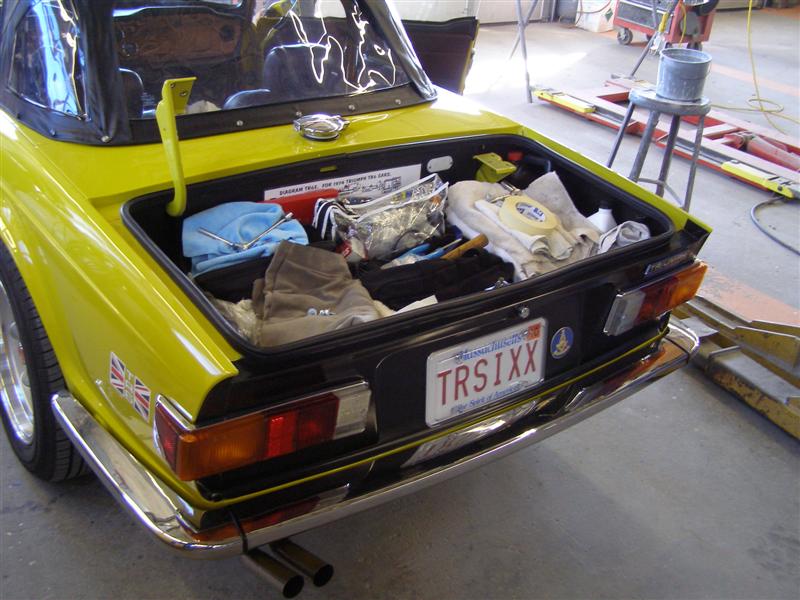
This picture's for BobbyD.
He loves my neatly organized trunk. That's why I need a
luggage rack, for more room in here.
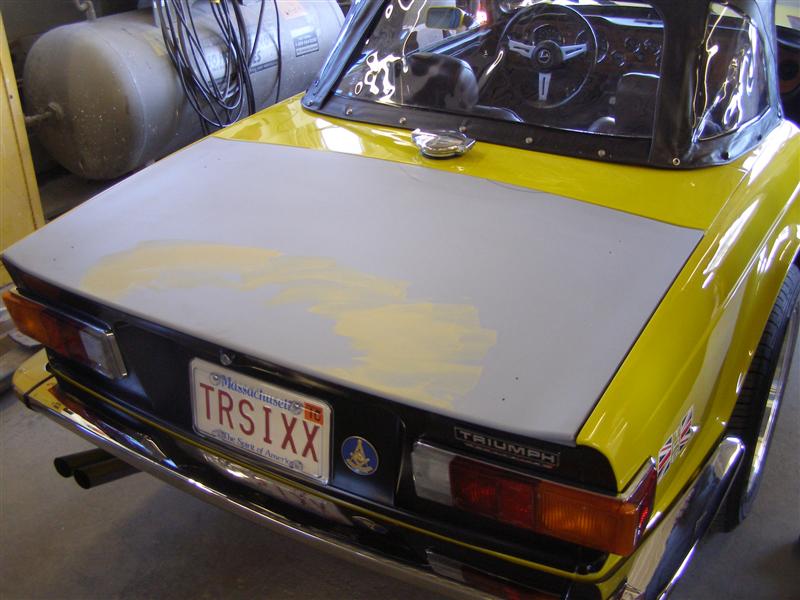
Jorge is fussy and that is
fine with me.
The black semi-circle at the
filler cap area will get some attention with the dolly, as it is still a
bit high.
Once Jorge gets done with it, it will be be perfectly aligned
and matched to the rear panel.
This lid stayed at A&E and my
original is back on and the car is back under cover in the
garage.
OPTION #1, WHICH IS MY
FAVORITE
I got these from Fastenal
#0162808,
Au-ve-co # 13014. These are a 10-24 machine thread and a width of .382"
which takes a .390 or
25/64's drill. This provides a nice sealing lip against
both side of the metal and allows for the right size machine
screws.
.JPG)
Well, after much debate, we
went back and forth and decided to go with the Pop Jack Nuts in
metal, but with a seal.
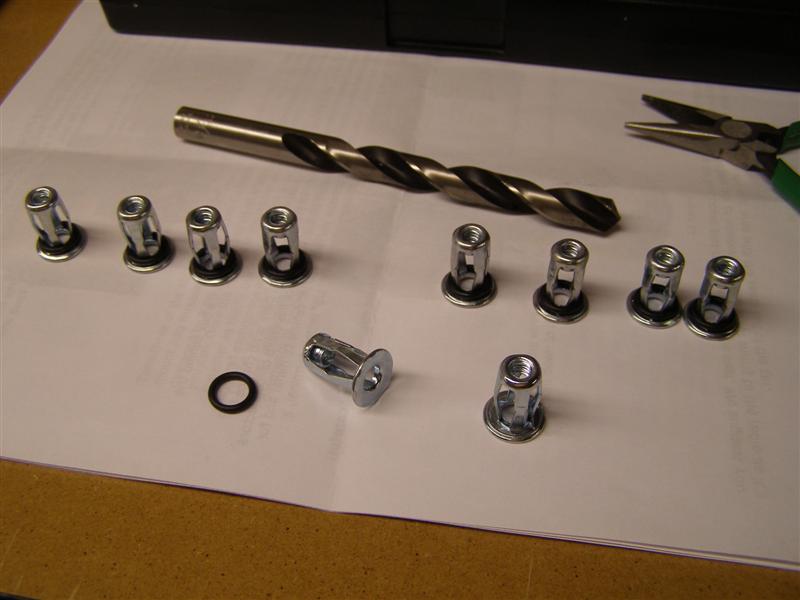
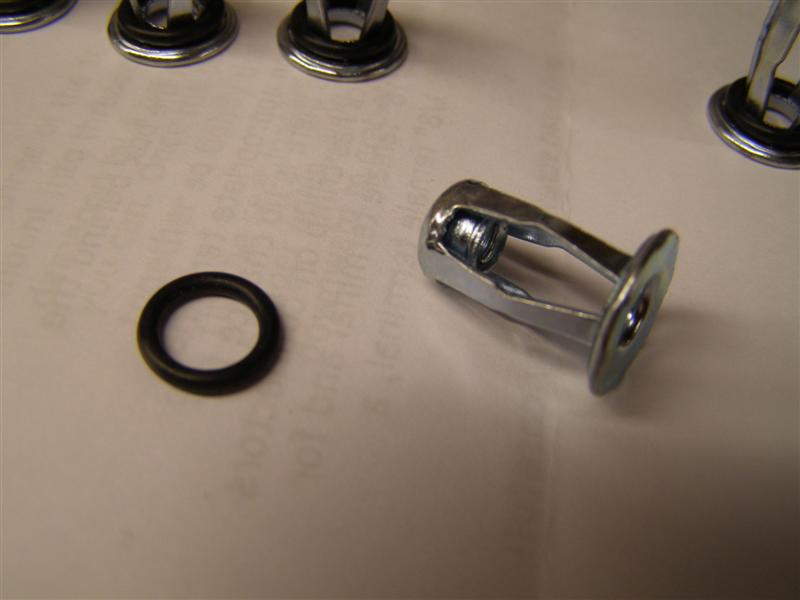
A little more detail about
these and how they work.

The seals are #11 neoprene
seals that should work well under there.
These are the two screw sizes
that you will need. I like the one inch length myself.
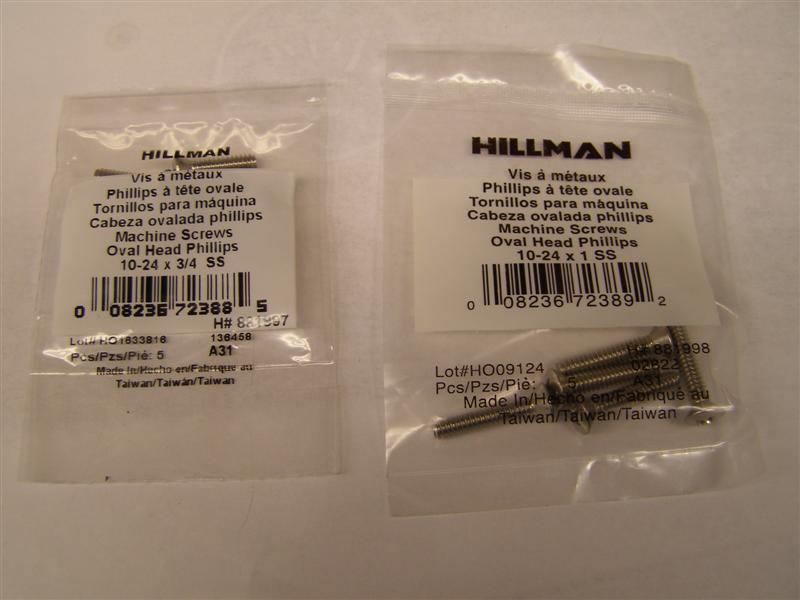
Note how the 10 X 24 Oval
Screw head fits down into the racks corner clamps.
.JPG)
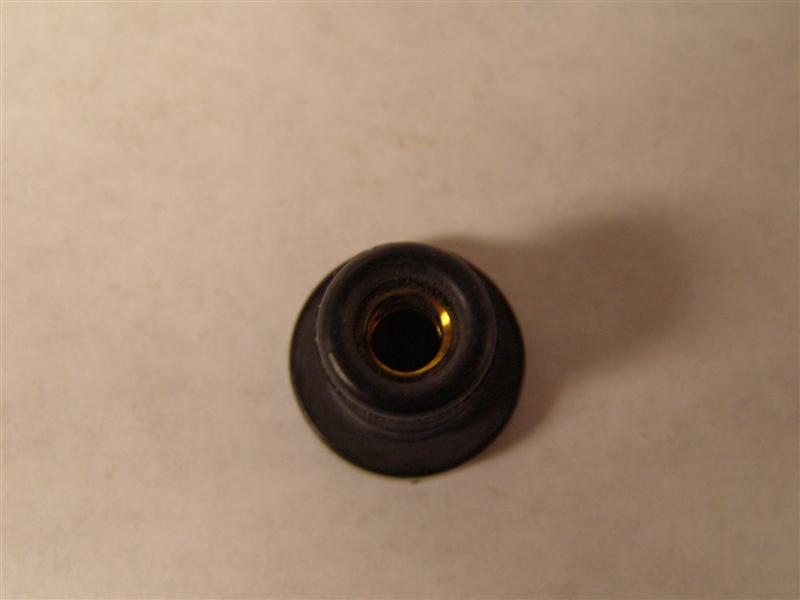
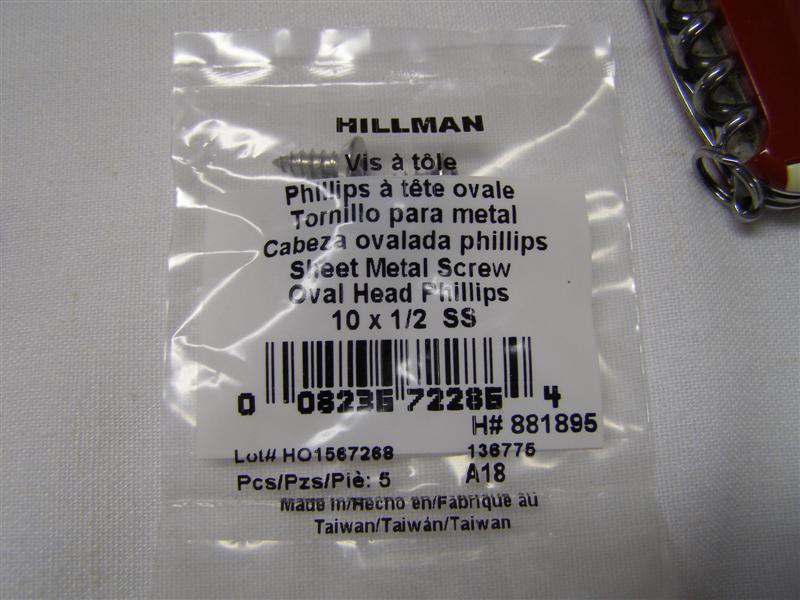
THIS IS OPTION # 2 AND NOT MY
FAVORITE, BUT THESE HAVE BEEN AROUND CARS FOR YEARS
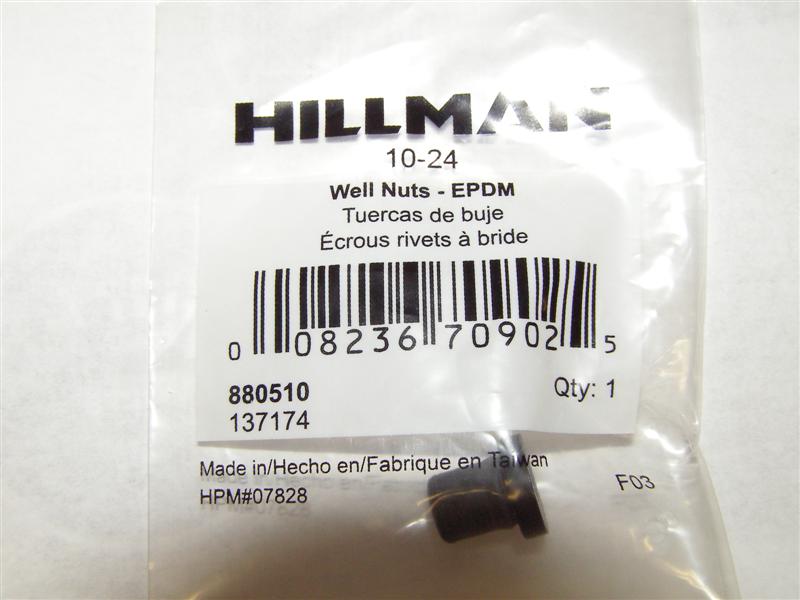
This is what I will use for a
substitute. These are for roof racks and do provide a good
seal as well.
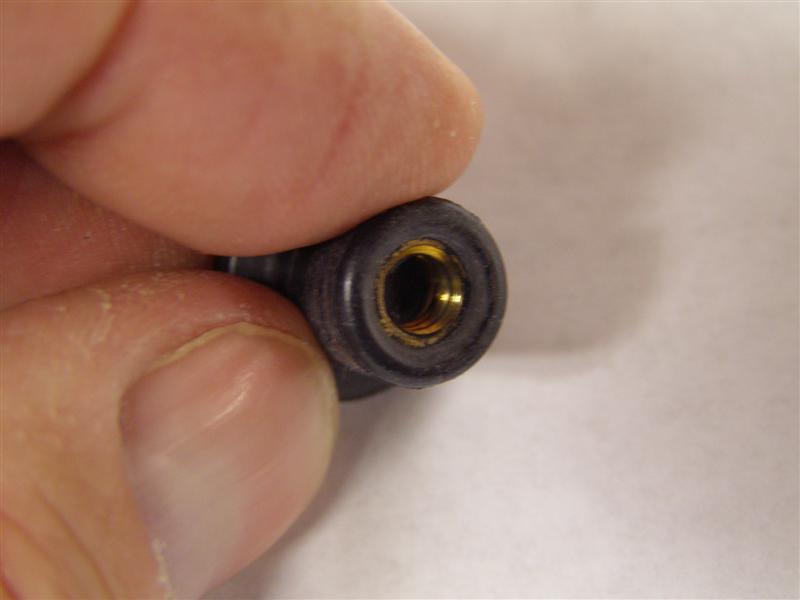
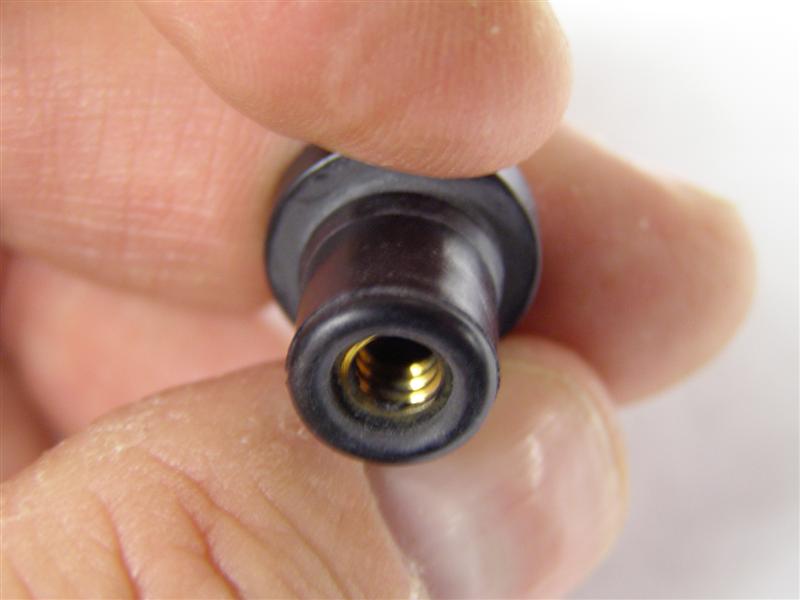
The thread stops 1/3 of the
way up and the rubber compresses and expands on the inner side
of the panel.
This size accommodates a
#10-24 Stainless Screw that will fit the trunk rack hold down
clamp perfectly.
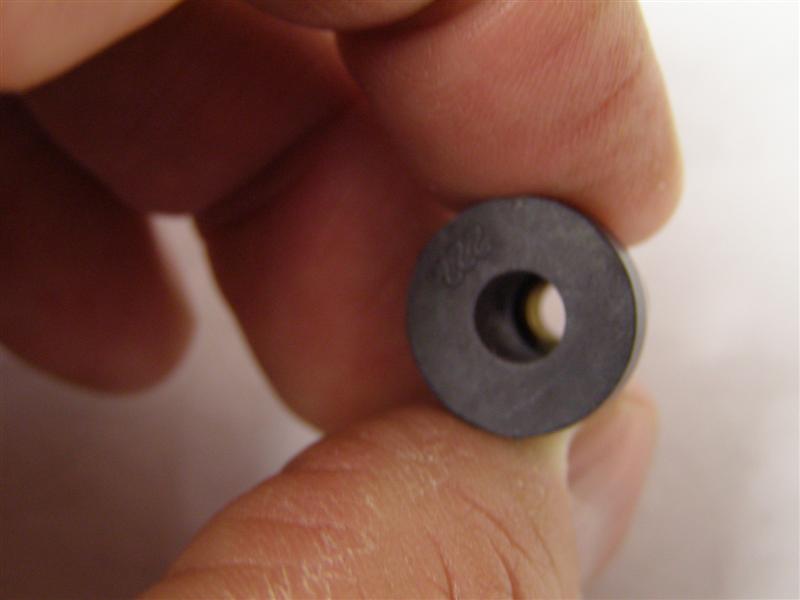
Good amount of surface to
retain and to seal against the painted deck lid.
This is all sealed like the
hard top and will be ready for sanding today.
The holes will be drilled
prior to the sanding and painting, then the jack nuts will be
installed.
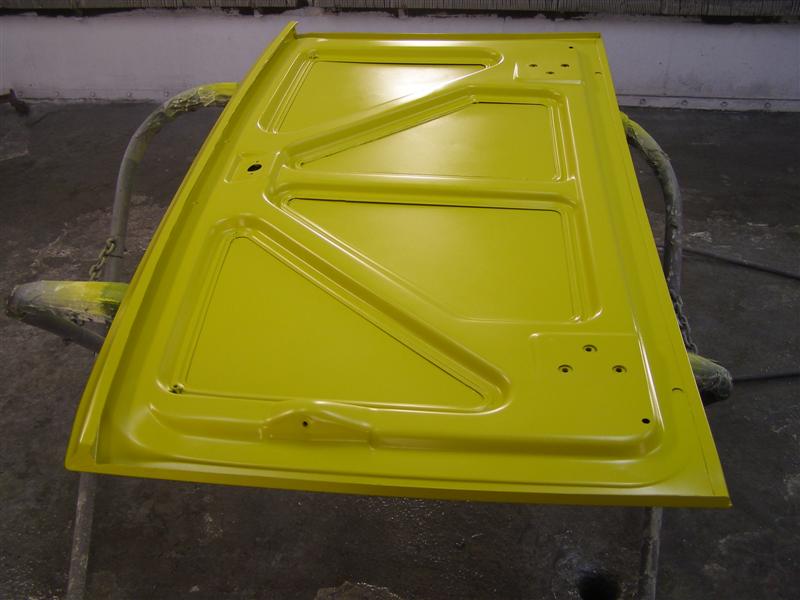
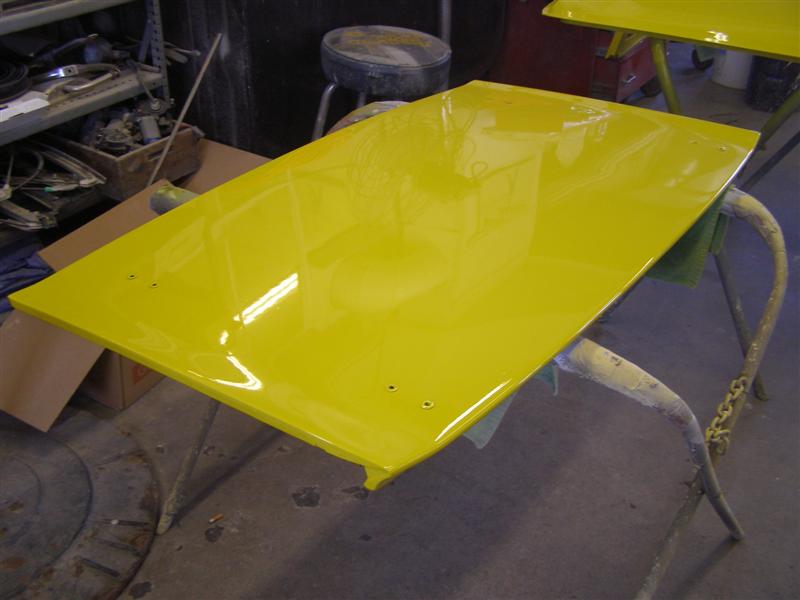
First two coats of color on
this side went on this morning.
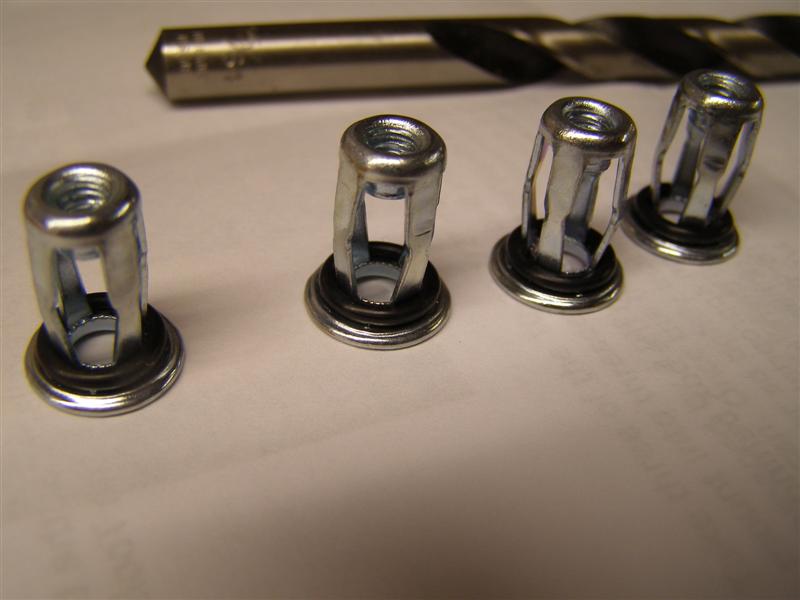
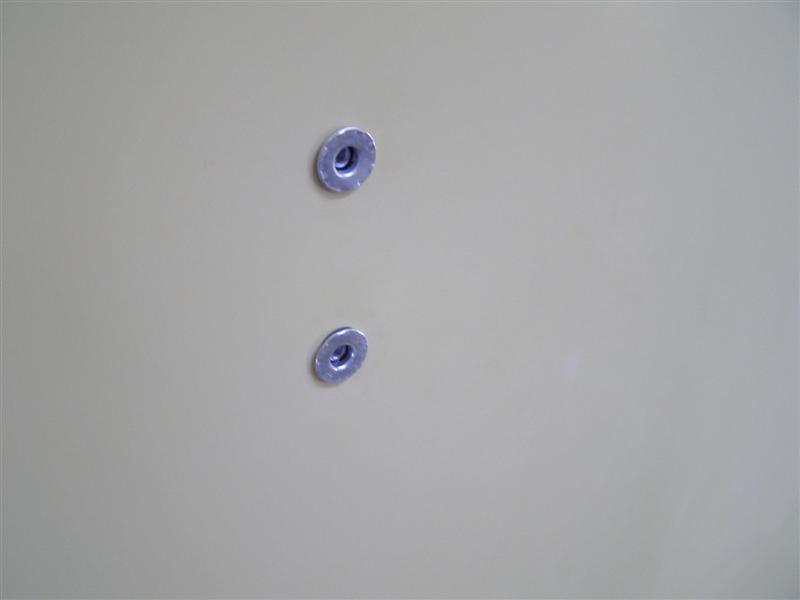
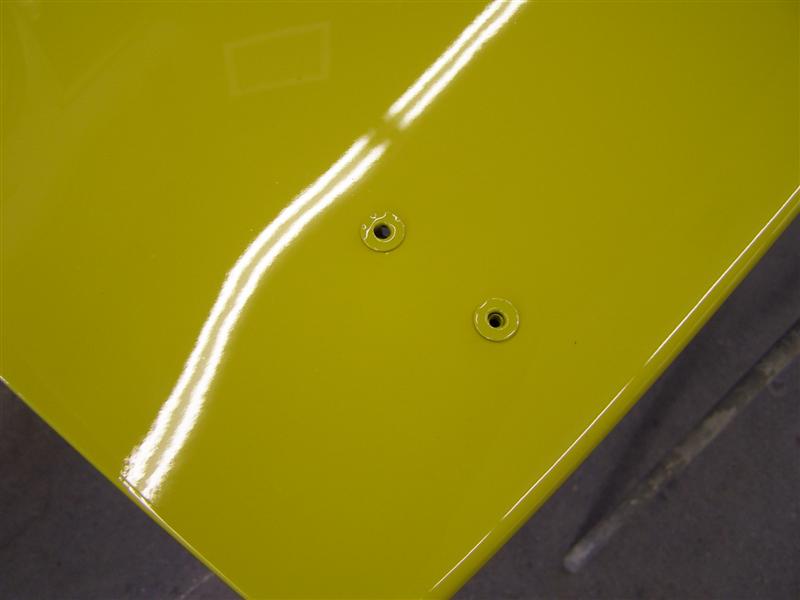
This is what the Pop JackNuts
look like when collapsed on themselves after being drawn up.
This provides a good anchor for the luggage rack and with the
seals on top, they should never leak.
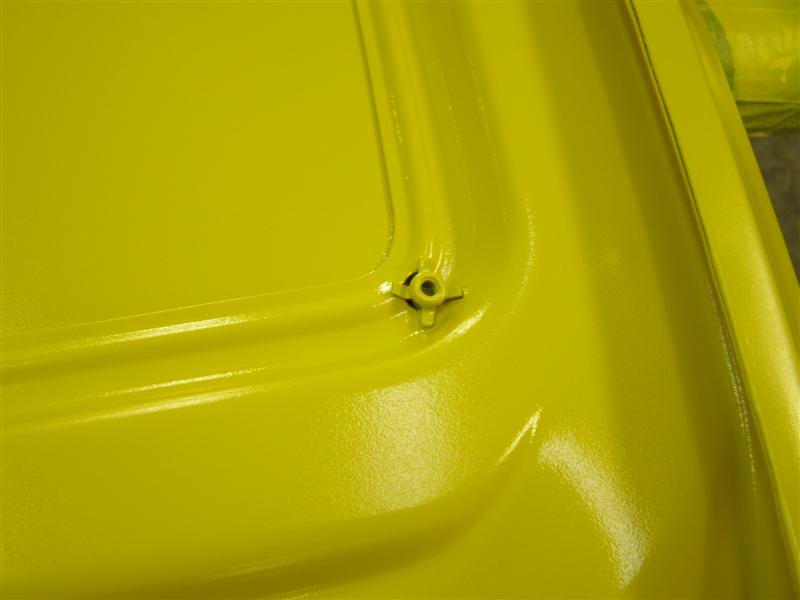
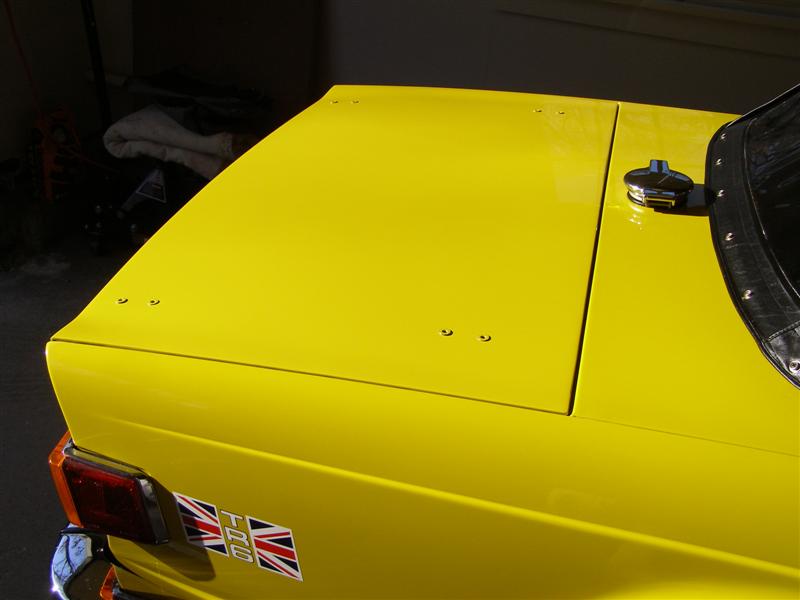
Those two stick up, the other
six are hidden.
A close up of the front set
compressed and you can see the seal in the inside lip above the
threads.
Back of the deck near the gas
filler.
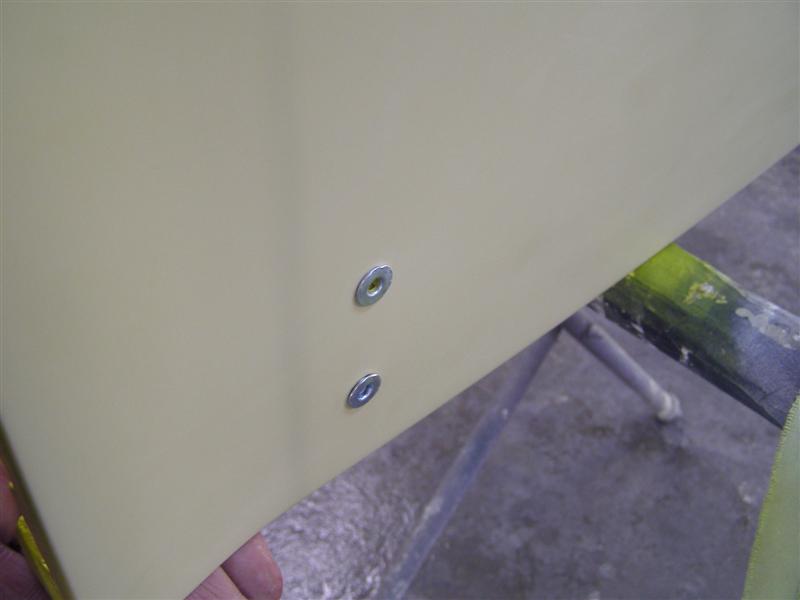
All four in place and the
paint goes on this side tomorrow.
Well, we have color as of
yesterday.
These guys will need tapped
out a bit, but that's minor.
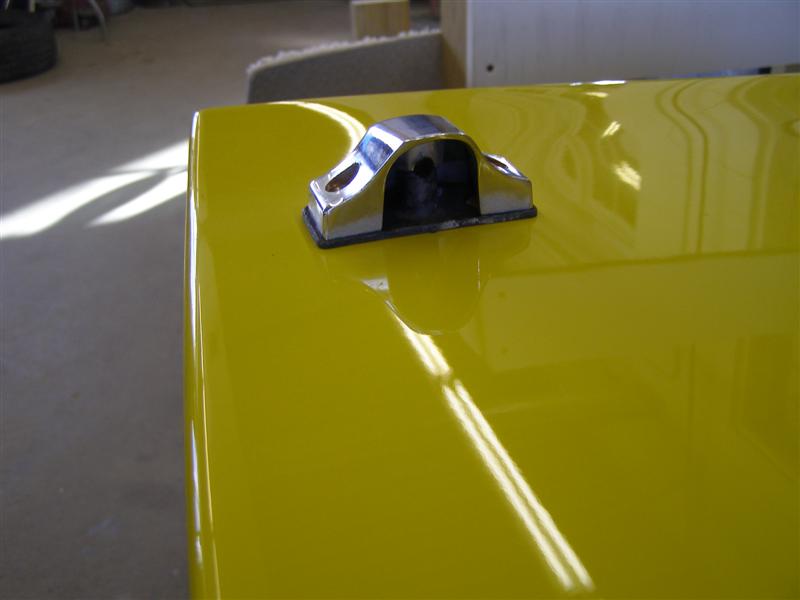
One of the old support
gaskets in place.

This is actually what holds
the rack support bars in place, not the metal clamp on the end.
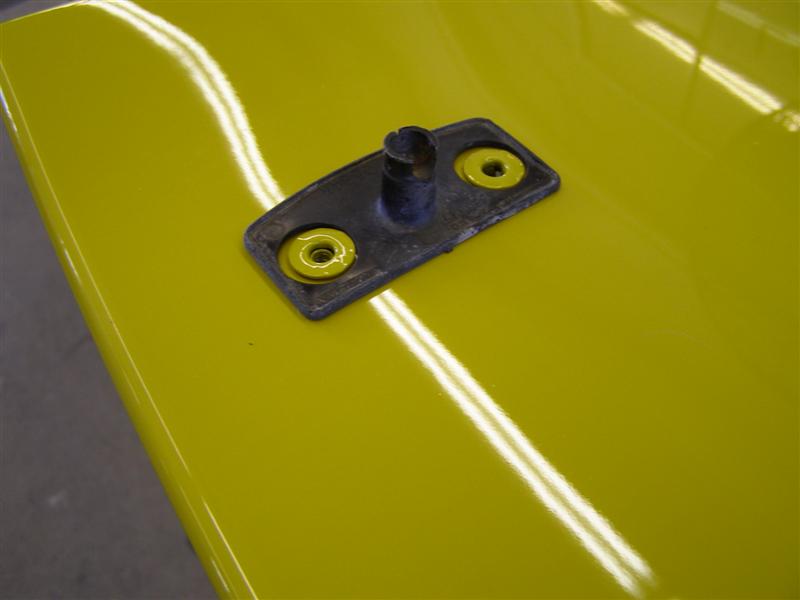
This guy here is just a
cover. You can see down through the left side. The
other is hidden in the cross brace.
The paint finish is great
without being sanded or buffed yet.
That leg sticking up in there
supports the bars. Next week, sand and buff the clear
coat.
Now I need
Nu-Chrome to get
the rack finished. I do have all new attaching parts.
More on that later.
Today the parts were ready so
I picked them up.
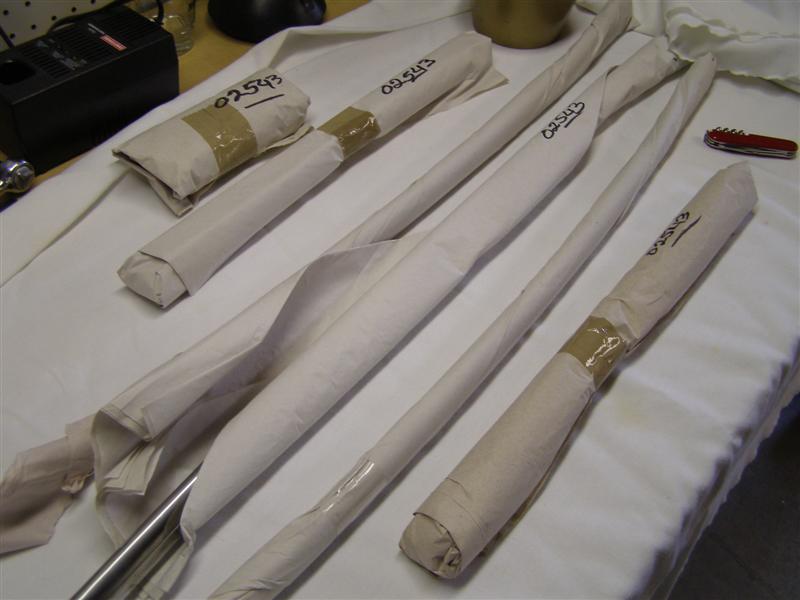
First the slats, which were a
bit twisted and very dull.
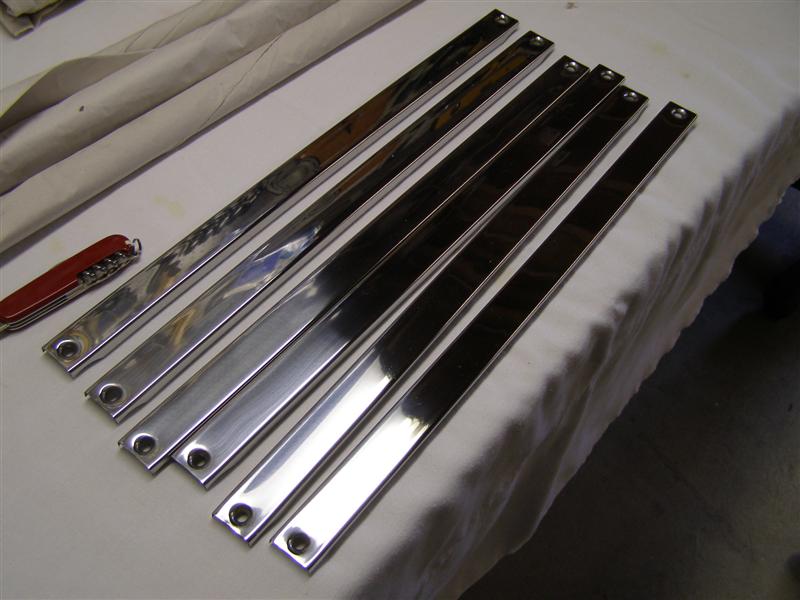
These slats looked terrible
prior to being polished.
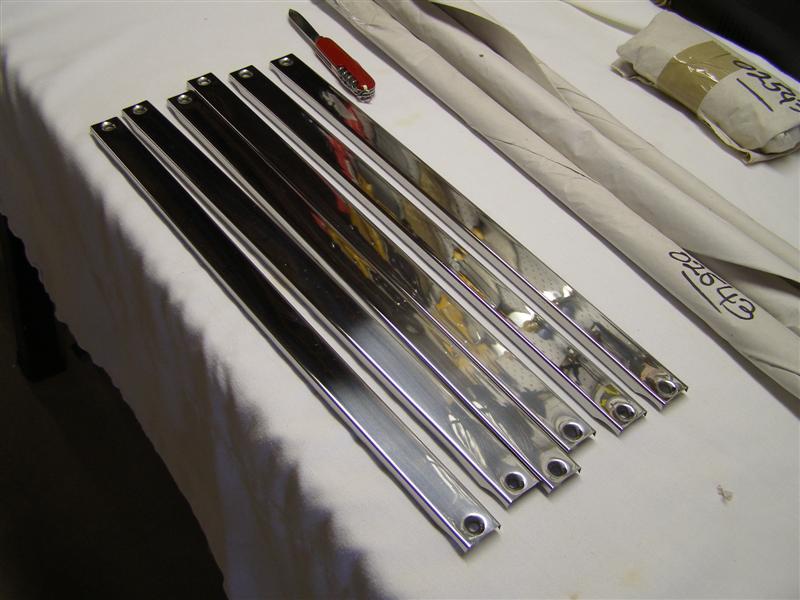
A pretty nice job on these,
considering what they looked like going in.
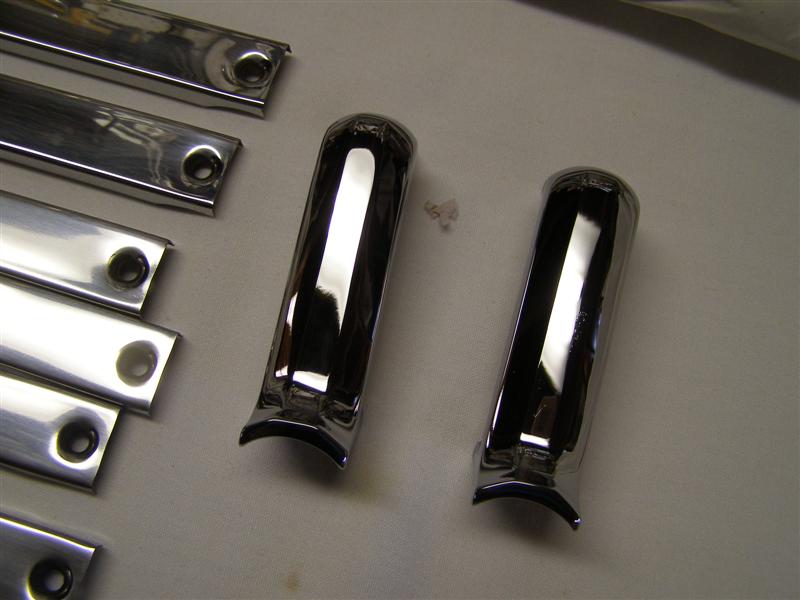
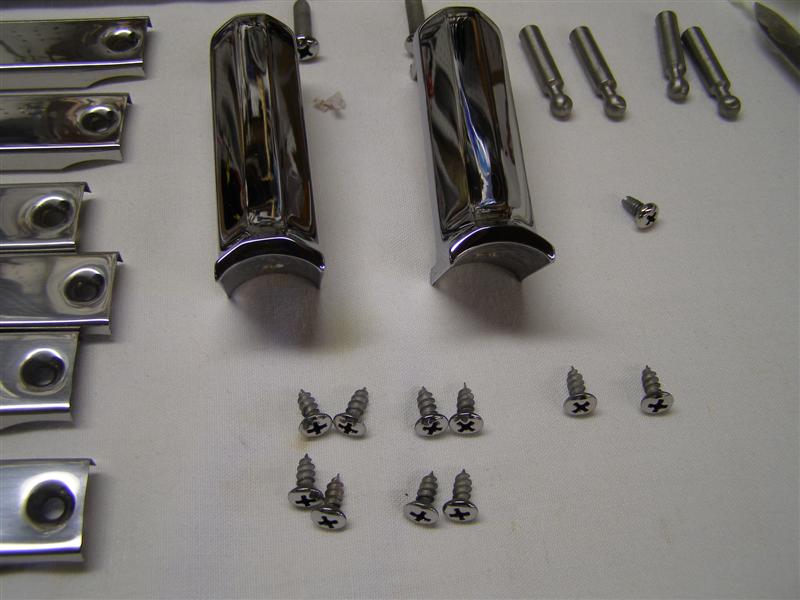
Stanchions and screws for
slats, but a few are missing.
They did a great job with the plating and
polishing.
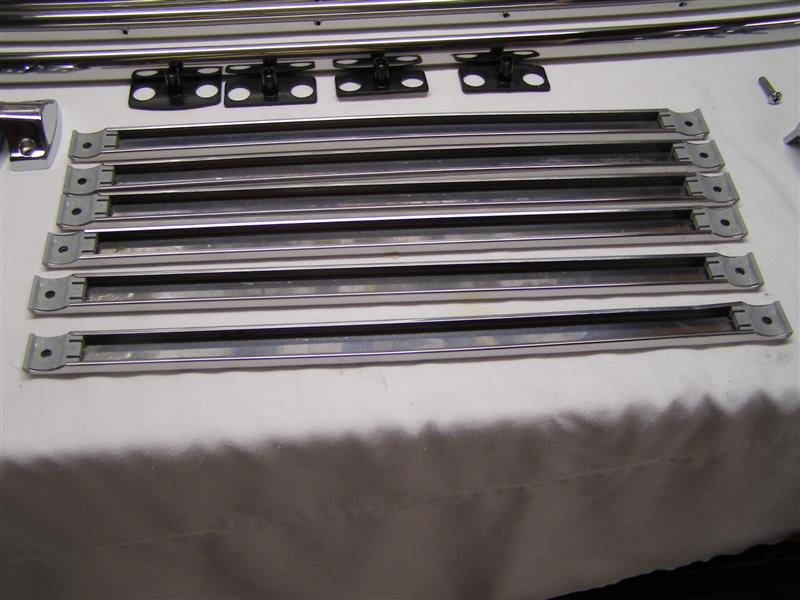
The two larger bars at the
rear hold the slats and the front bar is at the rear of the rack
to provide support and a back stop.
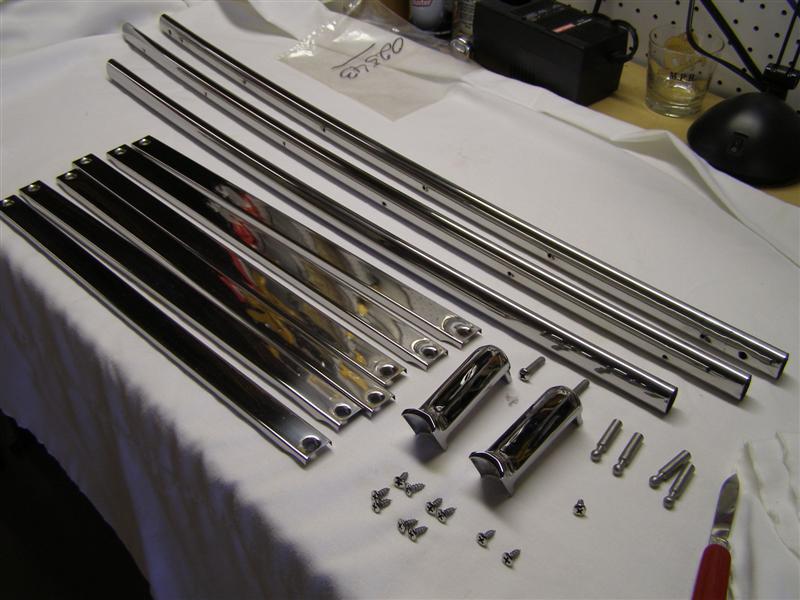
Replacement screws to be
polished to fill in for the missing ones above.
One of my spare racks used
for reference. I've got to start cleaning parts out of my
basement.
EDIT:
1/9/13
The
mounting parts below that I was lucky enough to get out of
Atlanta are no longer available.
If I hear
of a source for these, I will post it as soon as possible.
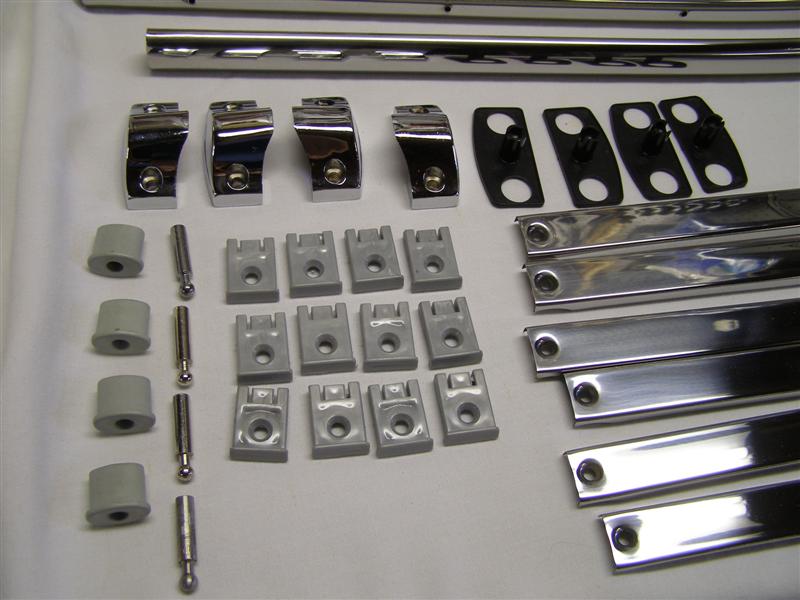
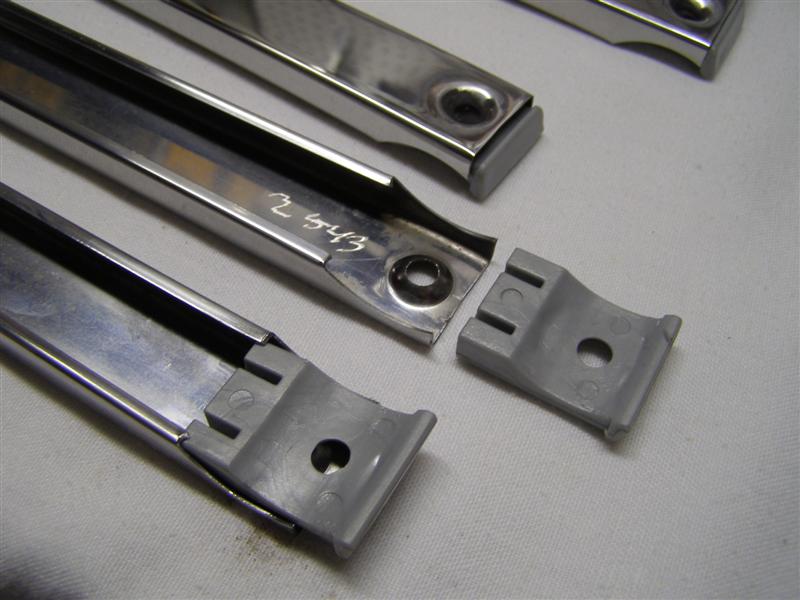
The plastic parts go in the
end of each slat and the pins are in the end of each tubular
rod. These pins
rest on the plastic stand offs and hold the rack of the deck lid
and allow the (4) chrome end caps to lock them down.
Allan painted the black on
the deck lid after it was installed to be sure that it was
matched on both sides.
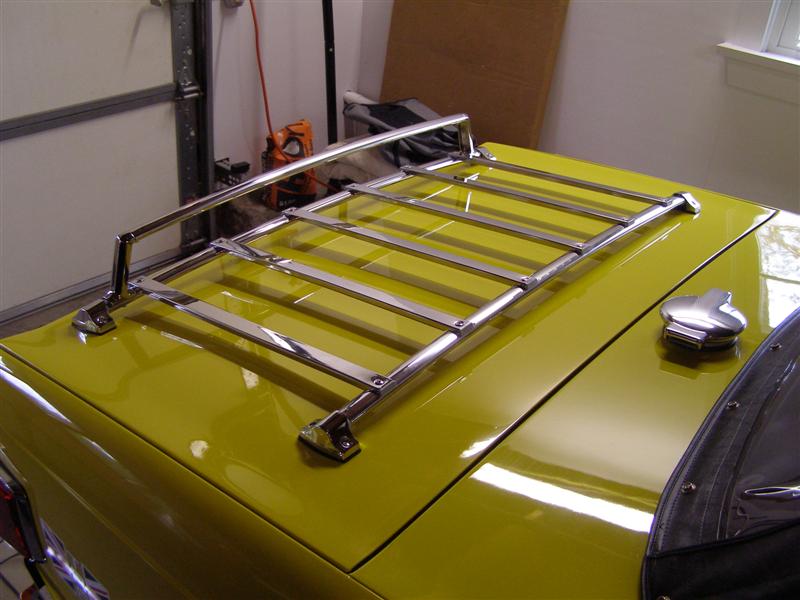
Even gaps all around the
sides and rear. Deck height matches rear panel perfectly
too.
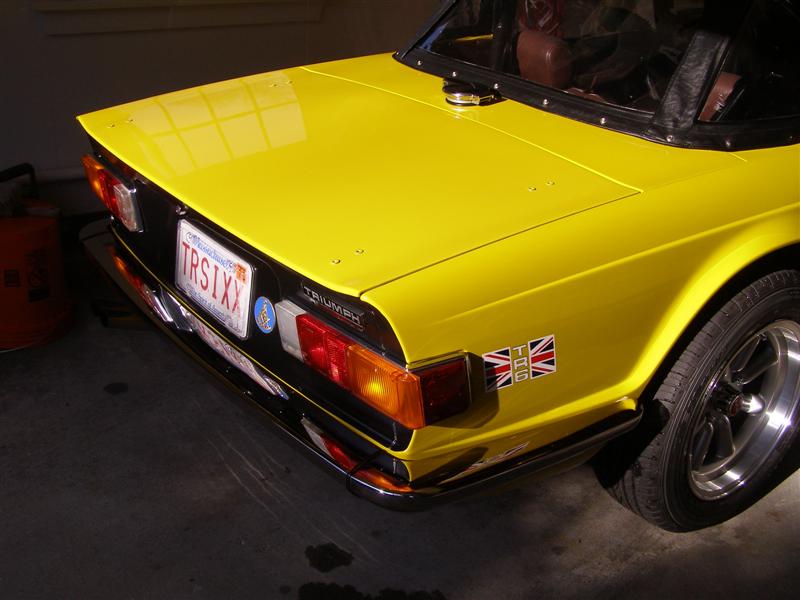
Allan and his guys did a
great job with the paint and making sure the deck lid was square
and would align perfectly.
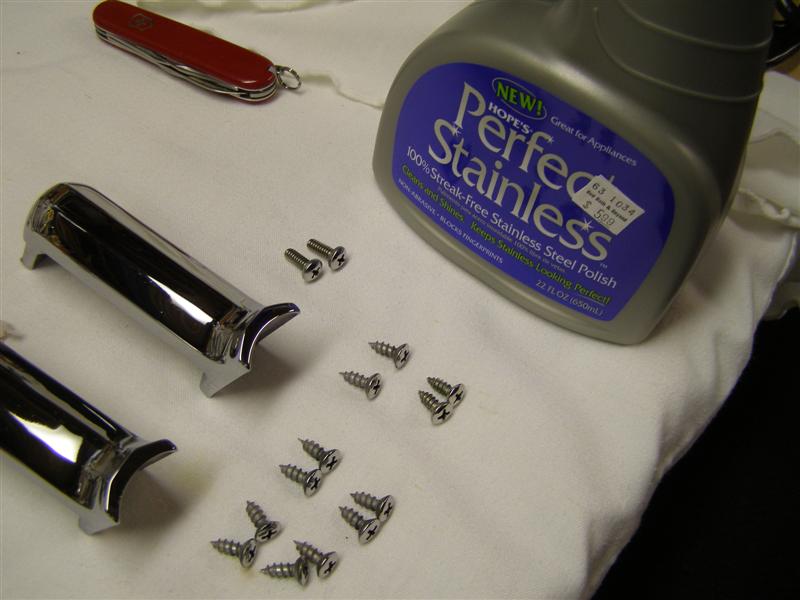
Picked up the rest of the
parts to
complete the job. All of the screws are polished and ready
to go.

The etched number is my job
number from plater.
It's how they keep track of the thousands of parts in process
there.
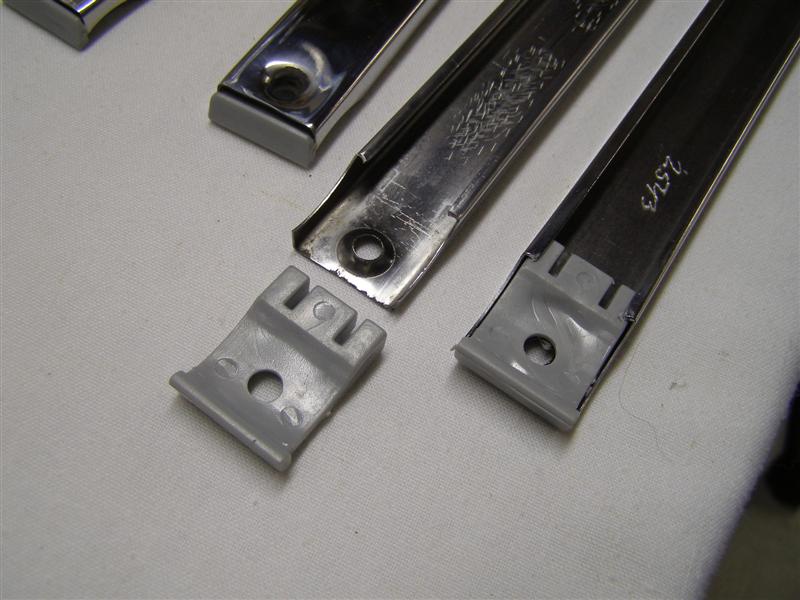
This is how they fit into the
ends.
I use this cleaner on my
kitchen appliances and it works great.
All of the plastic end caps
are in and ready to go.
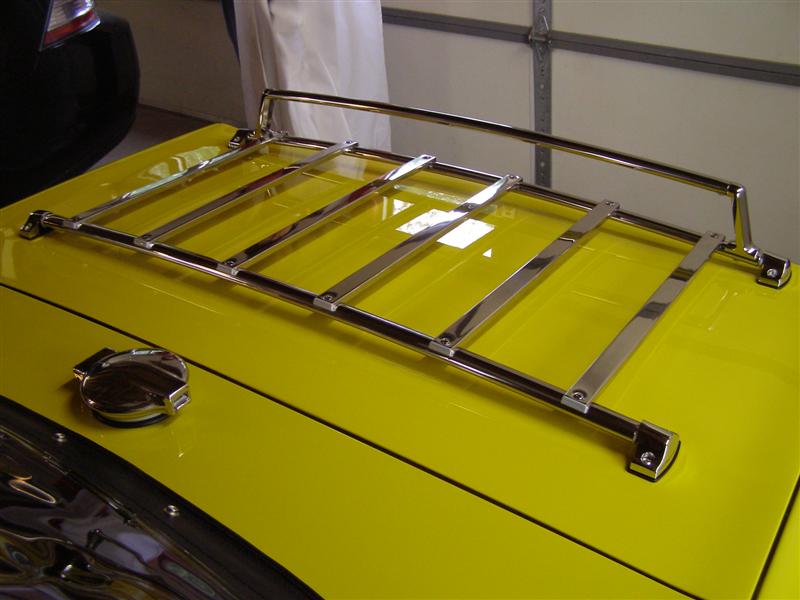
It's best to leave all of the
screws about one turn from tight to allow a little twisting when
you install the rear bar.
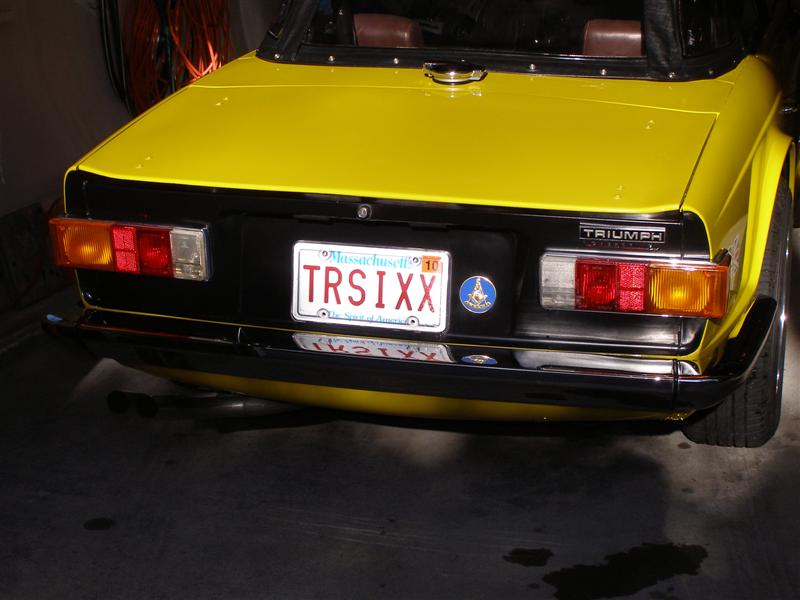
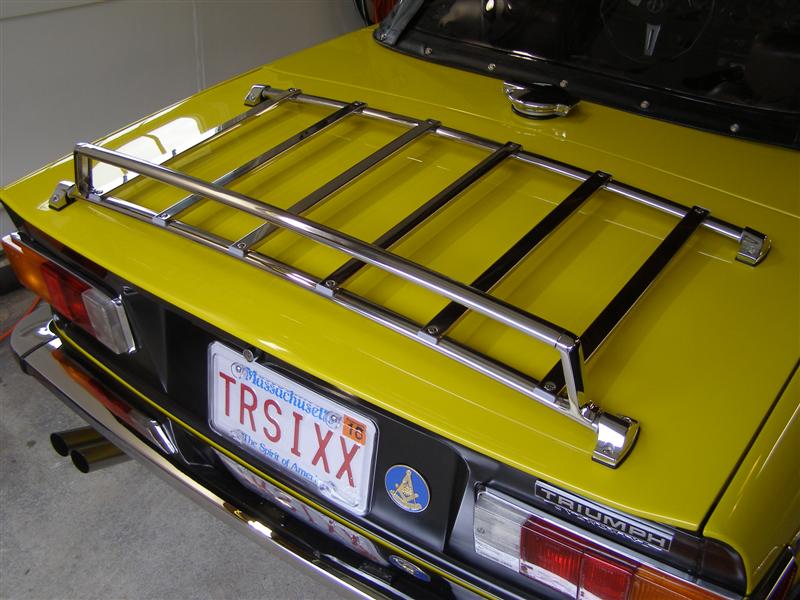
And for the final installation.....
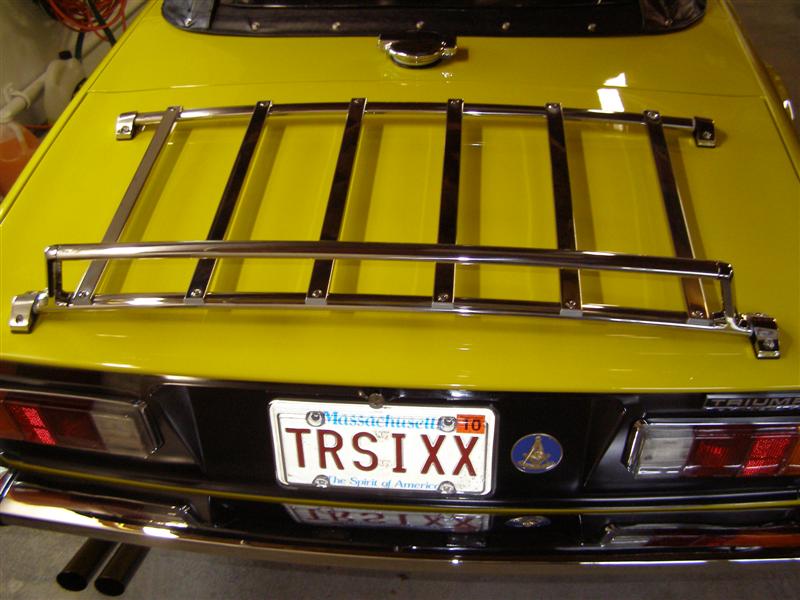
It definitely adds some bling
to the back end of the car......
I'm glad that we went with
the Pop JackNuts. Installing the screws to a threaded
insert was a lot better
than going with the self tapping wax cover screws into the top
of the lid. These feel very secure and tight.
That's it, already for summer
cruising.
And as
always, another fine paint job completed by Allan and his guys at:
A&E Auto
Body
50 Alden
Street
Pawtucket,
RI 02861
401-722-2204
|
