|
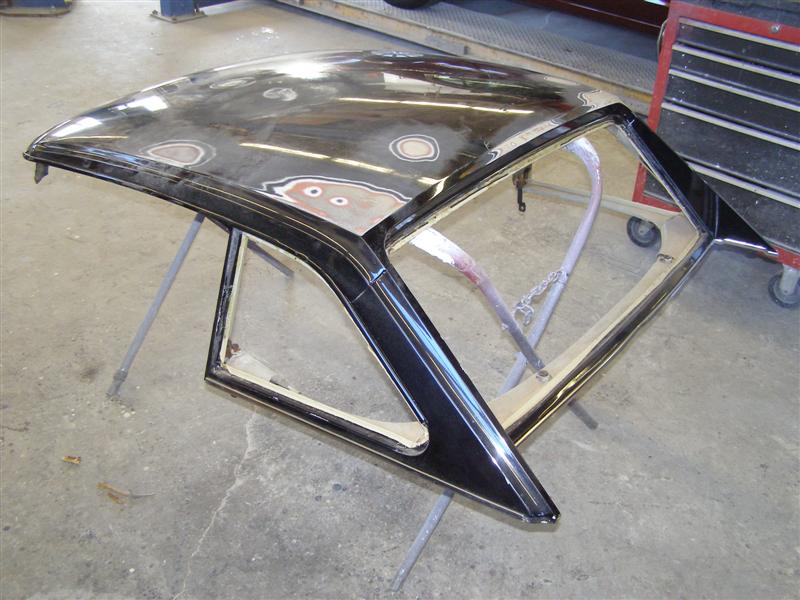
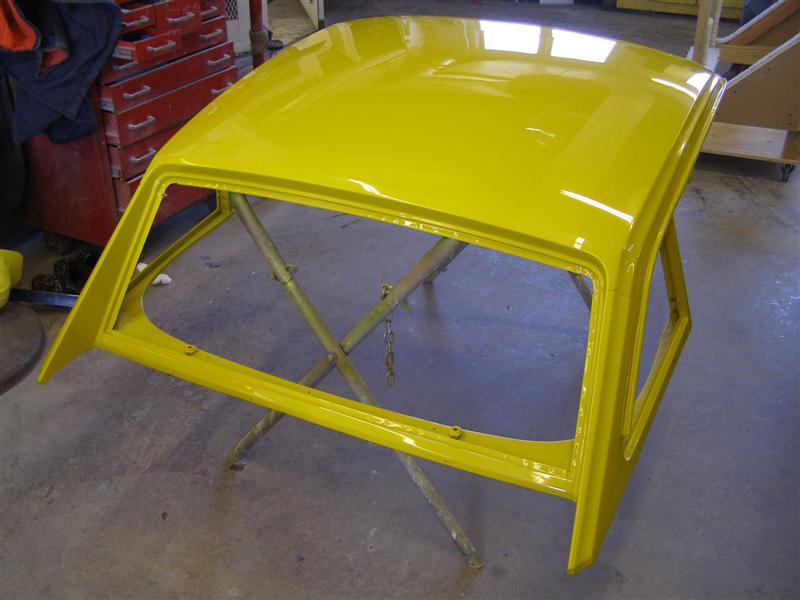
This is
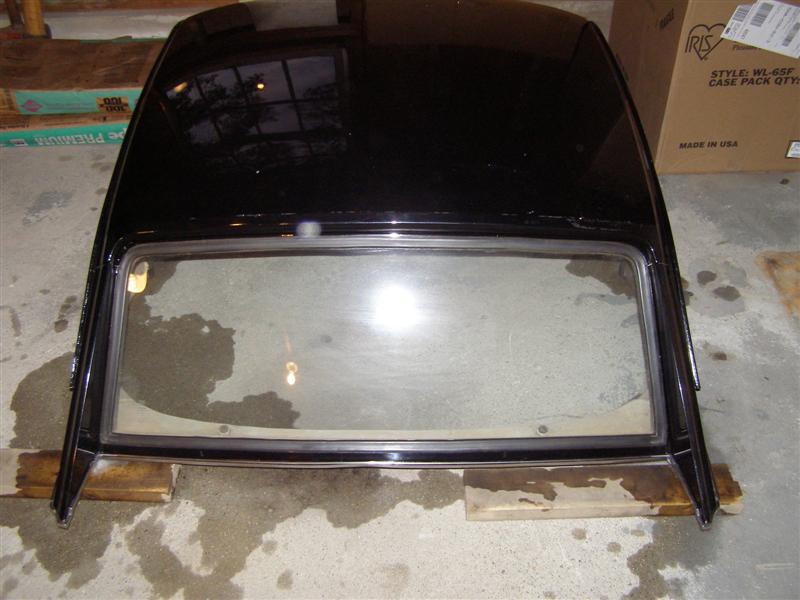
what I purchased from an ad on eBay. I got very lucky, as
it was very dusty, but absolutely no rust anywhere.
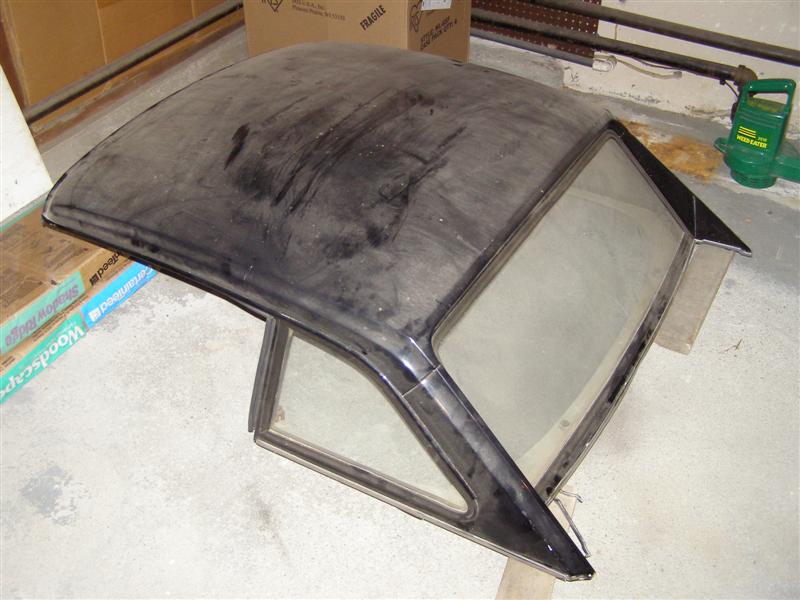
The rear
glass is no longer available and the side glasses must be custom
cut, so try to get these intact.
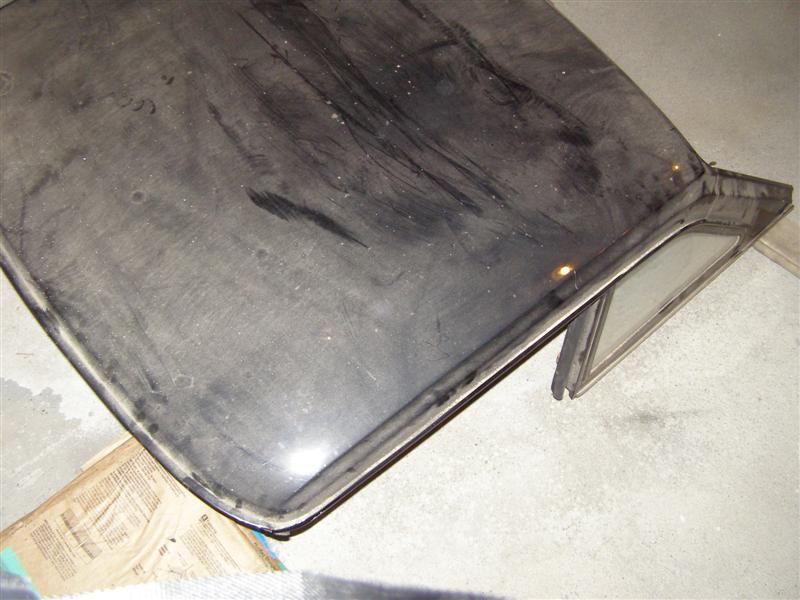
I can see a
few dings, but it doesn't look too bad.
First step,
get it washed and check it out for missing parts.
This was
big. Every part was there. From glass, to chrome to
weatherstrips and mounts.
Now the
little dings start to show. Well, it has to be painted
anyhow, so those will be fixed later.
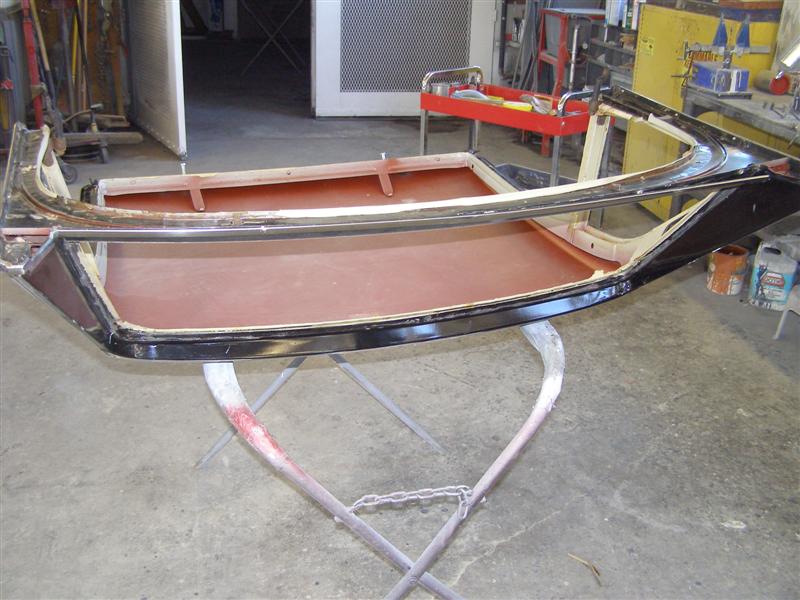
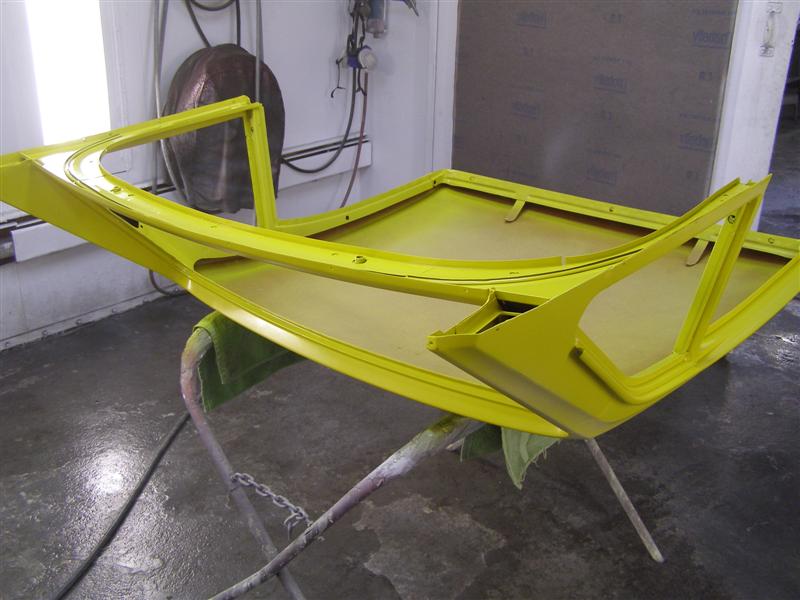
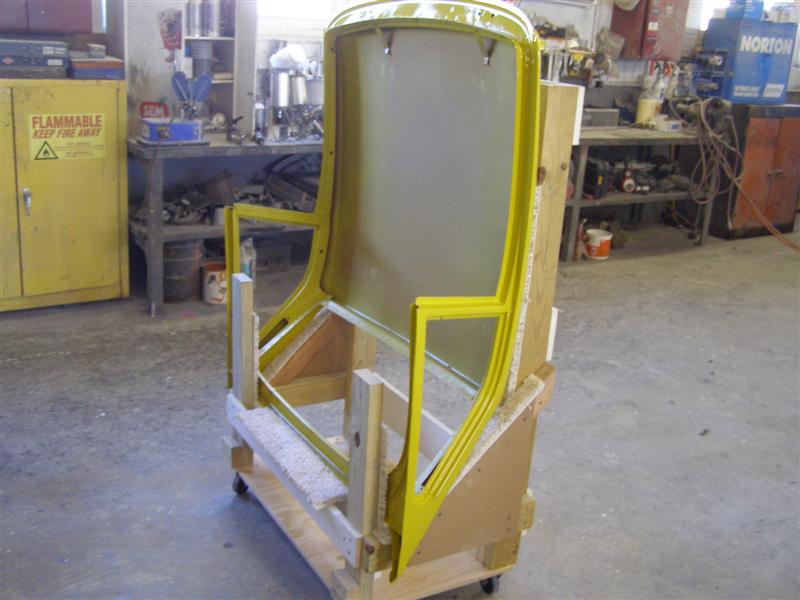
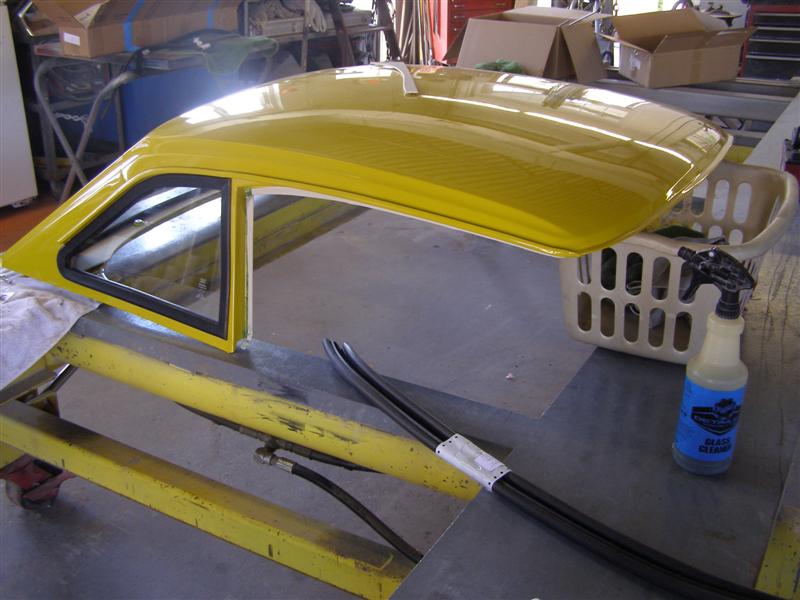
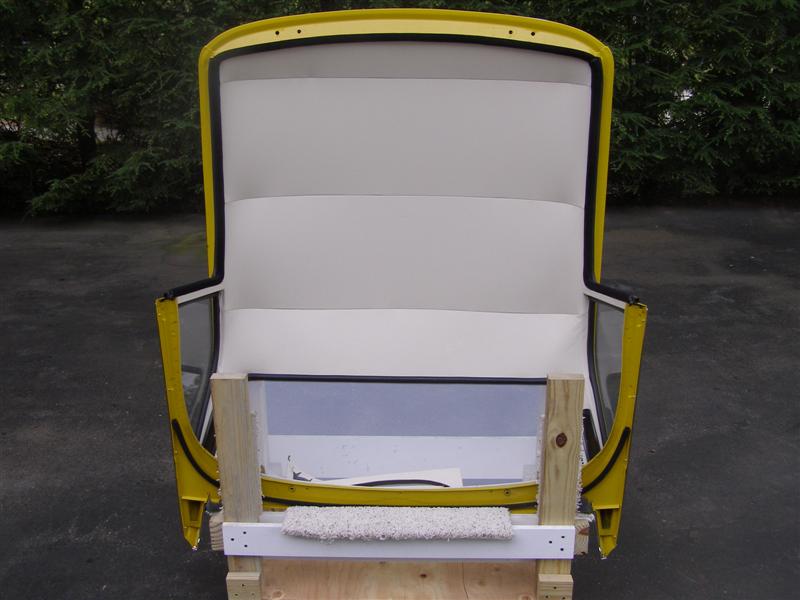
It's first
step out into the sun in over a year. It's been sitting in
the corner of my garage all covered up
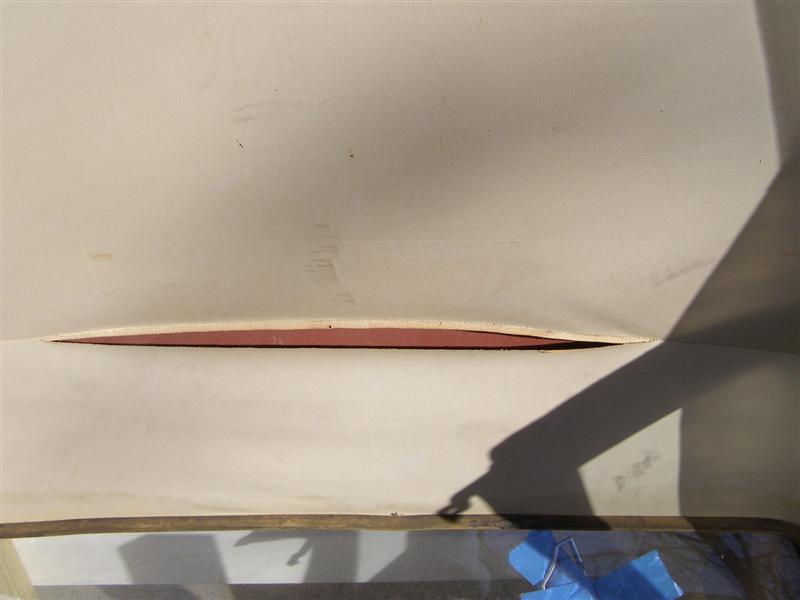
on the stand designed for it by a good 6-Pack friend. The
headliner was damaged when I got it, but no big deal.
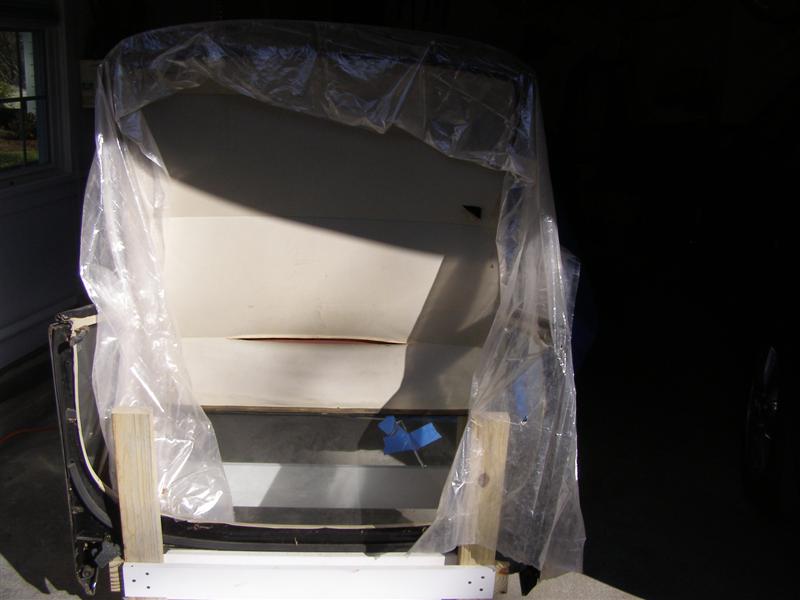
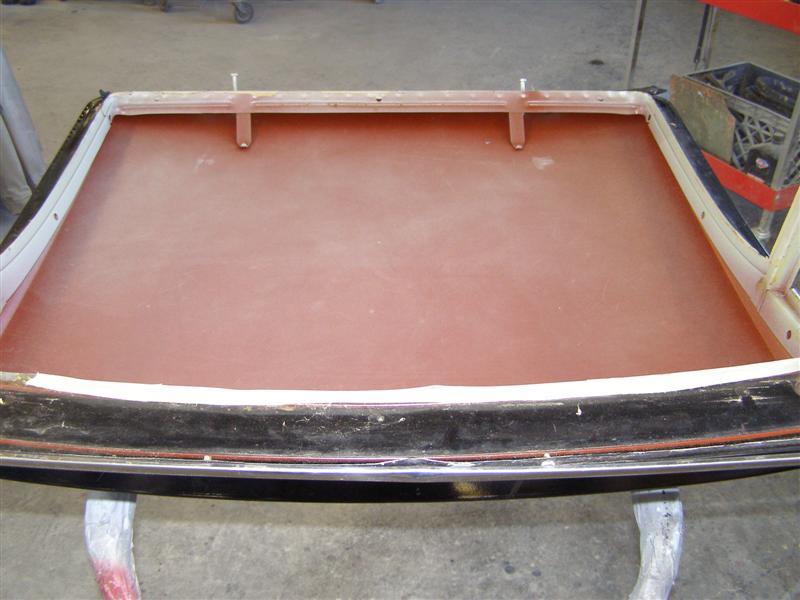
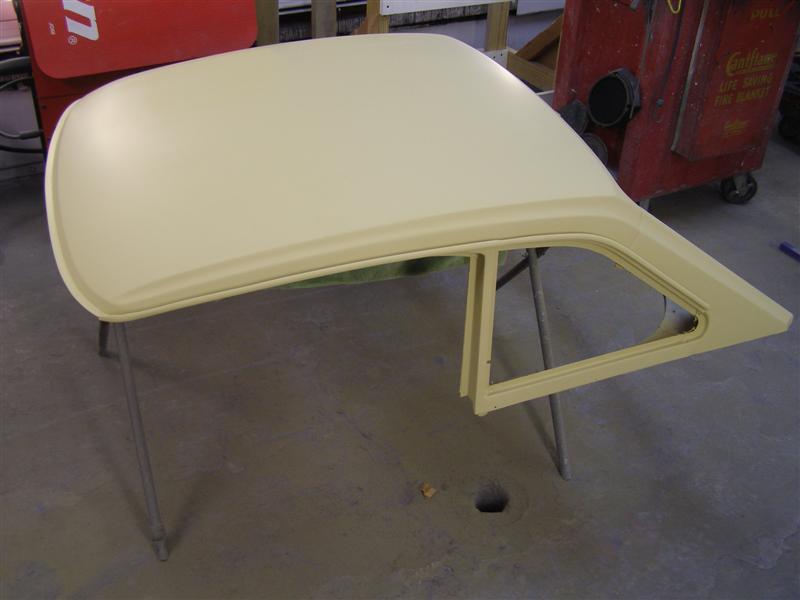
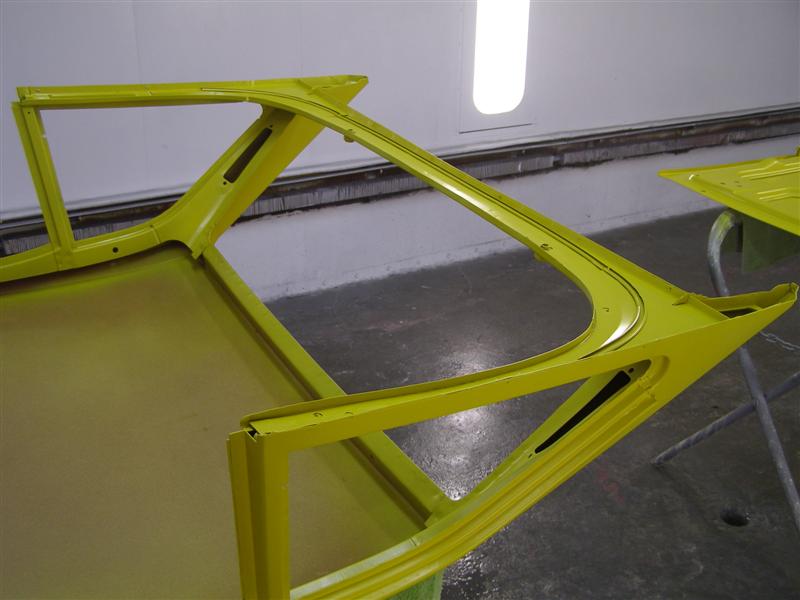
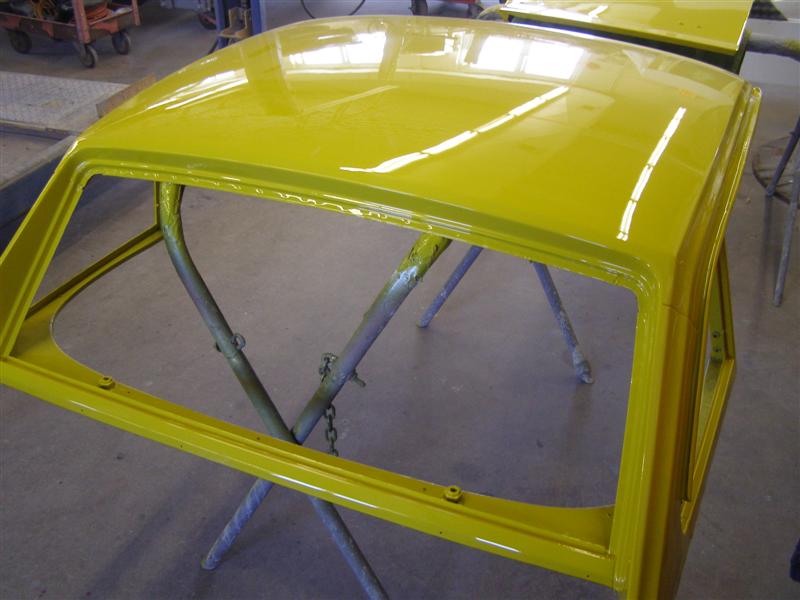
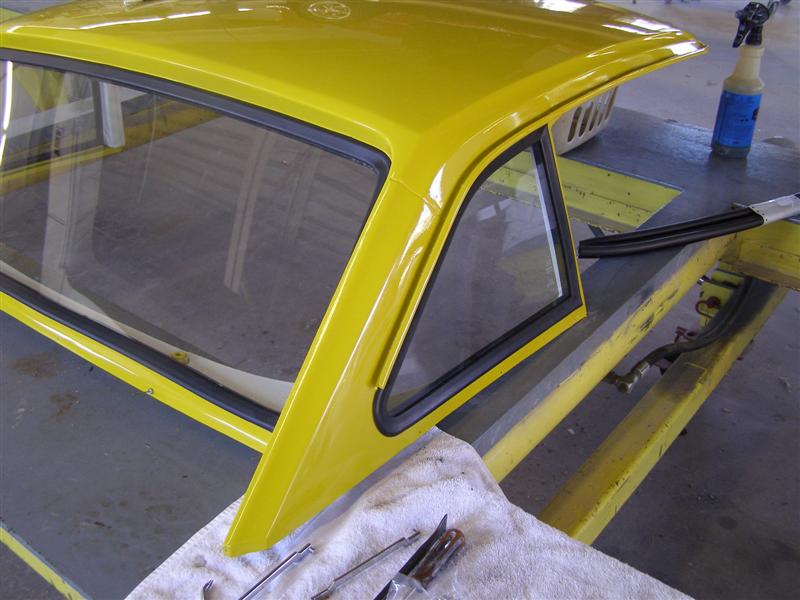
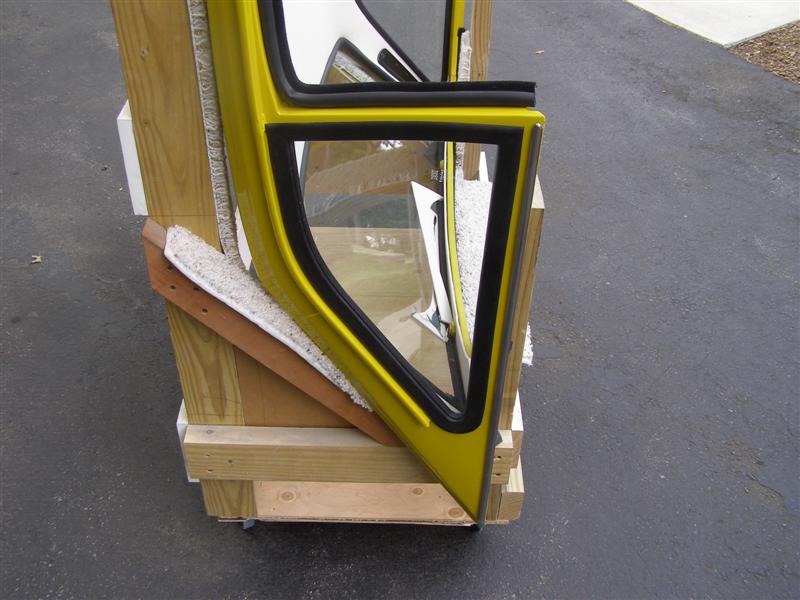
I wanted
these pictures for reference as well as all of the weatherstrips
will be removed for painting.
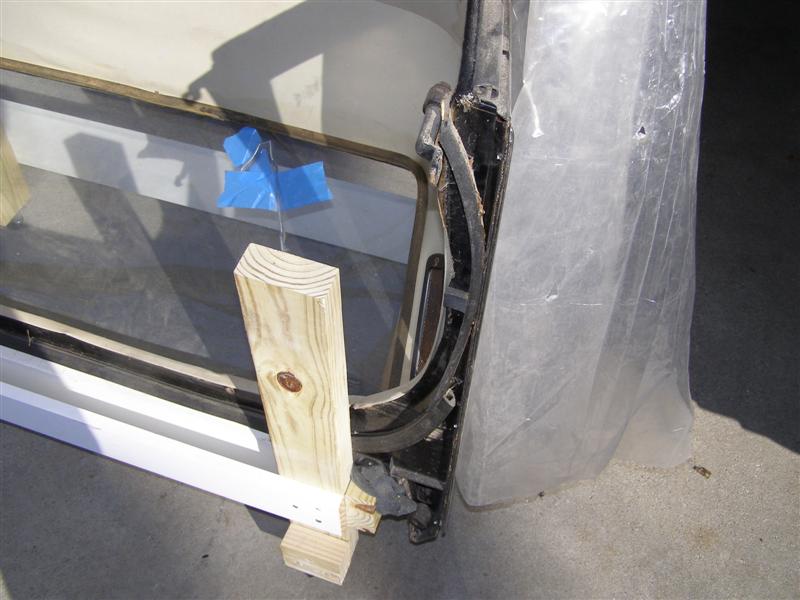
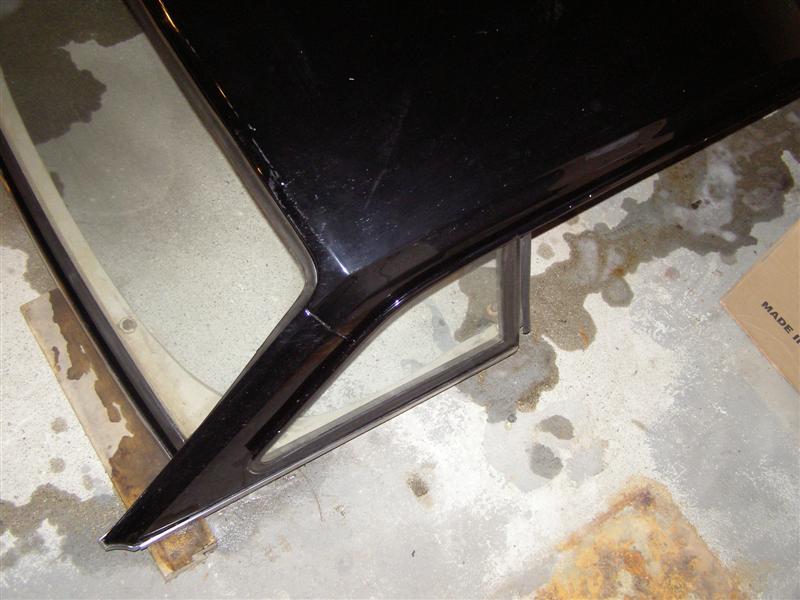
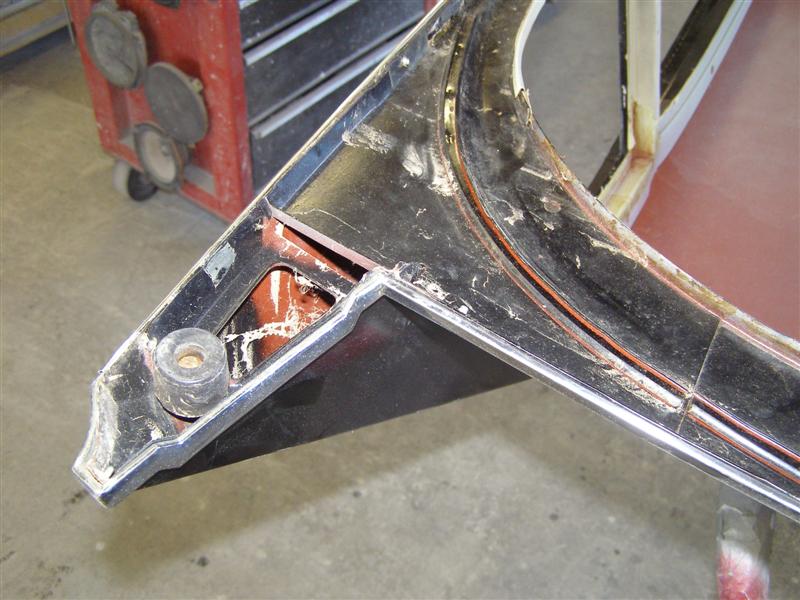
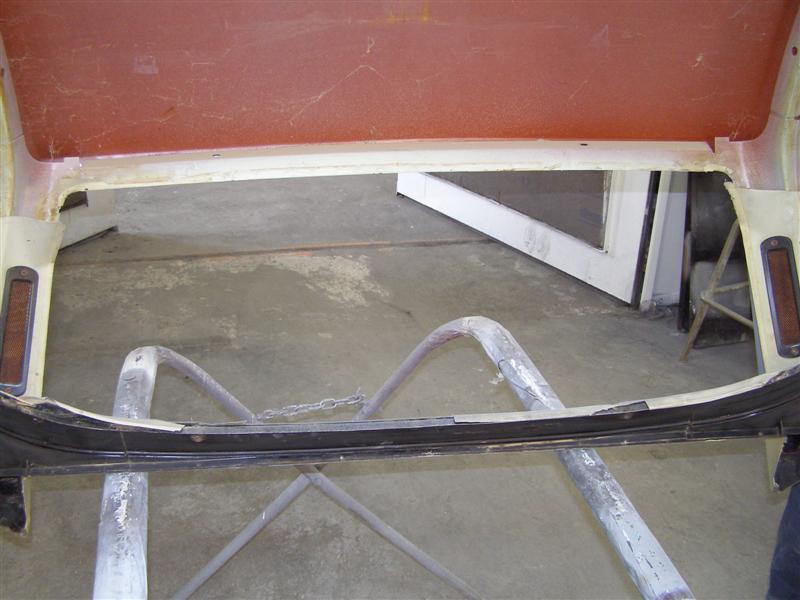
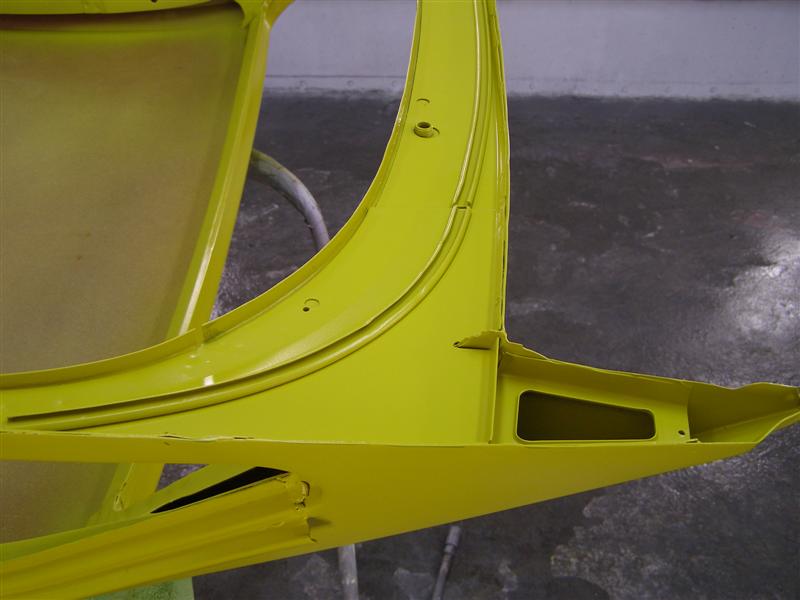
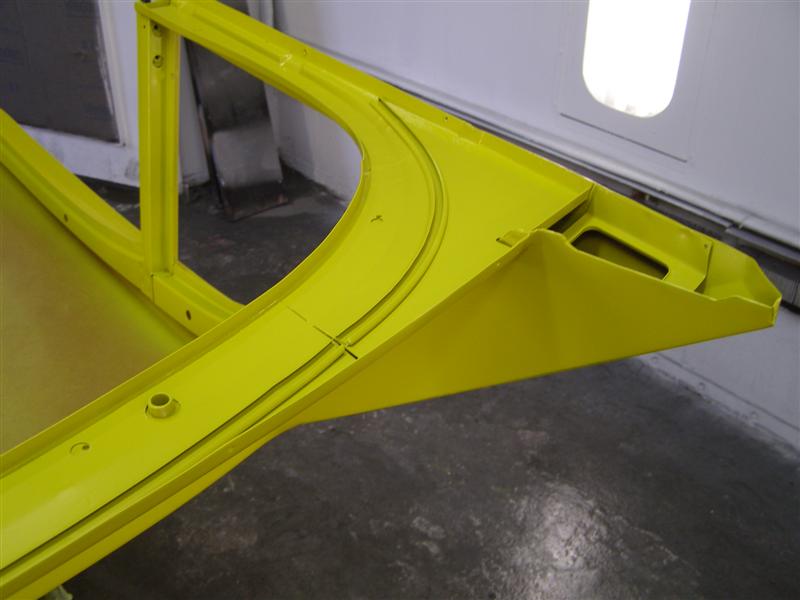
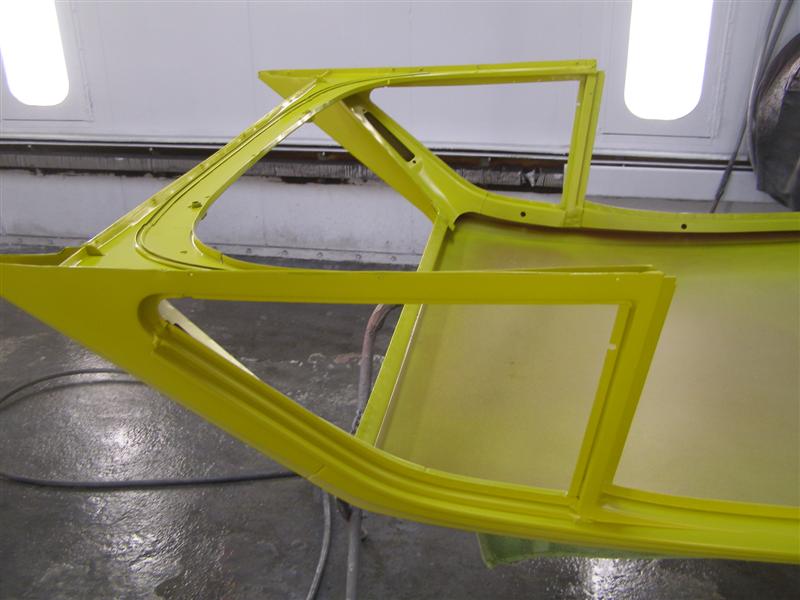
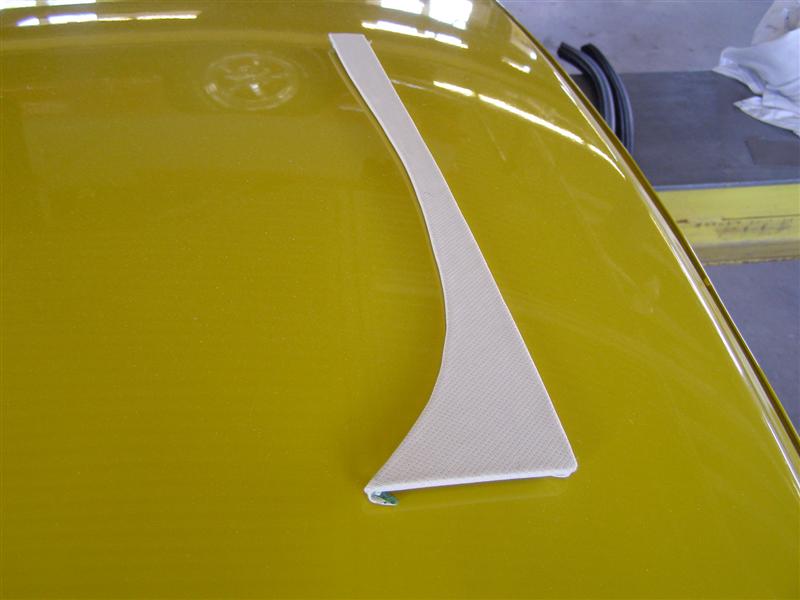
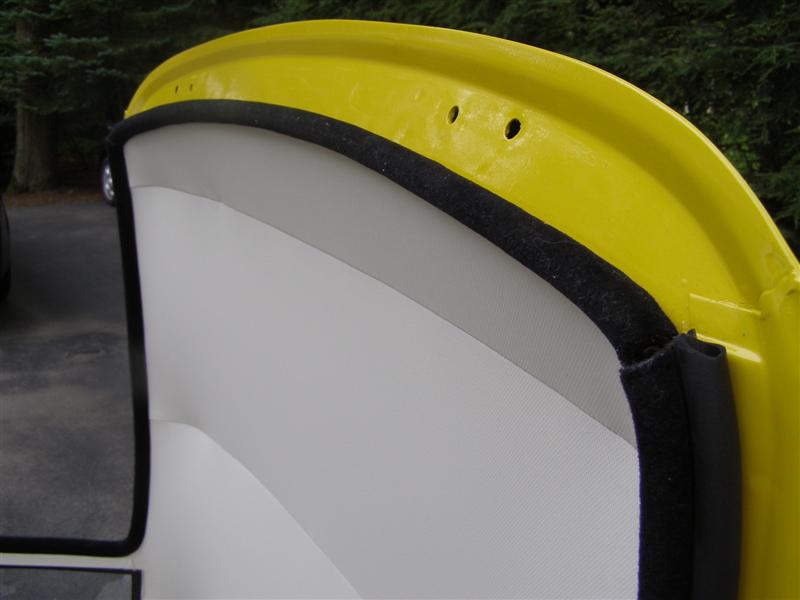
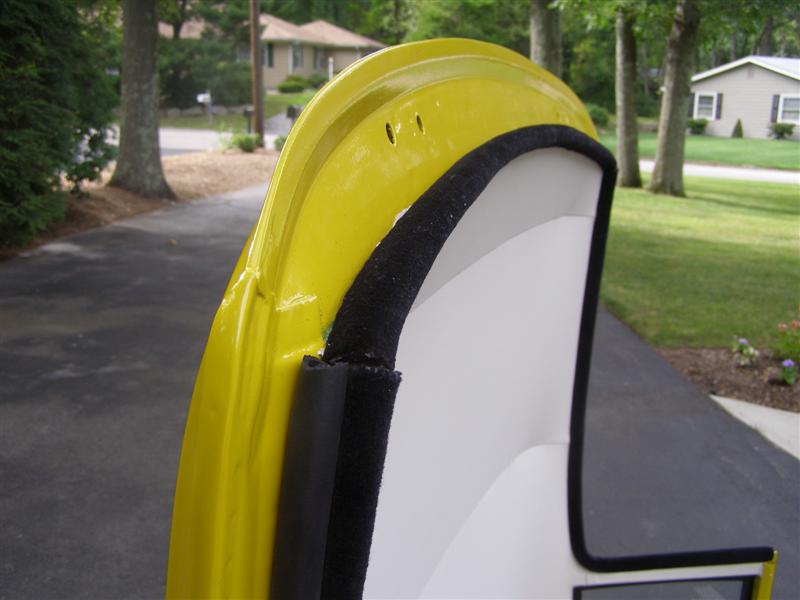
That post
on the top left is what mounts the roof to the "B" pillar behind
the passenger seat.
There is one on each side and someone makes a nice polished
stainless kit for that which protects the upholstery.
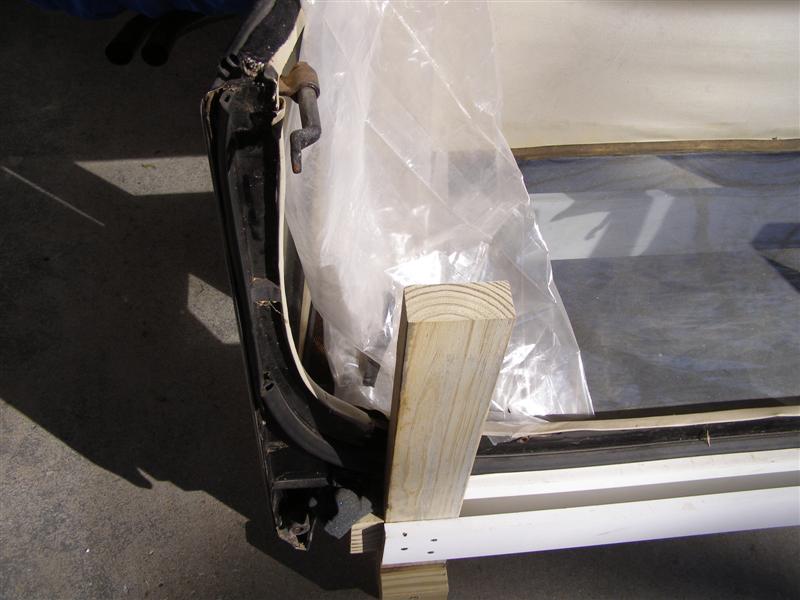
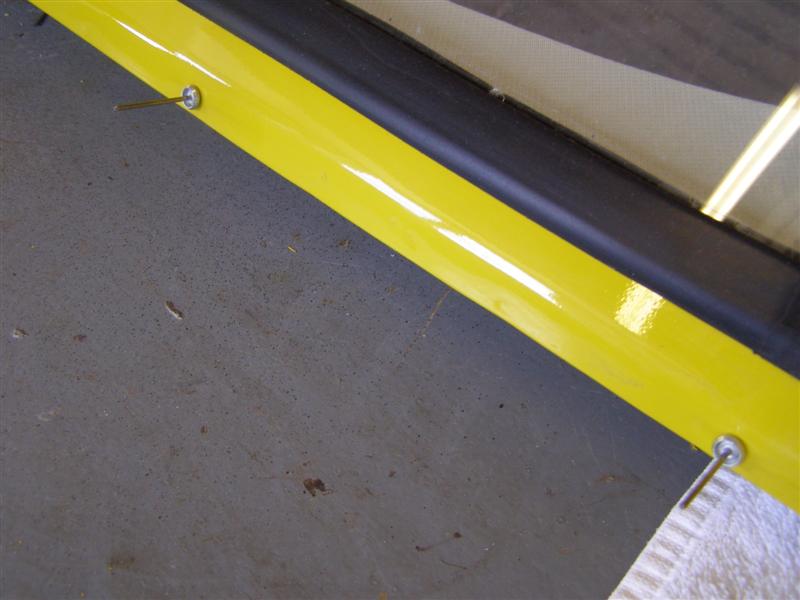
I don't
know if these are the original bolts, but more on the damage
they caused later.
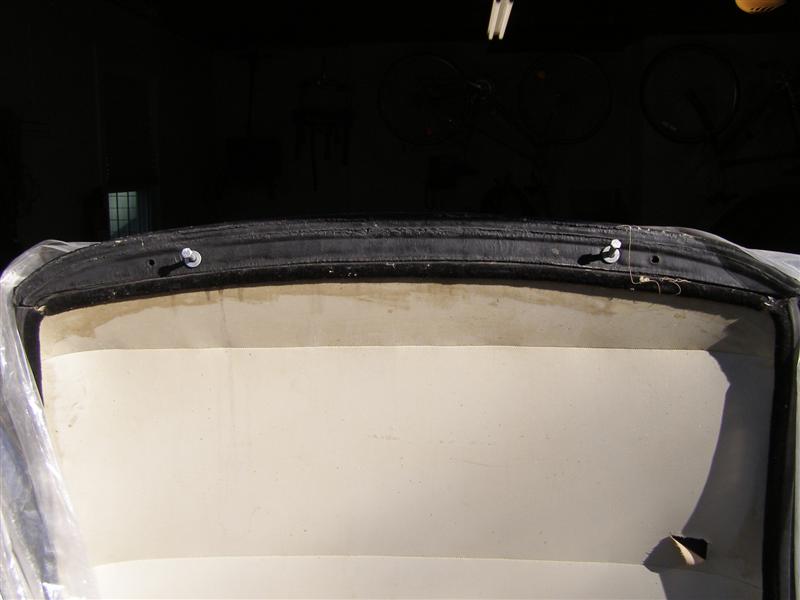
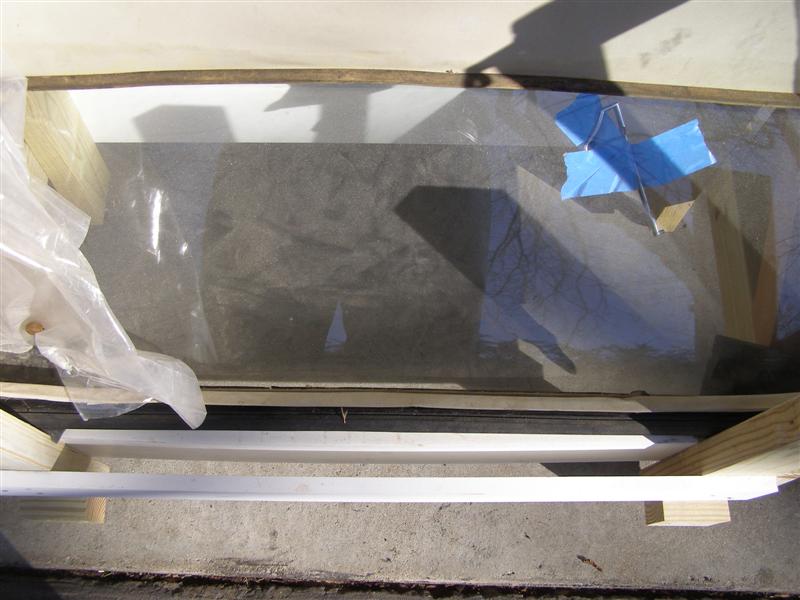
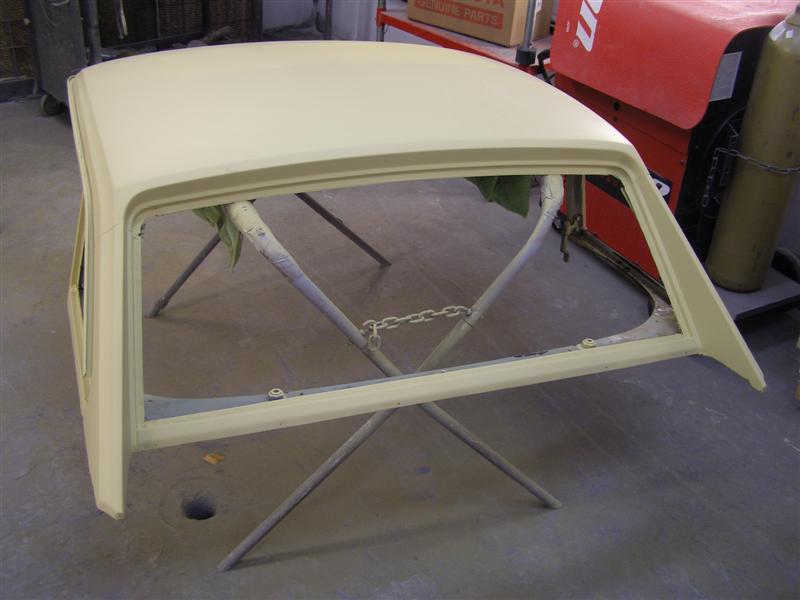
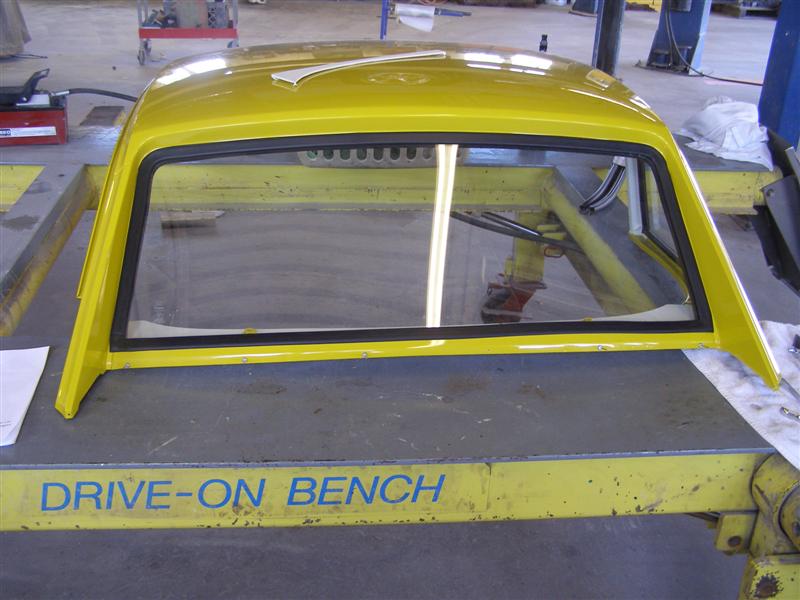
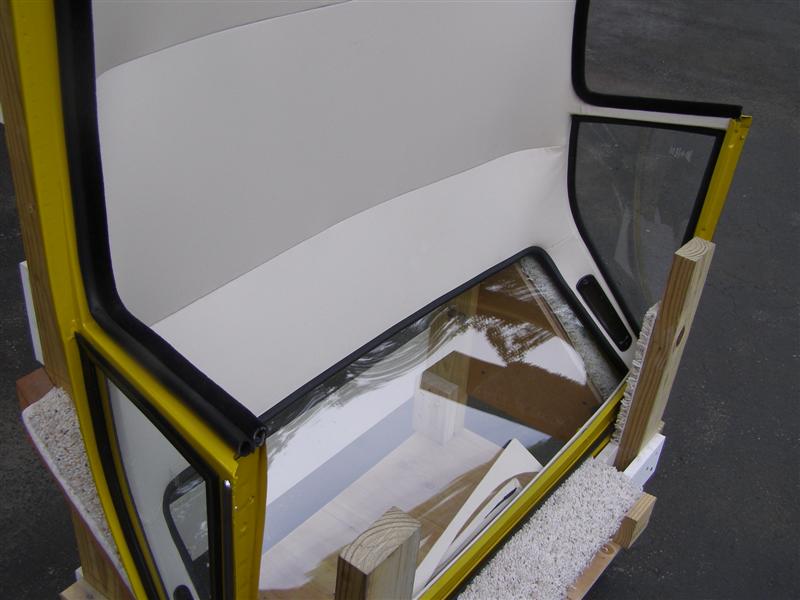
The ever
important back glass. This one is in perfect condition,
but has been sitting through a
major house renovation project where the garage was used as a
sawmill, so it's a bit dusty.
Try to make
sure that any top you look at has these intact. I don't
know if they're replaceable any longer.
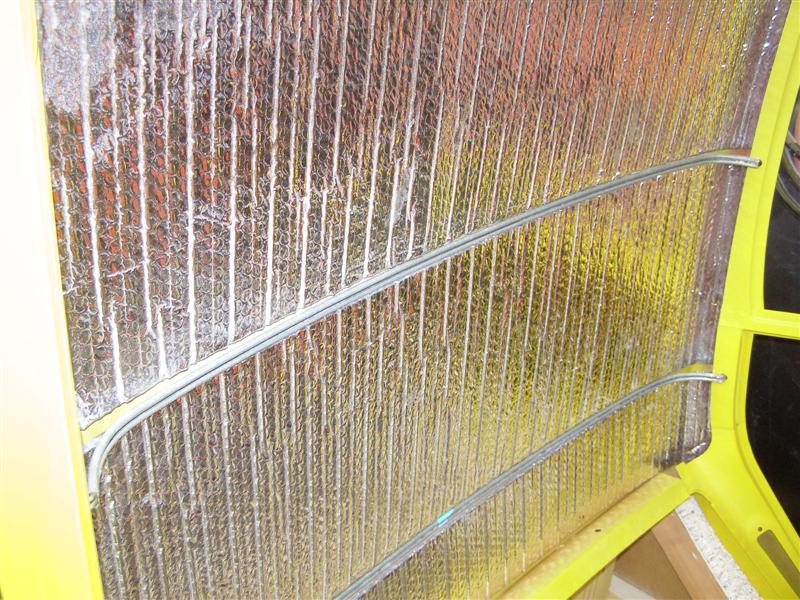
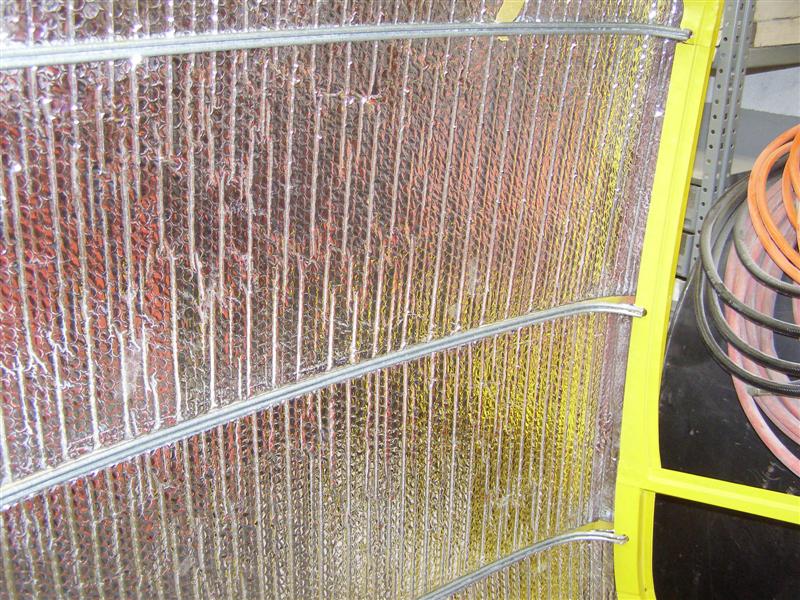
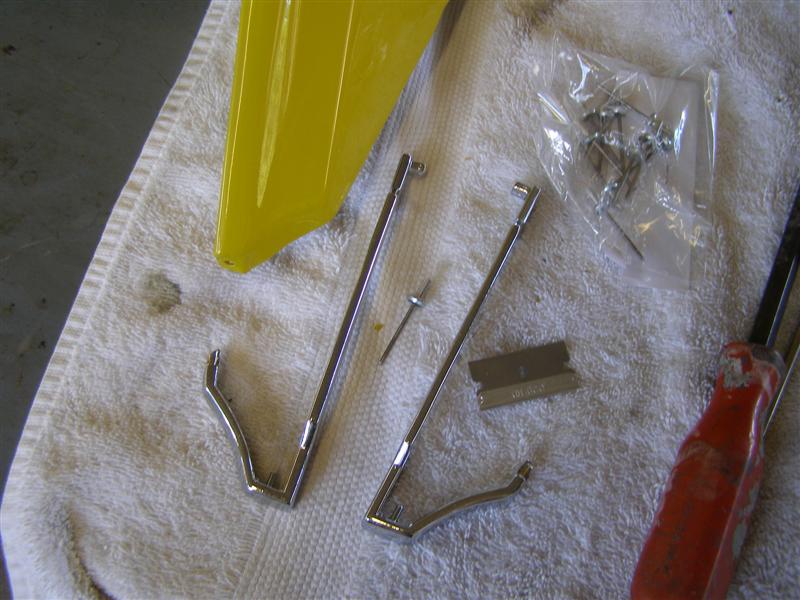
There are
three rods that go across the top and are hidden under the
headliner. They keep it shaped.
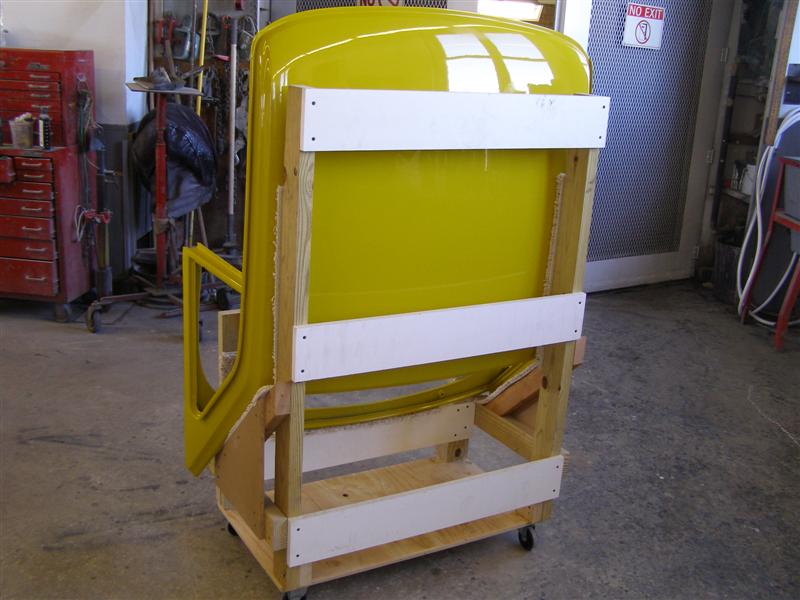
Shawn Loeske, who designed
this carrier gave me
permission to
post his design for the hardtop rack that you've seen in the
preceding pictures.
I have added a link to
a pdf file for those who want to download it for future
reference to use building one for yourself.
Instructions to Build
Carrier
Now we're
at A&E and the weatherstrips and headliner have been removed and
everything is being checked for needed work.
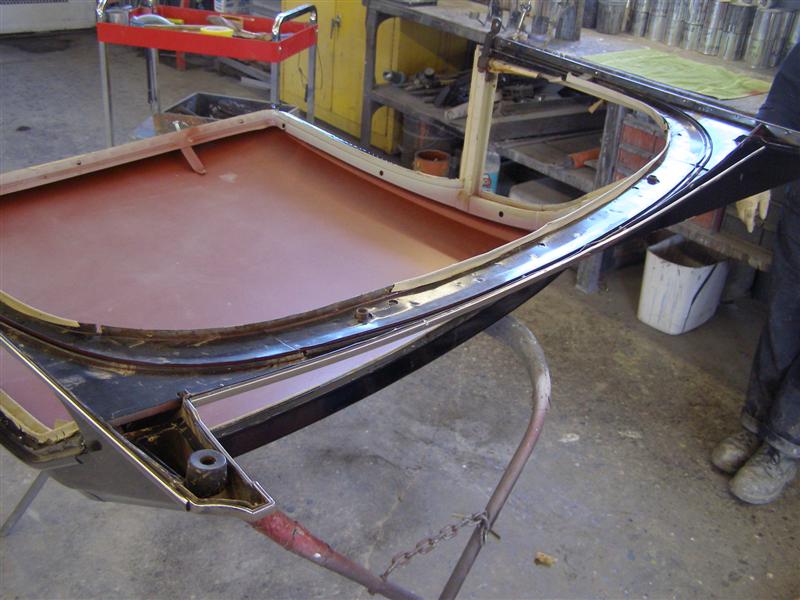
This top
was only ever used for three seasons according to the original
owner and it shows.
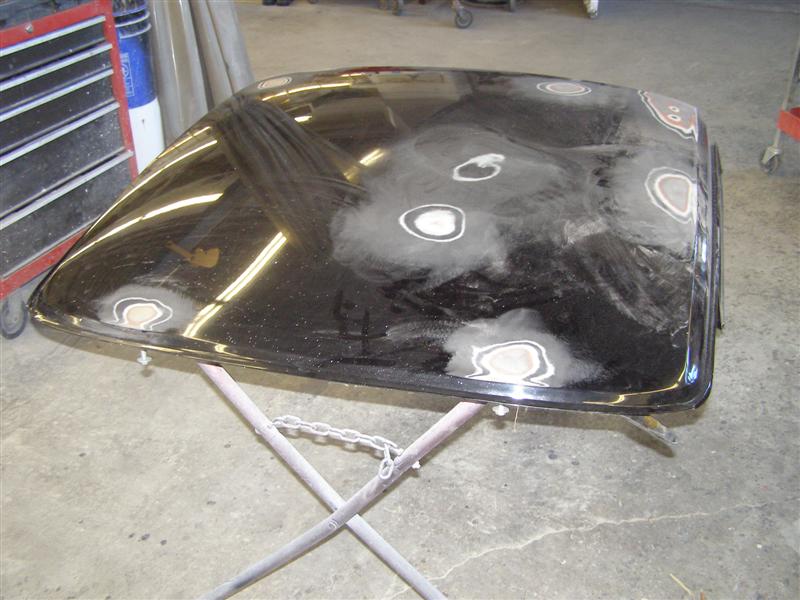
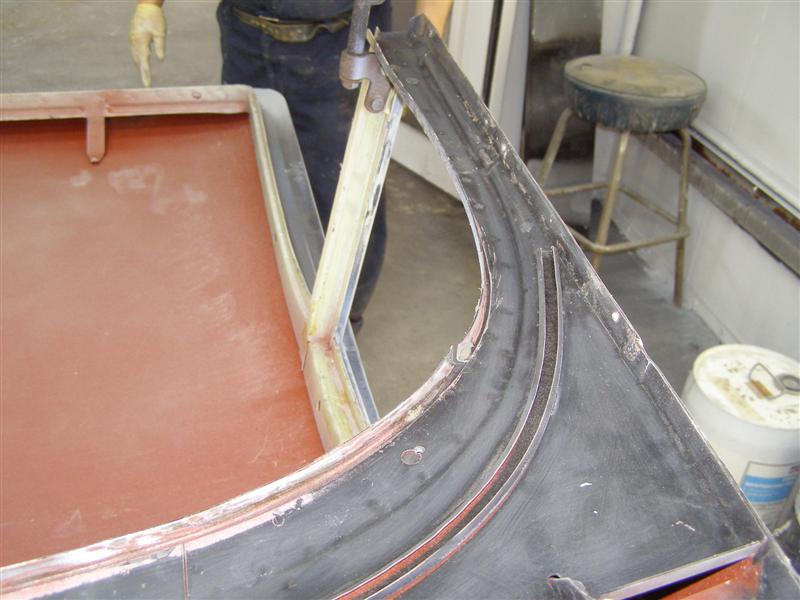
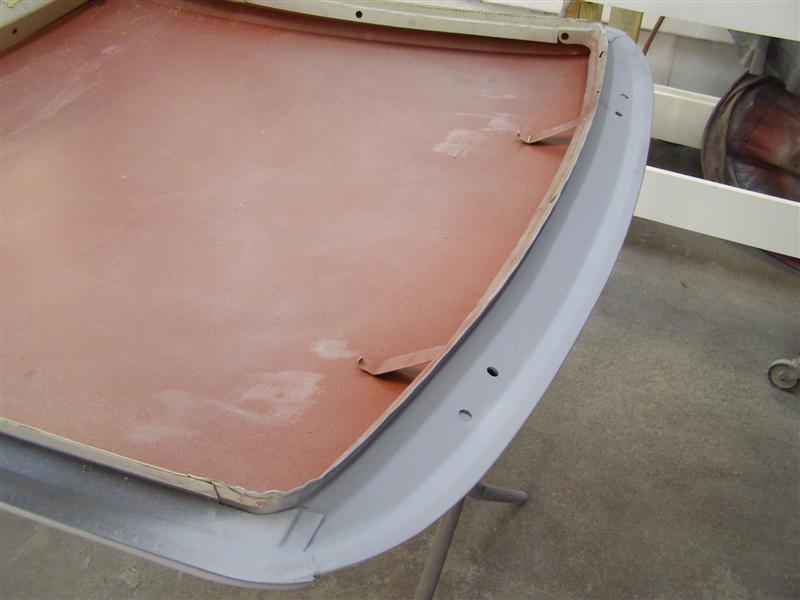
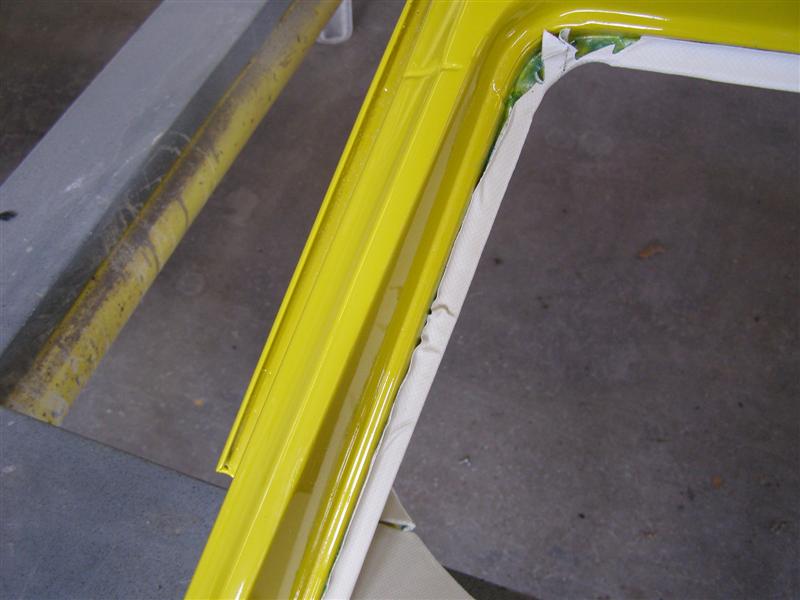
These are
two areas that can be major rust spots and you can see that the
paint was never applied over every bit of primer.
It looks OK
from here, but if you rub you hand over the surfaces as Allan
and Jorge did, there are small dents.
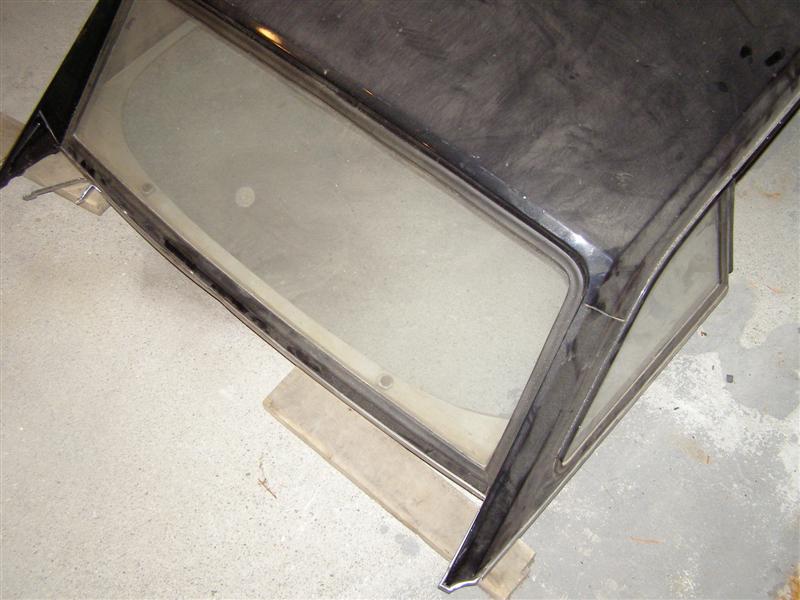
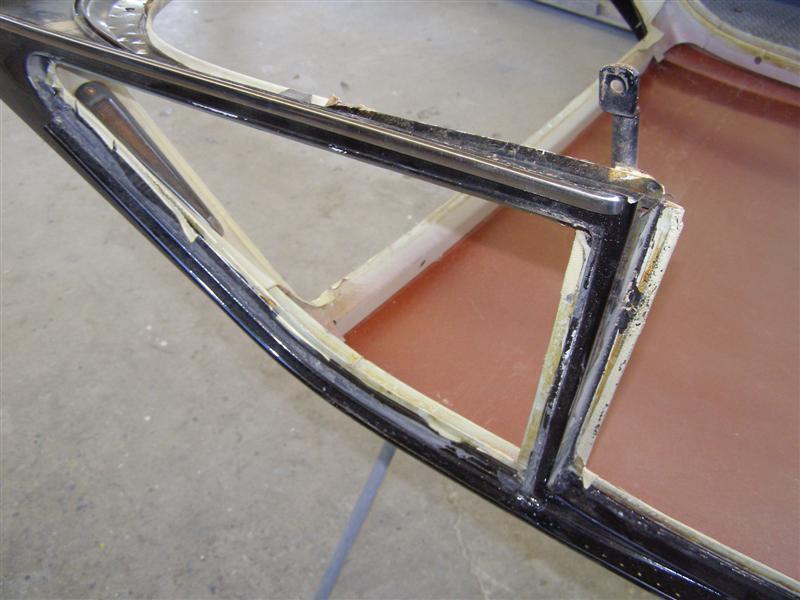
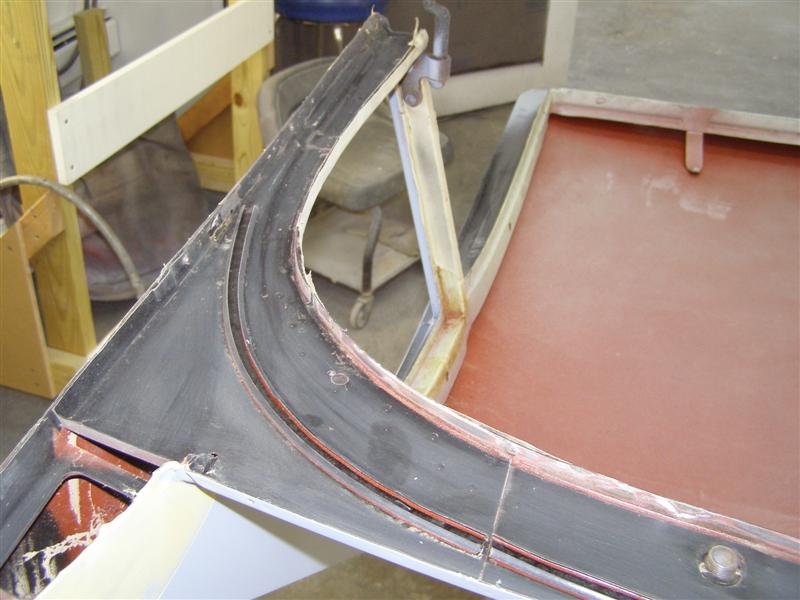
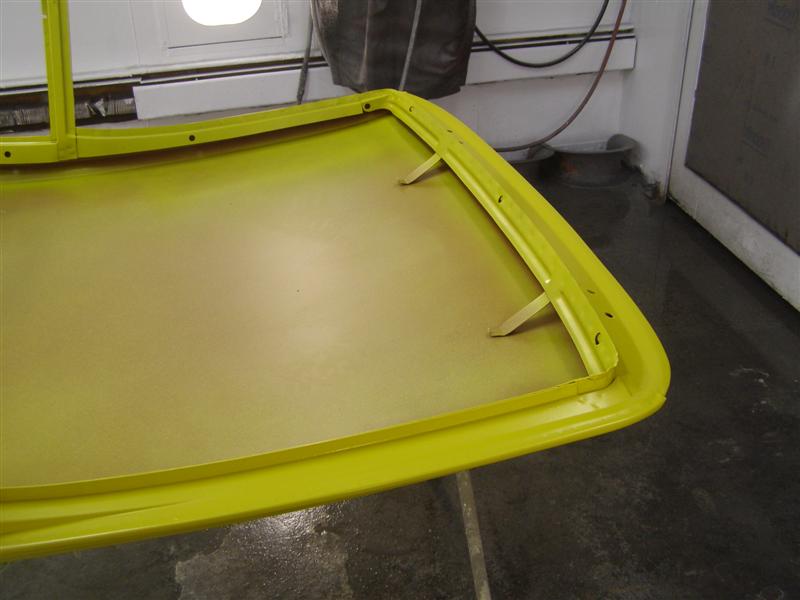
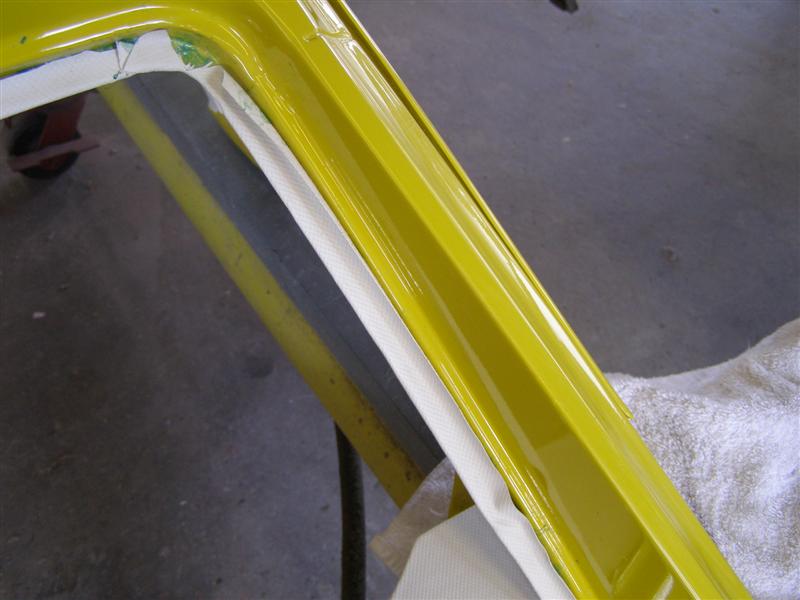
Another
crucial area is the back window sealing surface. I have
seen a few that needed major work in there.
These glass
channels are in great shape as well.
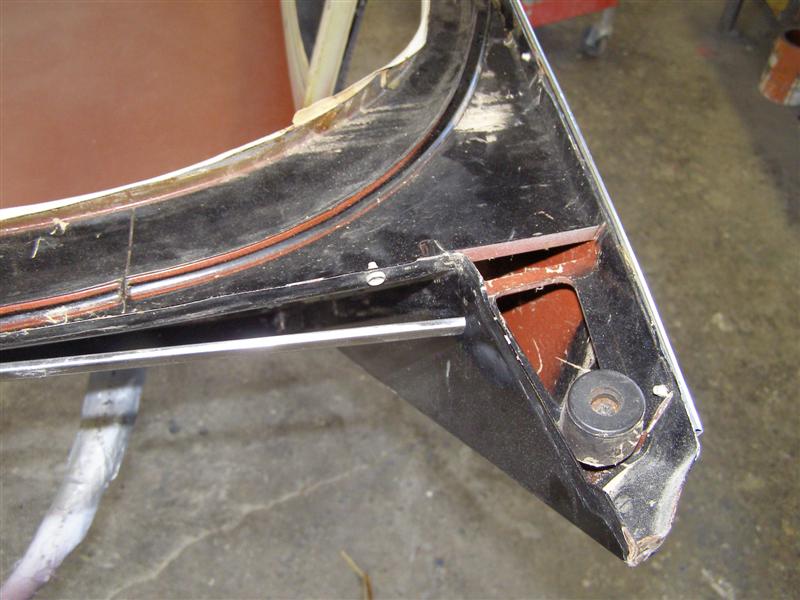
These guys
did cause some damage by being screwed down against the top
sheet metal and then used as legs to support it.
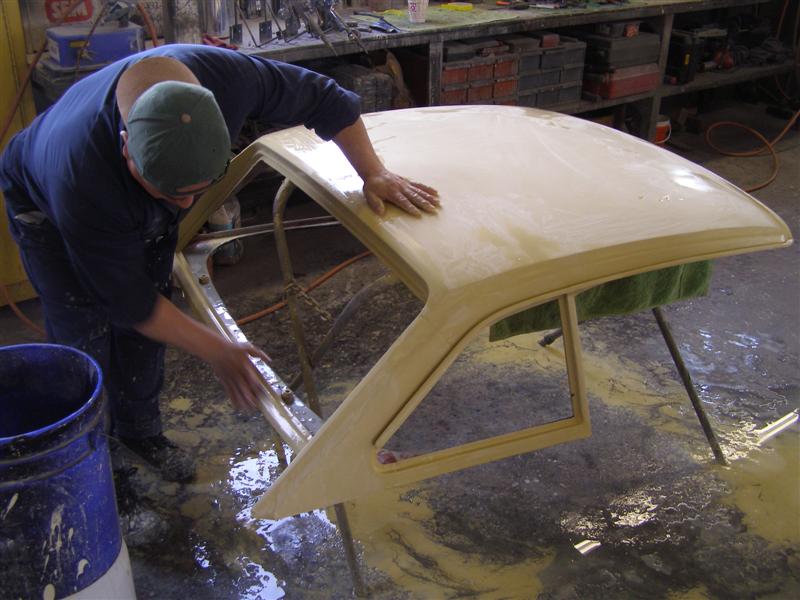
Jorge has
begun to find all of the dings and dents and those are being
corrected with a dolly first.
The two
front dents were from the bolts shown before. These were
hard to see, but once painted
and cleared, it would be too late to do anything about them and
then they would really stand out proudly.
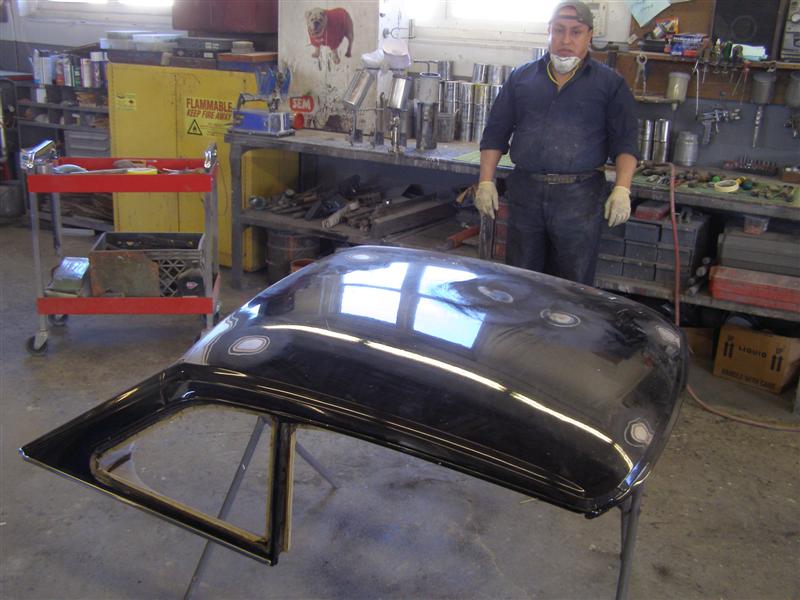
This is Jorge from
A&E Auto Body. Superb craftsman and painter
extraordinaire.
This paint will be removed
and epoxy primer will sit on it for a week before any color is
applied.
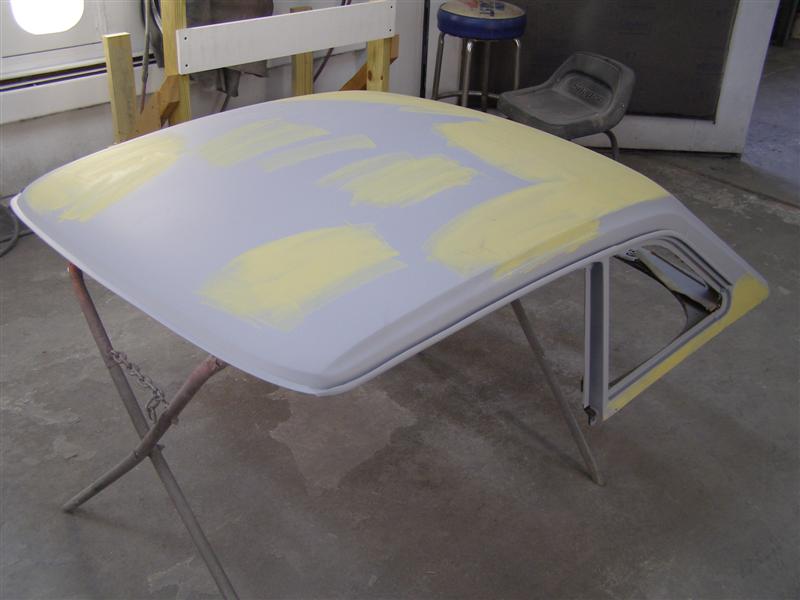
Epoxy primer and some body
glaze to smooth out the repaired areas.
The guys at A&E got all of
those little dings that sheet metal inherits after sitting in a
storage area for 25 years.
The good thing is that it was
a dry storage area, so no problems here.
These all cleaned up nicely
and simply needed scuffed for primer preparation.
All of the glue is gone and
it's ready for primer.
The weatherstrip that goes on
here was a sticky pain to remove, but it's all gone now.
A few more hours of prep and
it will be ready for paint.
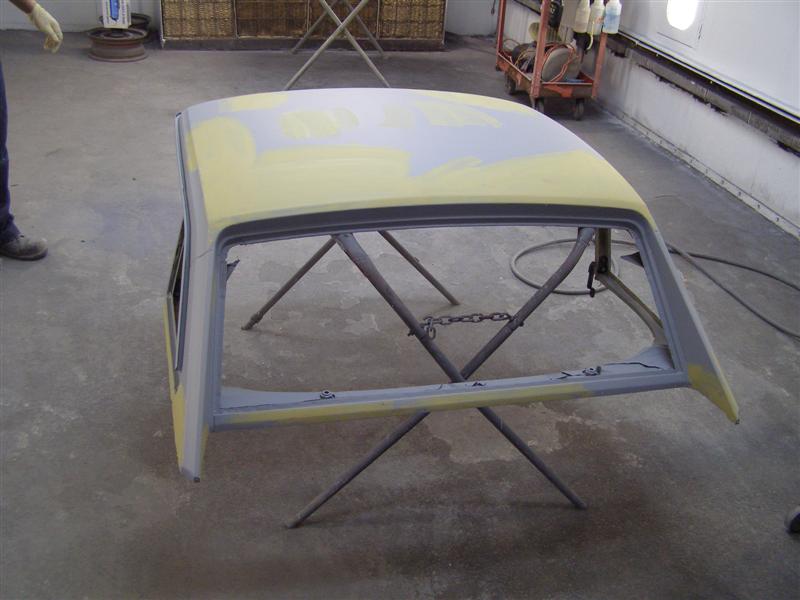
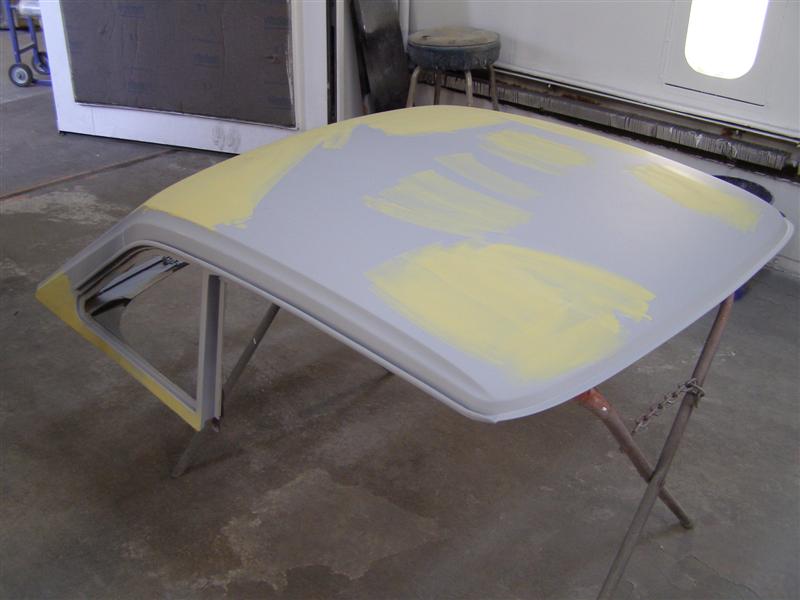
The sealer
was applied on top last Friday and had a good cure in the booth
over the weekend.
The deck
lid will be getting drilled for the well nuts after the sanding
is completed.
Today this
will be flipped over and the rear section will be done just like
this.
The inner
area around the deck will be prepped and painted and ready for
the headliner, but not until later this week.
The sealer has sat for a week
and now the final sanding before the painting begins.
Jorge, the ever fussy
perfectionist, will make sure all is well before color goes on.
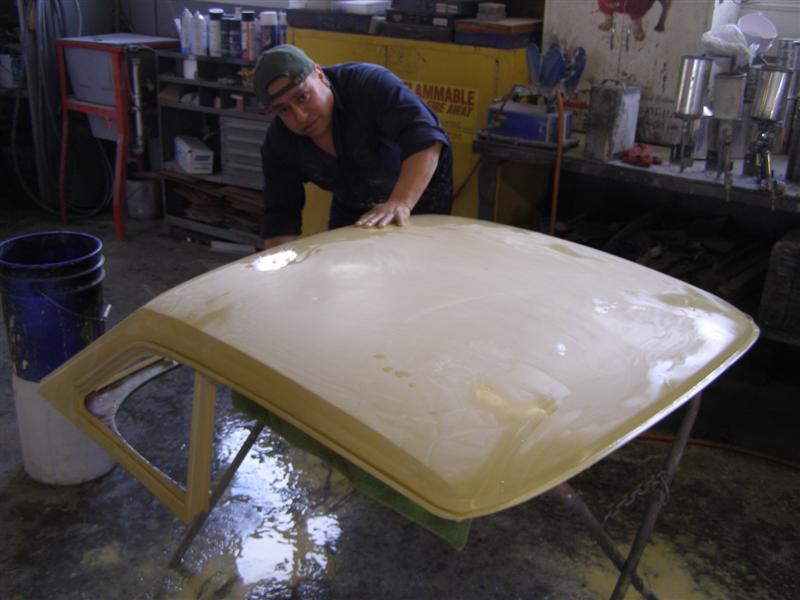
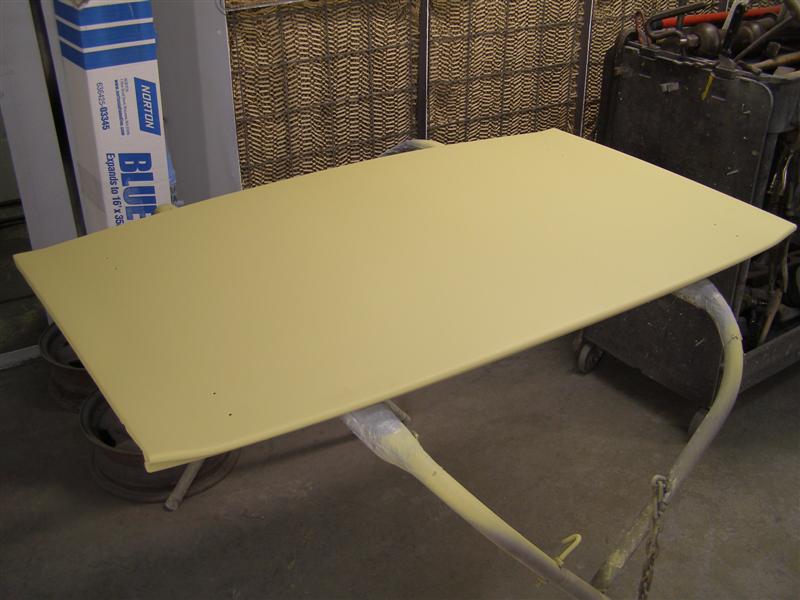
Today the bottom side got two
coats of color. Tomorrow afternoon the top gets it's
color, then the sanding begins again.
I wanted to make sure that
the hidden areas were done better than at the factory and they
were.
The new weatherstrips should
fit perfectly back in these grooves.
All of those areas that could
have a problem in the future never will now.
Jorge didn't miss anything
and this will all be sanded smooth as silk before the clear coat
goes on.
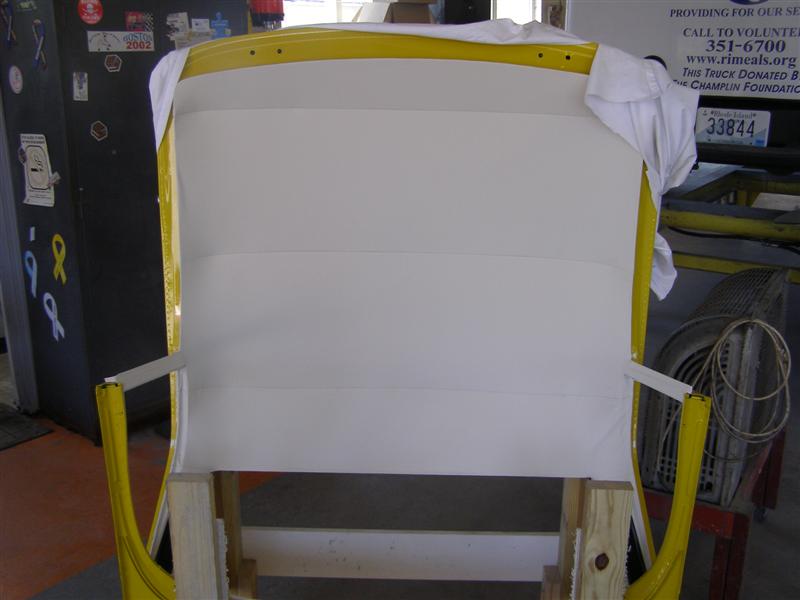
Before long the insulation
will go in and then the headliner.
Once again, these guys never
cease to amaze me with their painting skills.
These pictures are several
coats of color and two of clear. The top coat is not
sanded or buffed yet.
After the sanding and
buffing, Allan will install the insulation and this will got to
J.T. Leddy for a new headliner.
This are just what I wanted
done with what I brought in.
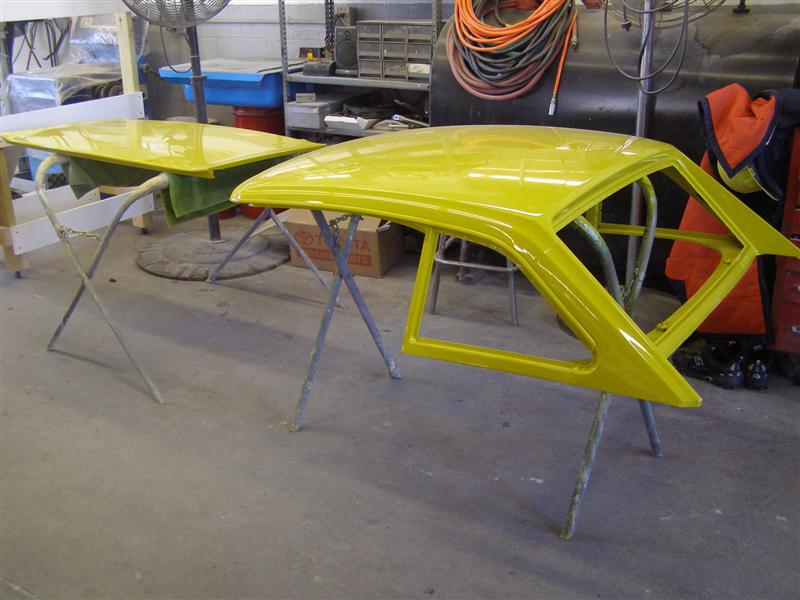
I just got the new carpet to
line the wooden rack on the left and a new set of bigger casters
for the base.
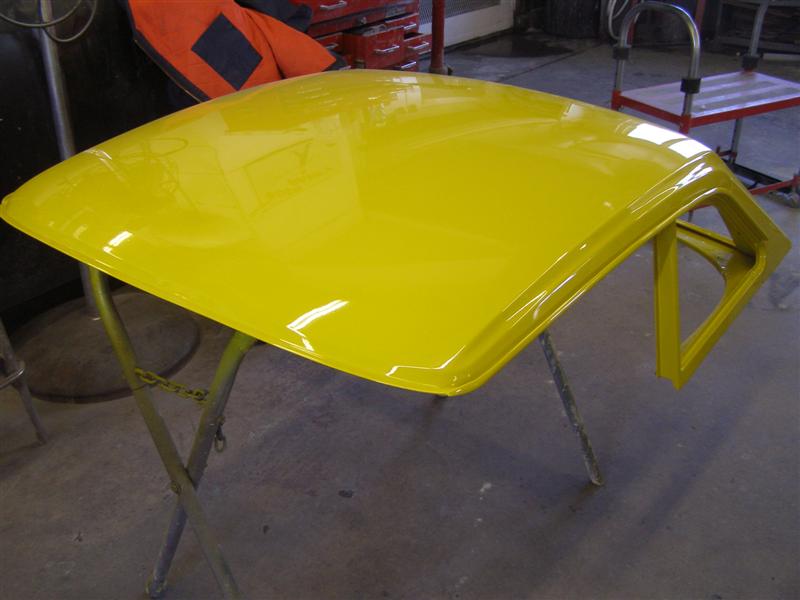
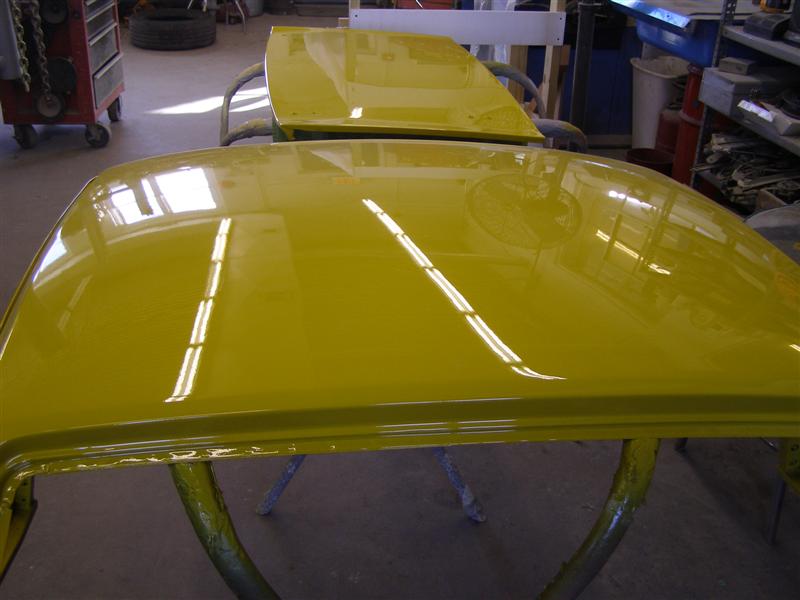
Allan sanded and buffed this
after it sat and hardened for a few days. It is flawless
as usual.
All ready for the stand until
the upholsterer is ready and the roof insulation comes in.
Home for a while. Nice
and stable and easy to steer around.
More to come in a week or
so..........nice job Allan!
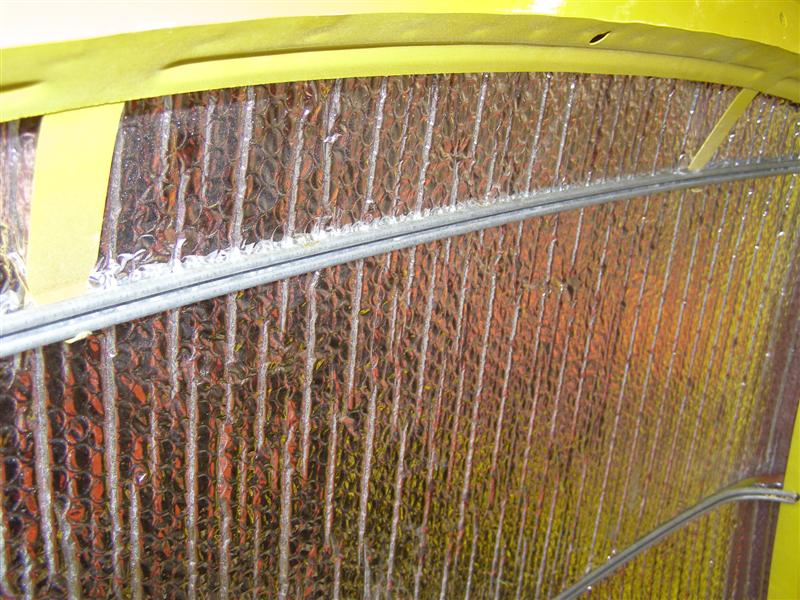
Today was insulation day.
It's all ready for the headliner now.
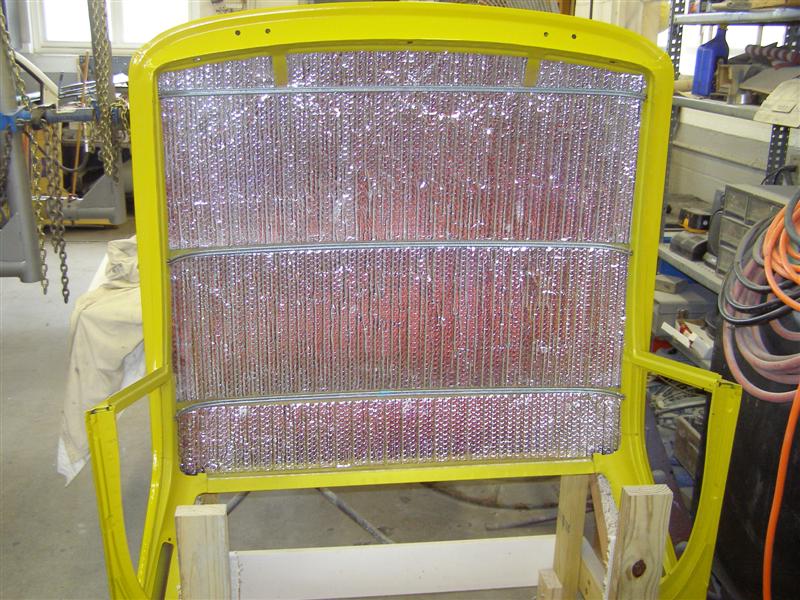
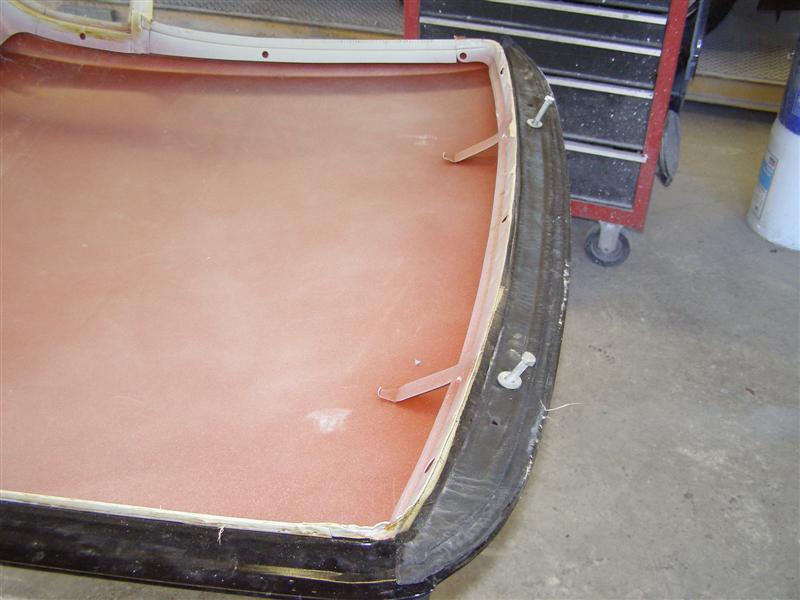
The location of the three
rods is dependant on the depth of each rod.
The shortest in height goes
to the front and the higher two each progressively move to the
rear.
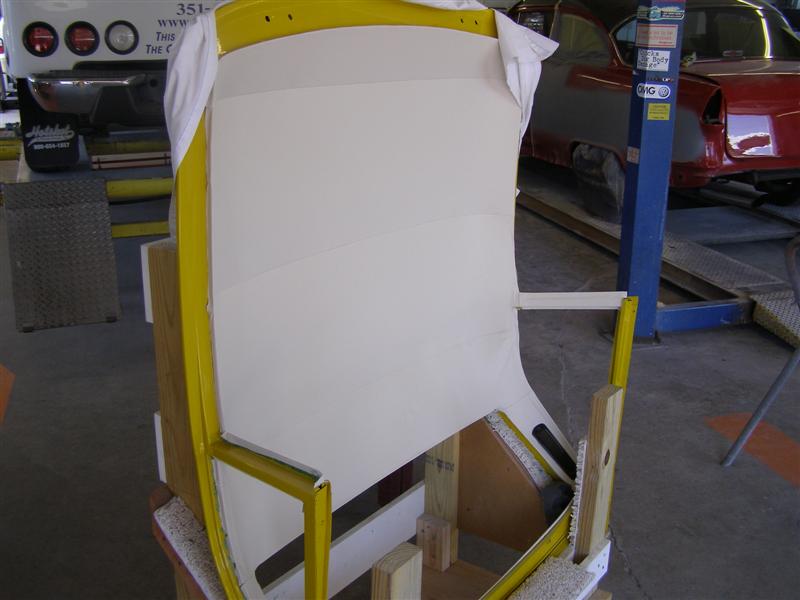
The front locks in on these
tabs.
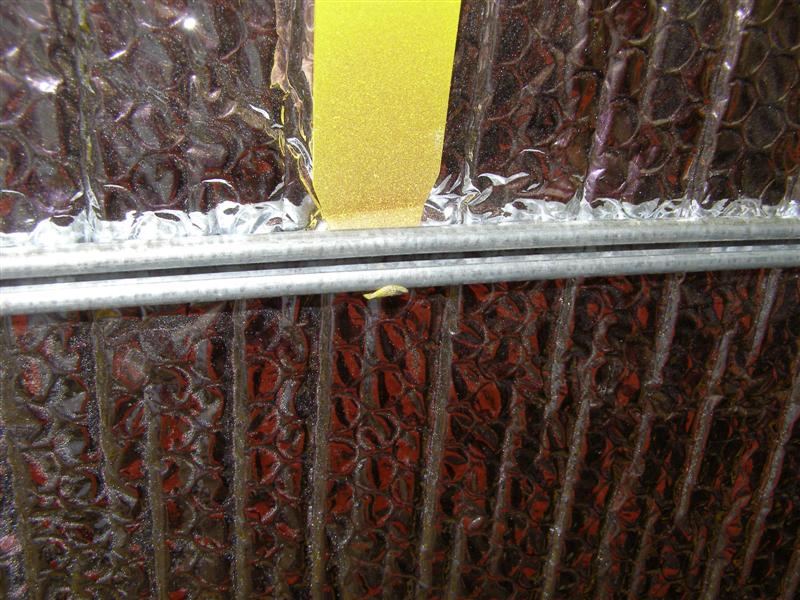
This holds everything nice
and tight and keeps the headliner from ever sagging.
It's been no rush over the
summer, so the headliner has now been installed by Eddie of J.T.
Leddy Upholstery in Pawtucket.
Eddie does great work as
evidenced by the Miata seat covers that he made for me on
another page.
The Roadster factory kit does
a nice job for this, including the inside hard board sections
below the rear glass.

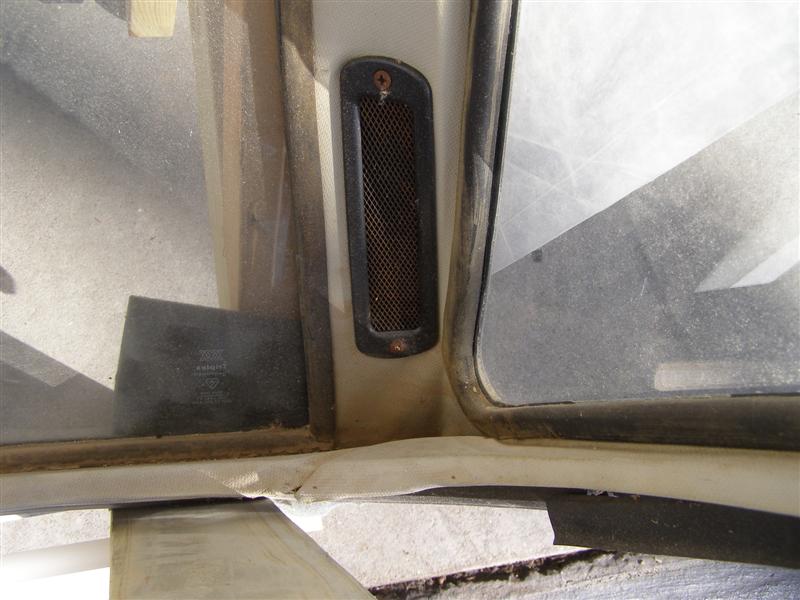
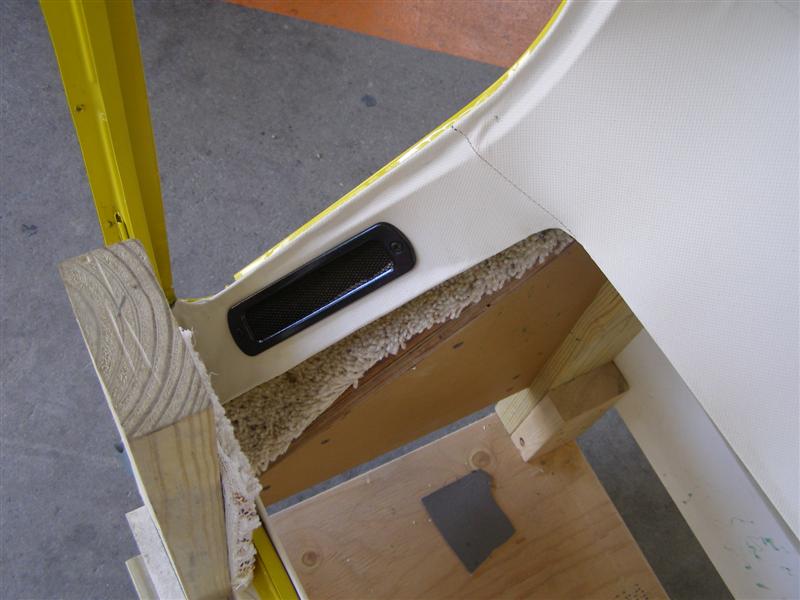
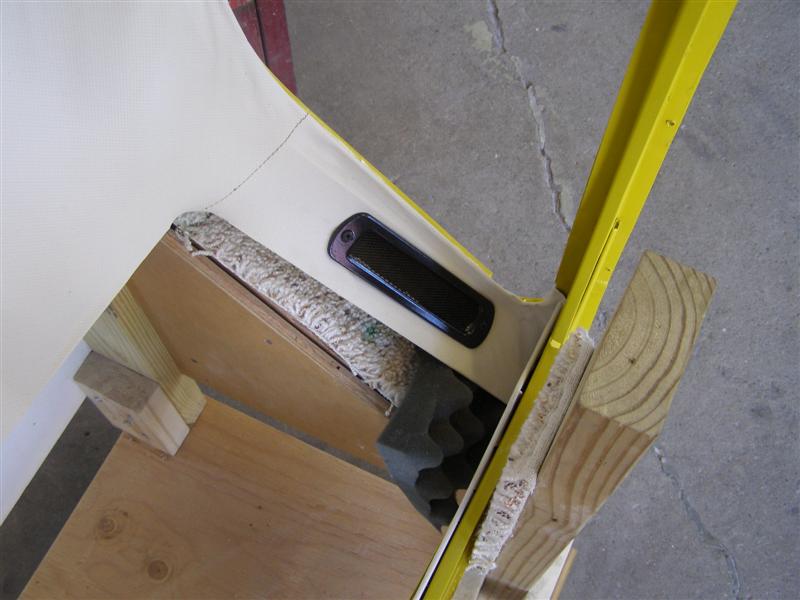
These vent covers are
impossible to find and just needed a cleaning and painting to
get them back into shape.
The weather stripping will
fit over all of the headliner, but Eddie has it all glued in
very snugly.
The next step will be the
repair of two scratches that my original carrier created after
the top settled in place and then the
new wear strips and glass will be installed, as well as all of
the new moldings. The fitting to the car will be in the
fall when it gets cold.
OK, back to A&E this sunny
Friday before the Fourth of July and Allan is working away on the two marks that I created with the side panel brace.
The two marks on either side
are now repainted and awaiting the clear coat that will go on
next week.
While the paint is curing on
those two spots, Allan is getting the rear glass ready to go in.
The old rope trick again....
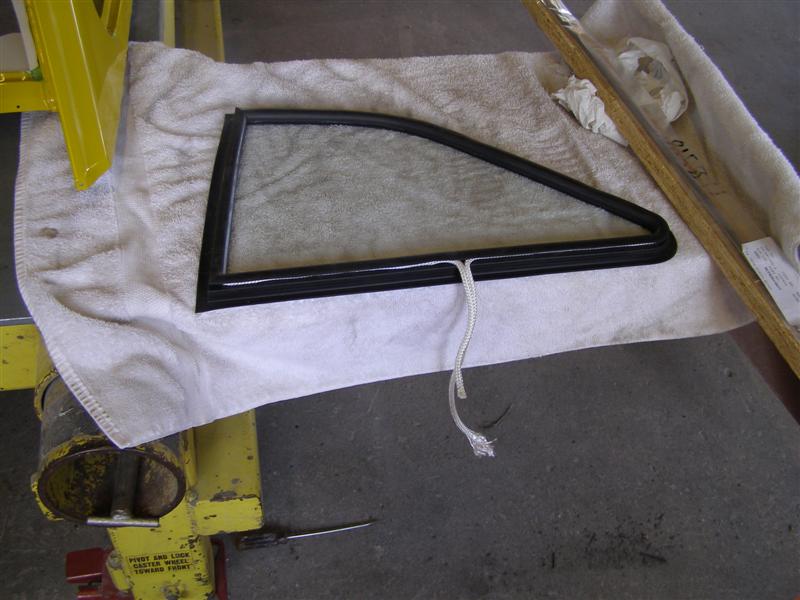
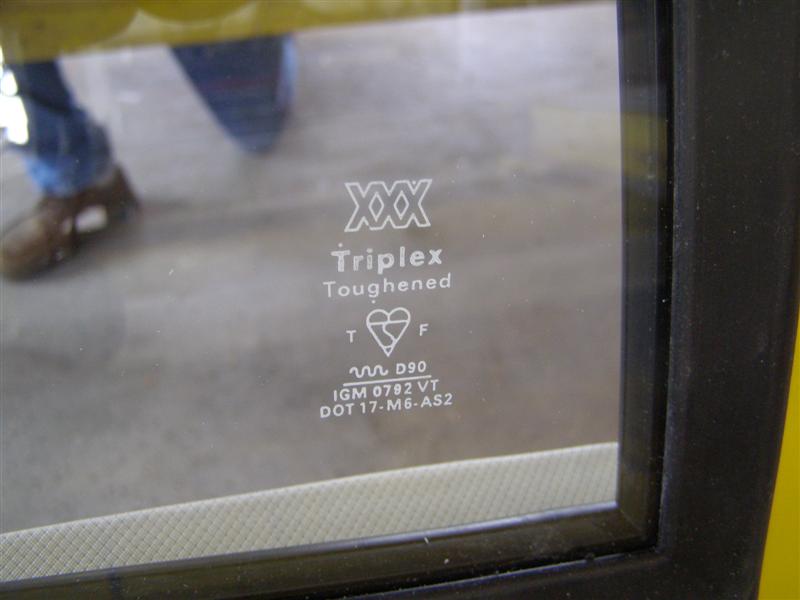
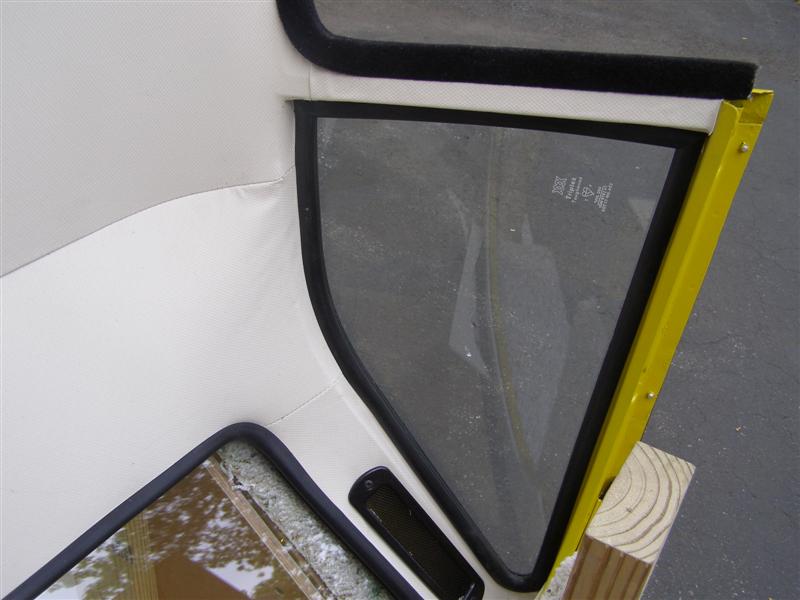
I was lucky to find a top
with perfect glass in it. These even have the original
"Triplex" etching in them.
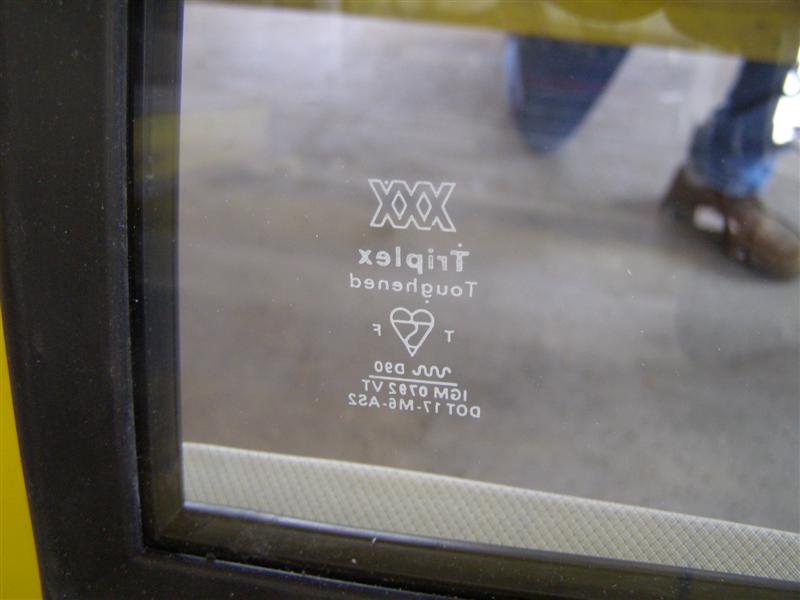
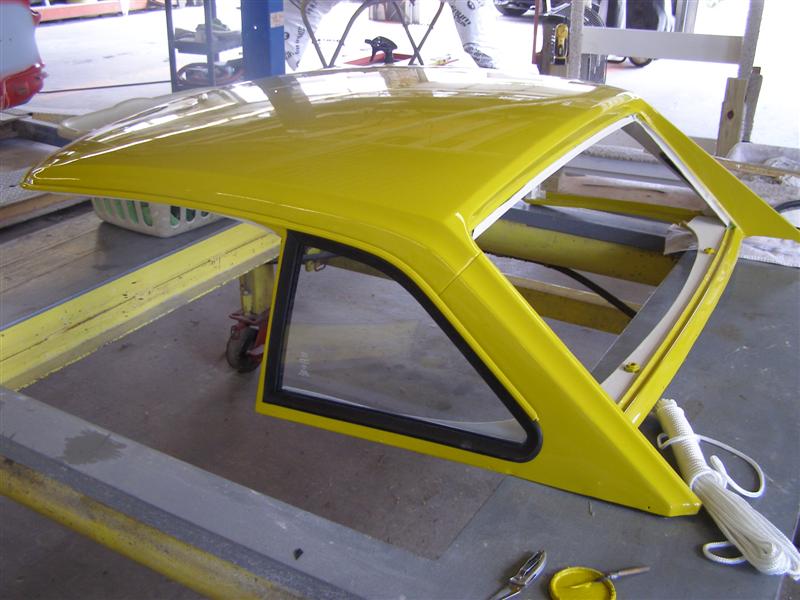
This is a "flipped" or
"mirror" image of the above. The glass part numbers are
all the same, so
when you install the glasses, one will have the etching on the
inside and one will be reversed and on the outside.
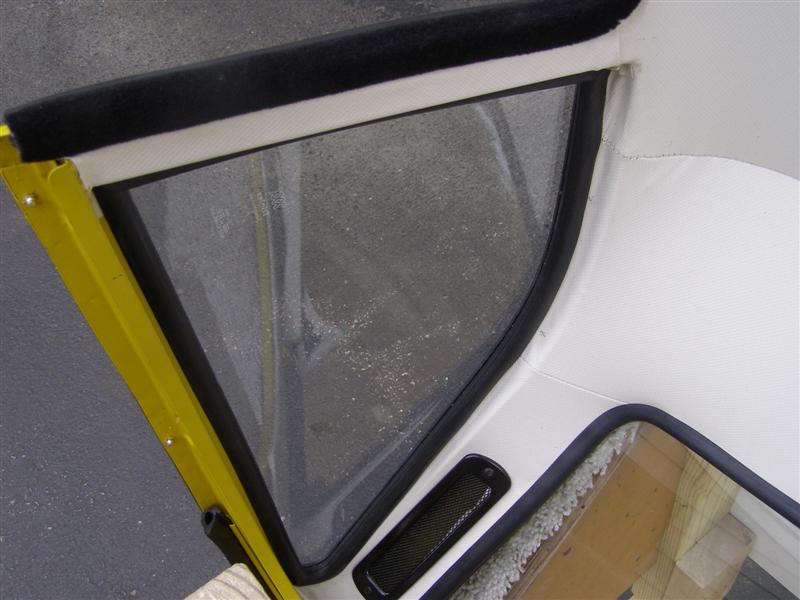
That looks great on this
side, so the other side will follow. And yes, the reverse
effect will be on the drivers side.
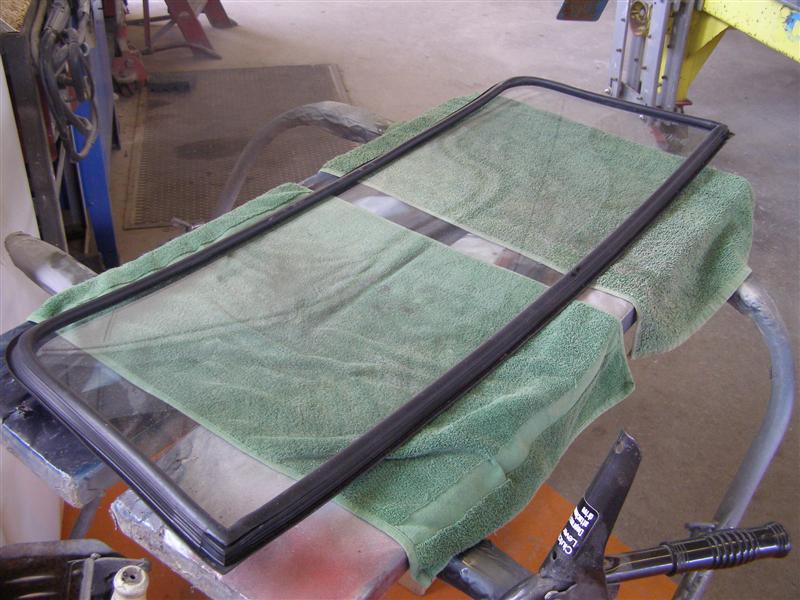
This is the rear glass, that
is no longer available. At least not that I, or anyone on
the forums knows about.

I located all of the new
weatherstrips and moldings with attaching hardware at The
Roadster Factory.
There is a very slight,
outward bow that can be seen in this picture, which is what
makes this so hard to get.
Back in the shop before
closing and the glass is all in.
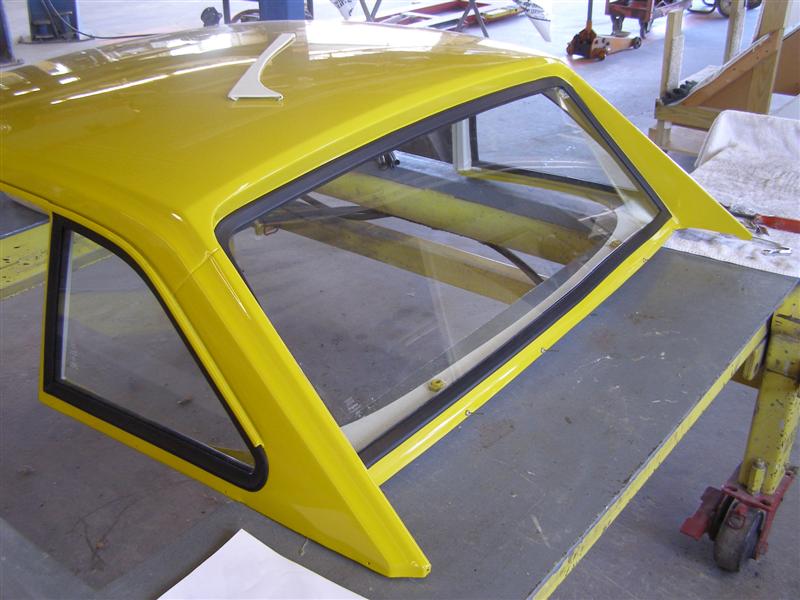
Now it's starting to look
like something.
These are the rivets that
hold the rear and side moldings in place. They clamp over
the round ring to stay in place.
One more to go in there to
complete the rear riveting.
One of the rivets and the two
"dog leg" moldings that go around the corners. These are,
or were available at TRF.
Both door window
weatherstrips are waiting to be installed.
These are the two inner trim
panels that go along each rear side window.

The TRF Headliner Kit
includes these as well as extra trim to cover them.
Time to break for the 4th of
July.
Back at A&E and Allan is
working on the moldings. To say that they are a snap on
fit is a bit of a stretch.
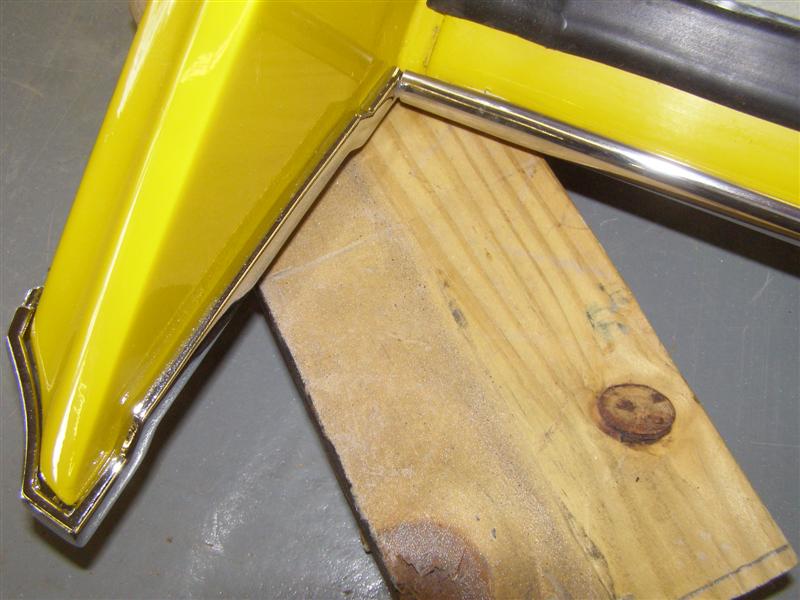
Allan had to grind the inside
corner of the dog leg that fits under the long center molding
in order to make these fit.
As you can see from this
view, the guy cutting these things doesn't know what a 90 degree
angle is.
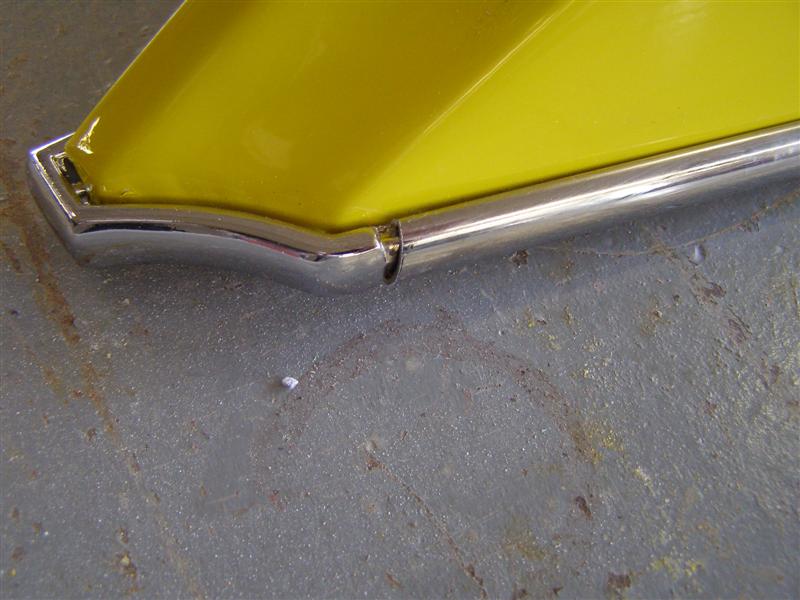
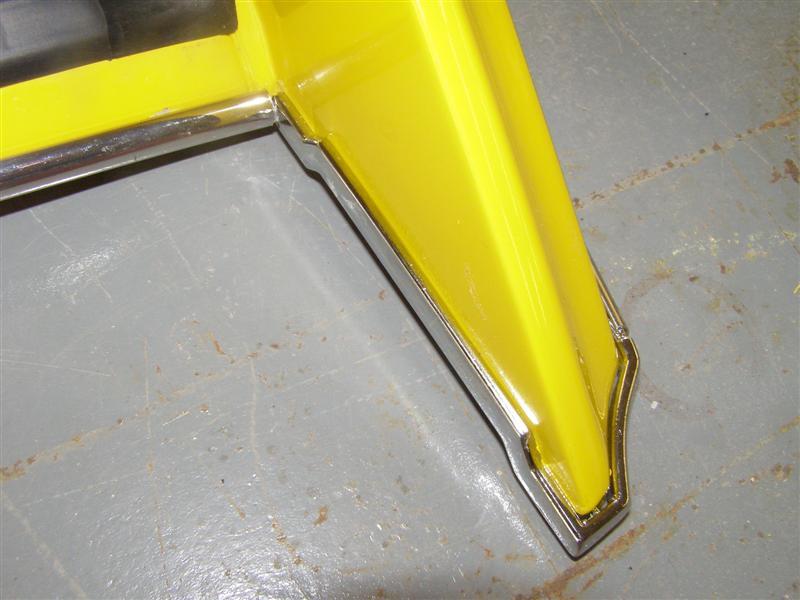
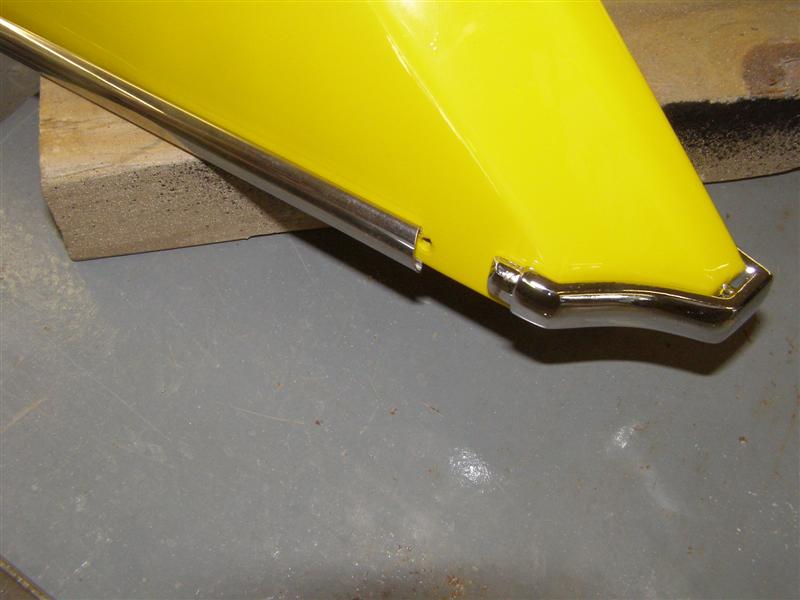
The front of the moldings
have a nice bull nose, which the originals don't, but the rear
ends are cut very poorly.
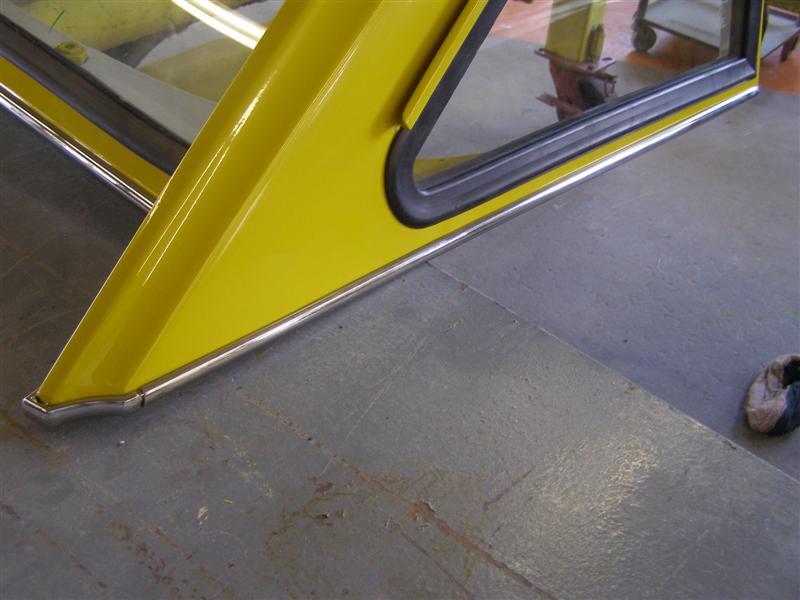
This side won't be a whole
lot better, but it's not the end of world.
From a distance, all is well
and actually, it's not as bad as I make it out to be.
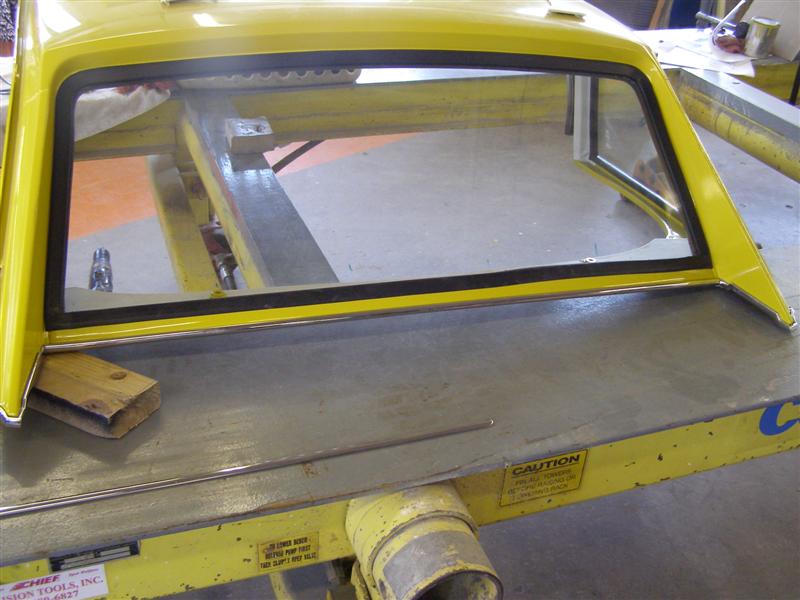
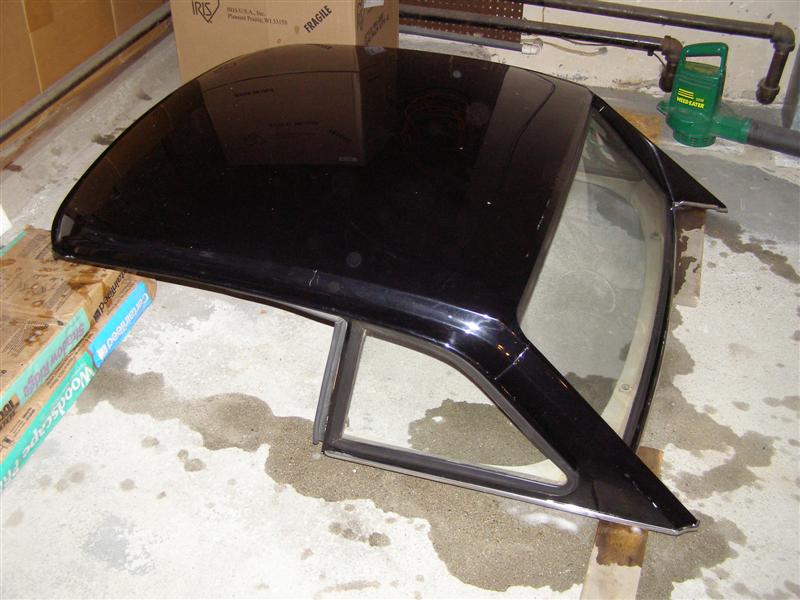
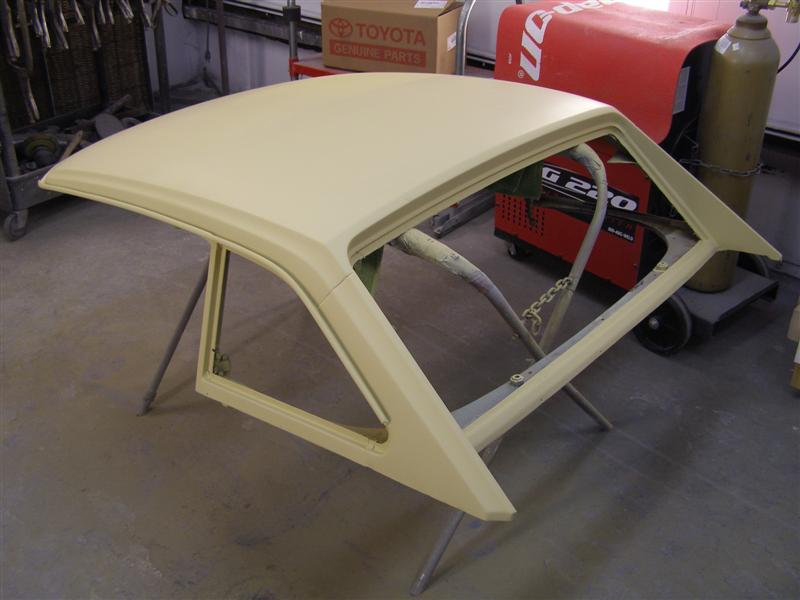
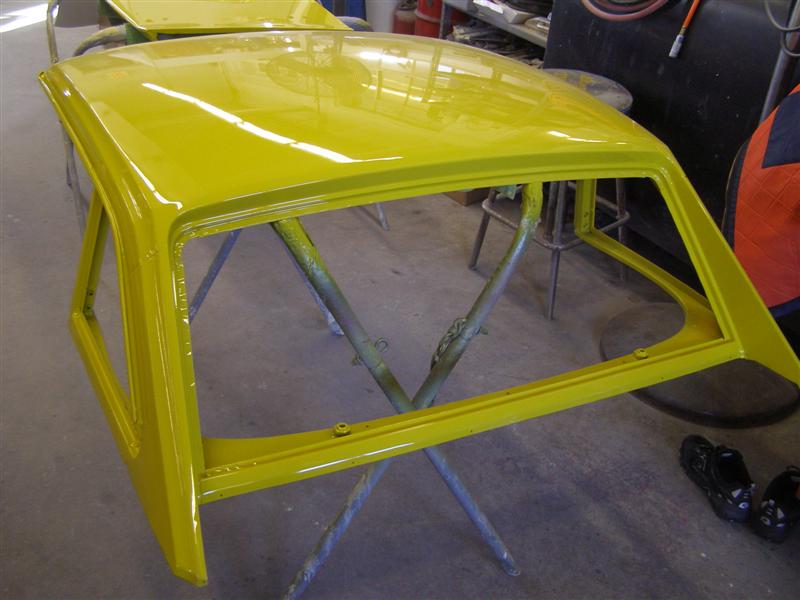
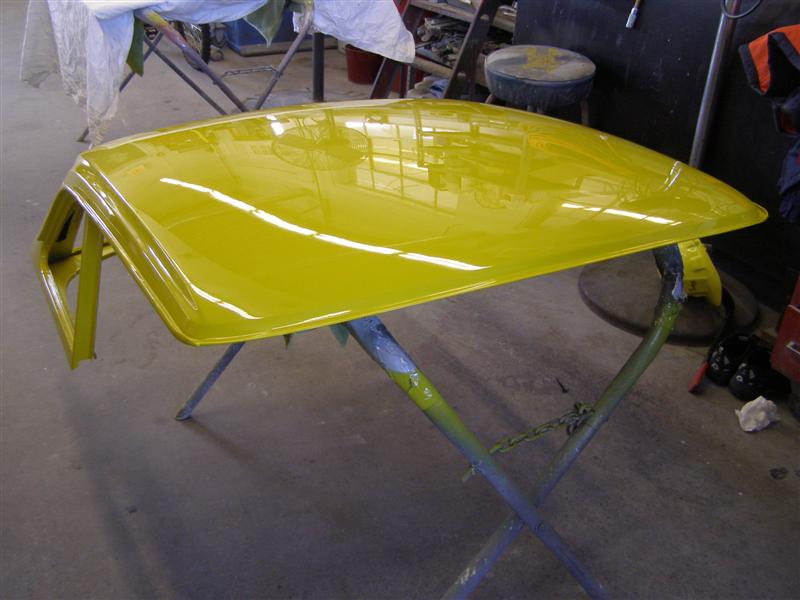
Today Allan finished the top
and it came better than I expected.
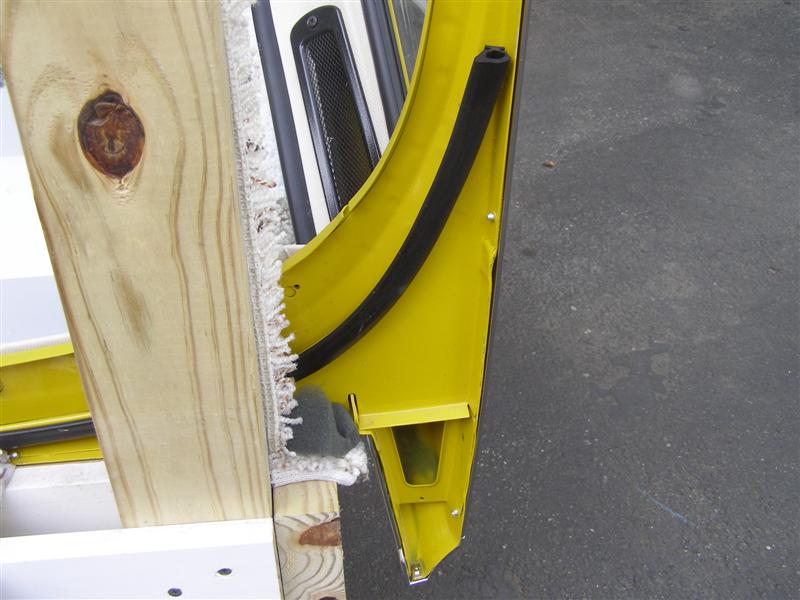
The seal or weatherstrip that
goes here will not be installed until it's time to mount the
top.
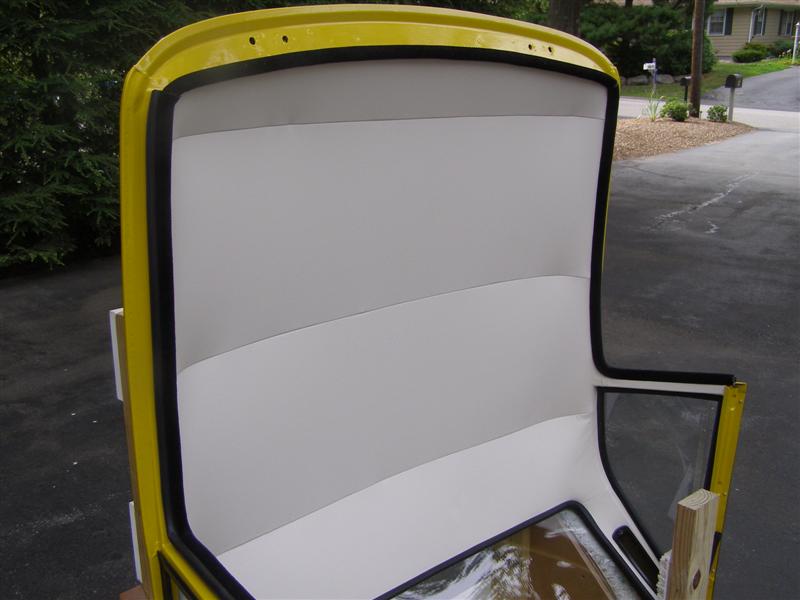
Eddie from
J.T. Leddy did a great job on the headliner and Allan did a
great job on the rest of it.
Allan fit
all of the new weatherstrips and seals so that everything
matches and fits perfectly.
These will
each get the final trim after the hardtop is installed in the
fall, after the glasses are fit and the top is bolted down.
What can't
be seen is the insulation shown in earlier pictures that should
make this a nice warm and quiet ride in the fall.
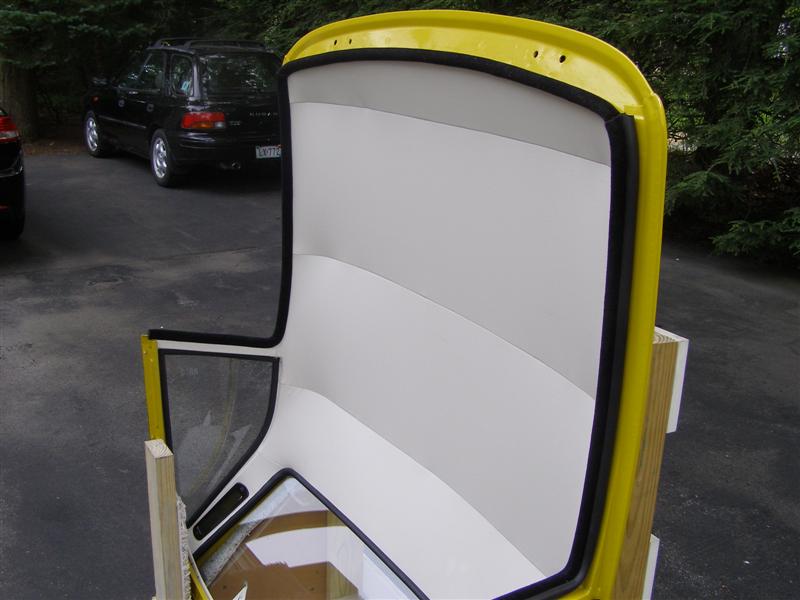
These seams are held up by
the three rods that go across the top shown earlier. If
you buy a top, make sure they are included as they are NLA.
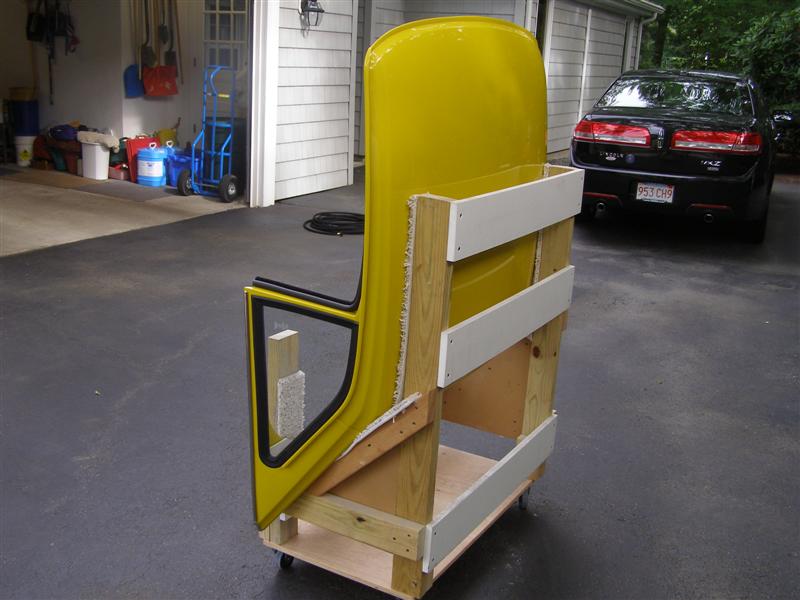
The trimmed down stand is now
all set to go with the larger wheels and relocated side support
panels.
The rear seal is glued in
place and waiting bolt down.
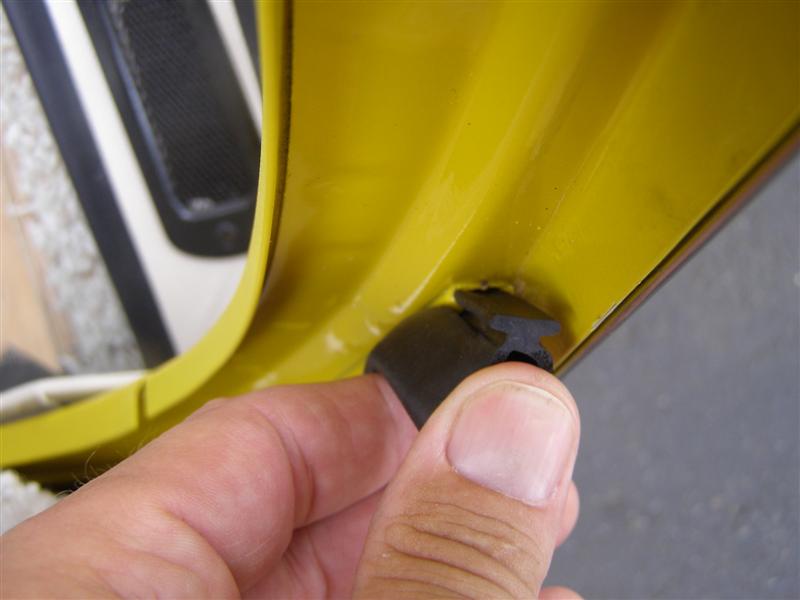
These are a little tricky to
get in the track without butchering them up. Then you have
to work it all along the back.
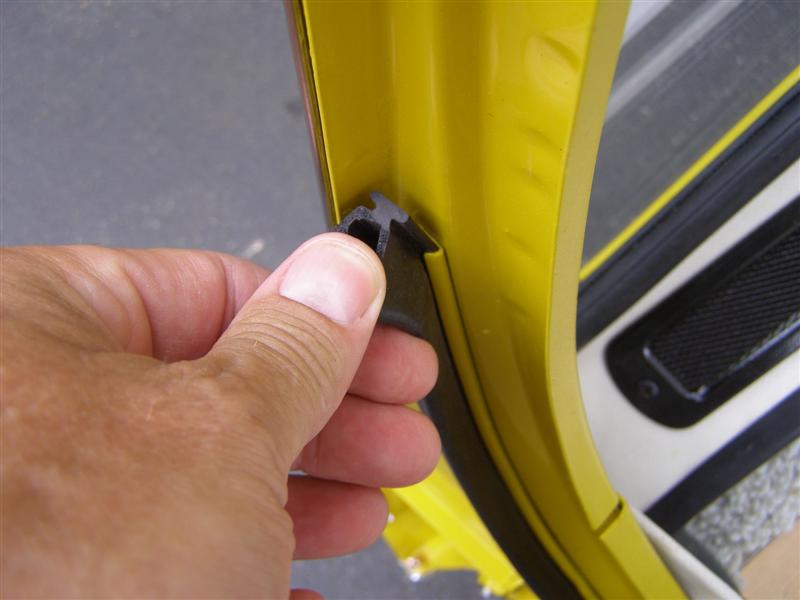
This is the other end of the
seal. It will also be trimmed at final installation.
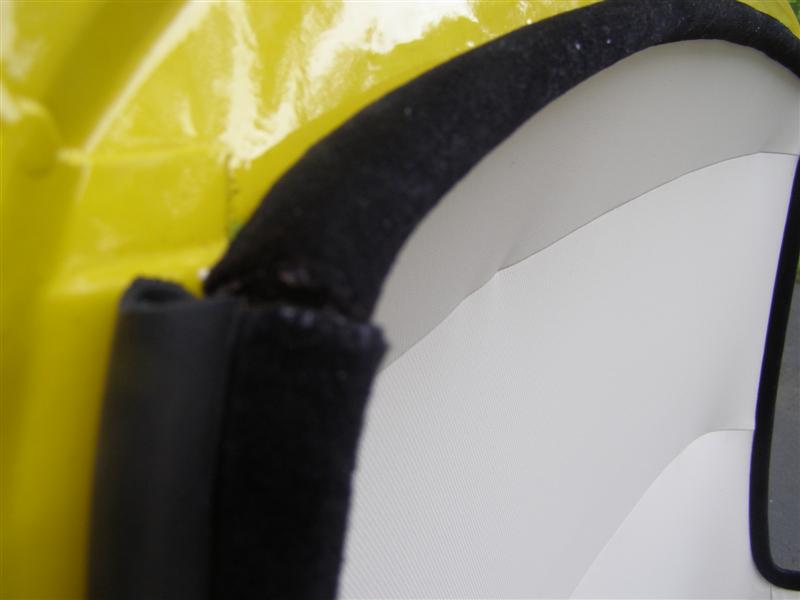
Allan did a
nice job fitting the door glass seals to the top.
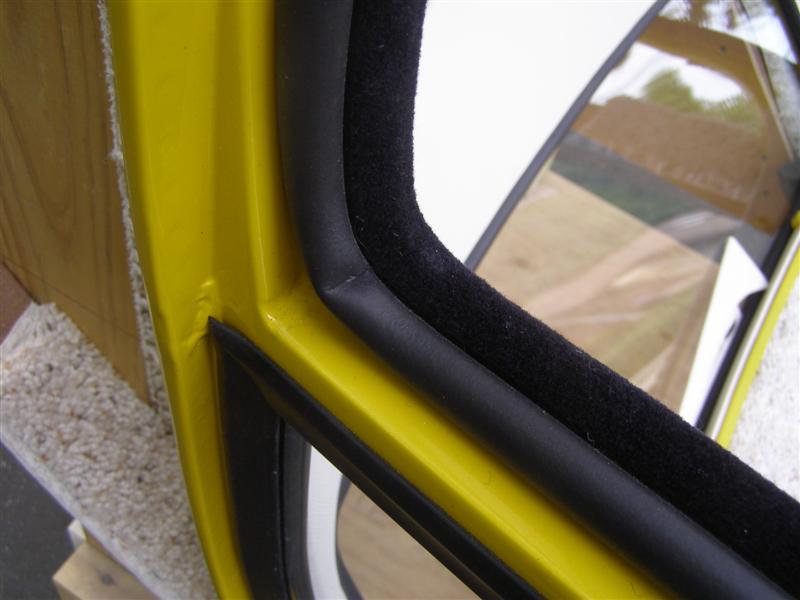
These ends will also get a
final trim at install and they may not need it after sitting for
a few months.
I'm glad I
went with the off white, rather than the black. I think
that it will brighten the interior with the top on.
The guys on 6-Pack say these
vents are the same a s the GT6, in case you're trying to find
them somewhere.
I got my
final warning from Allan after he delivered it to my house
today. DO NOT attempt to install this alone.
He's going
to do it and fit the windshield and door glasses to match it.
That's just fine with me.
Another
fine job completed by Allan and his guys at:
A&E Auto
Body
50 Alden
Street
Pawtucket,
RI 02861
401-722-2204
|
