|
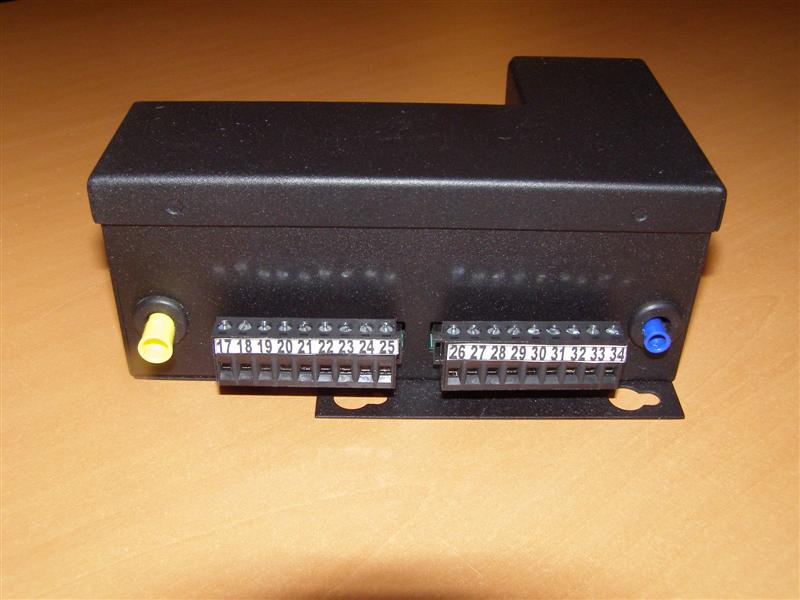
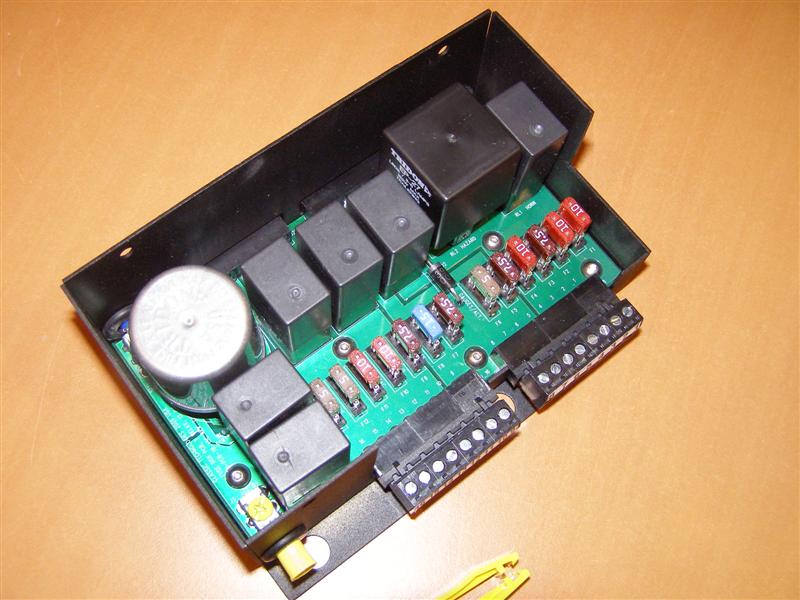
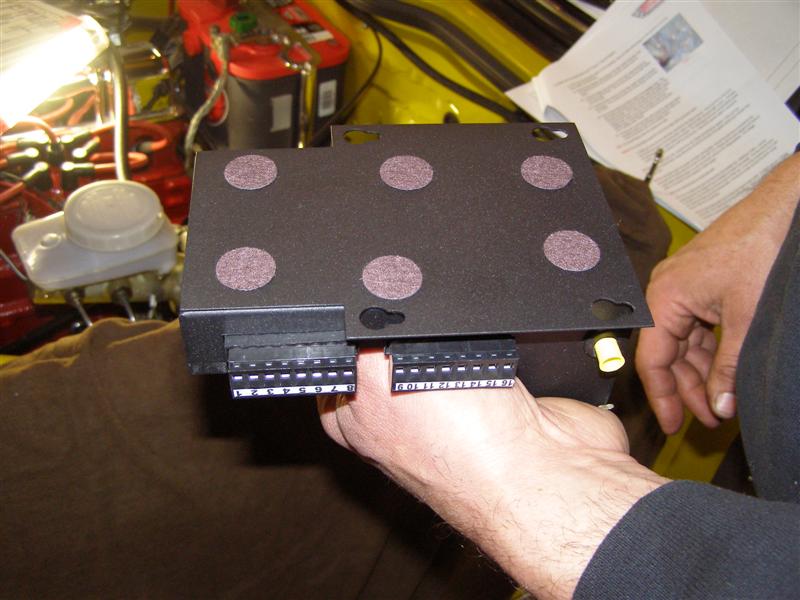
This is
what we installed.


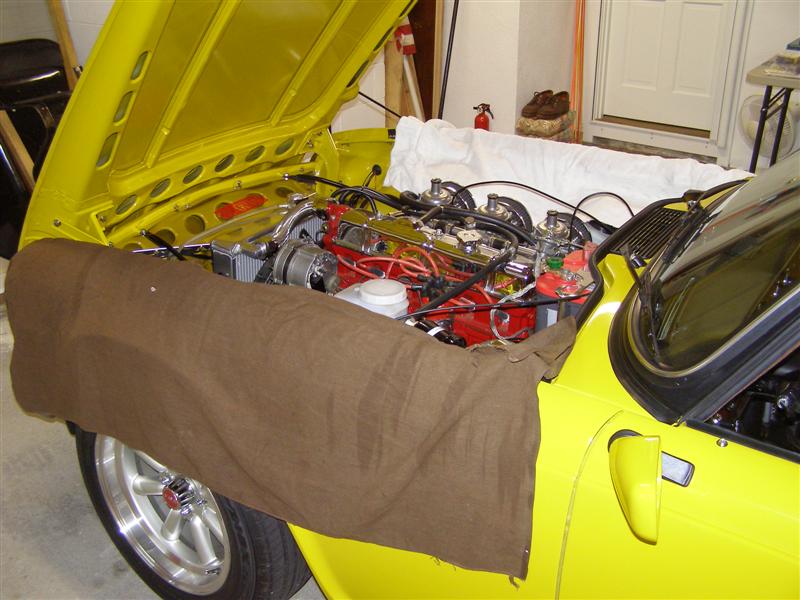
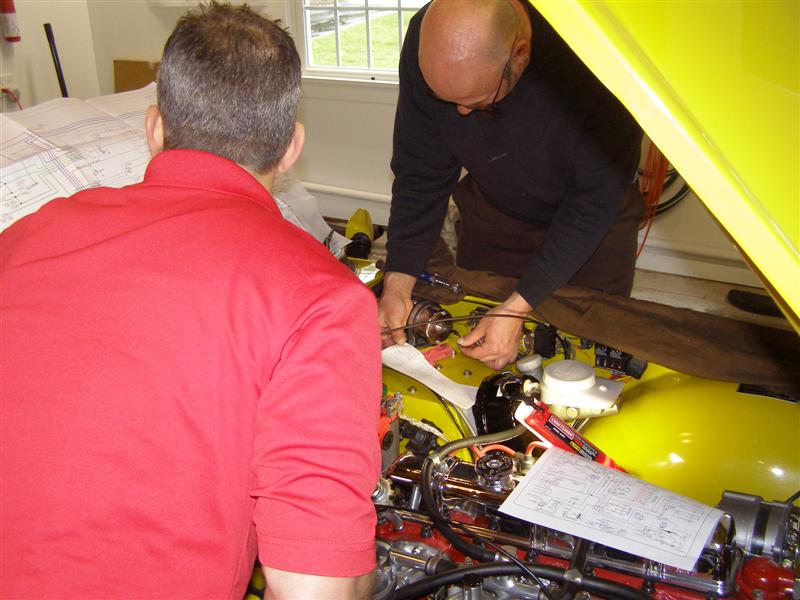
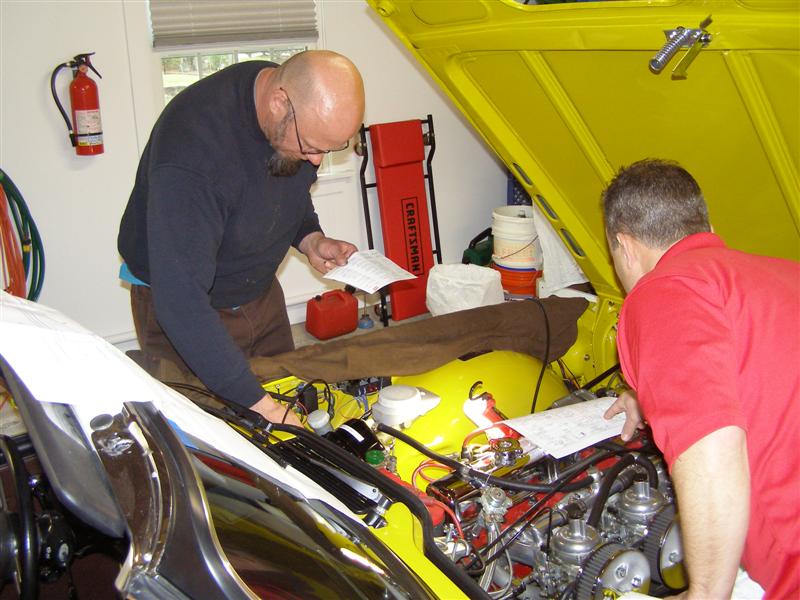
On a cold and rainy day in
March, the conversion began, with Marc Goldblatt, the designer
and manufacturer
of this fine product, Eric Nygaard, owner of HMS and me.
Along with a nice 120K BTU heater in my garage.
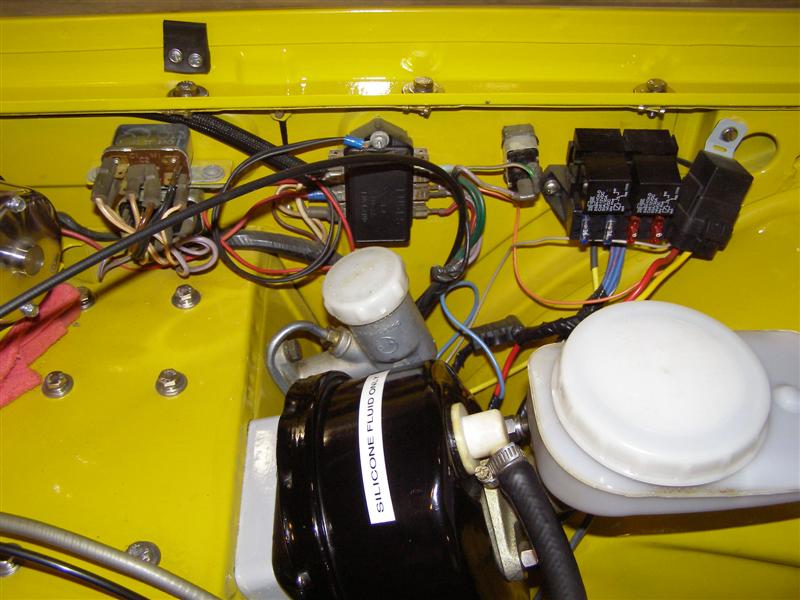
Before we even start, these
covers are very important unless you hate your paint.
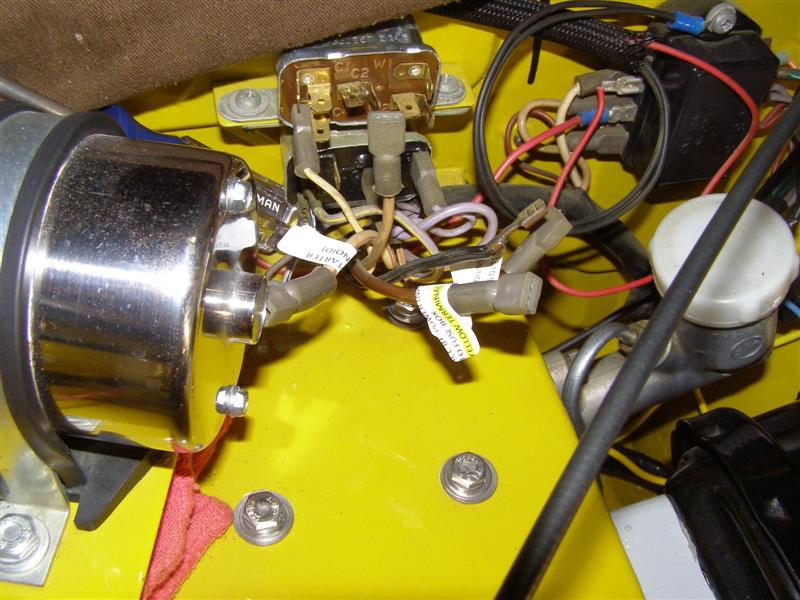
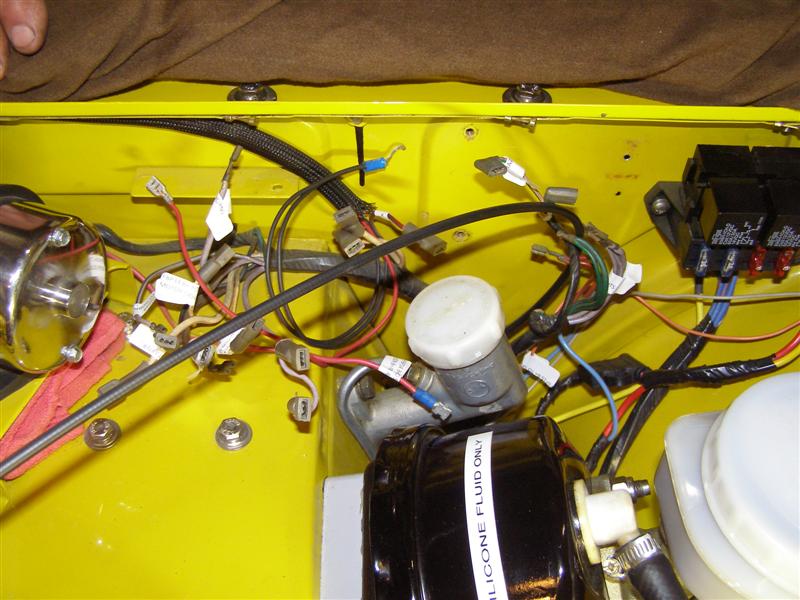
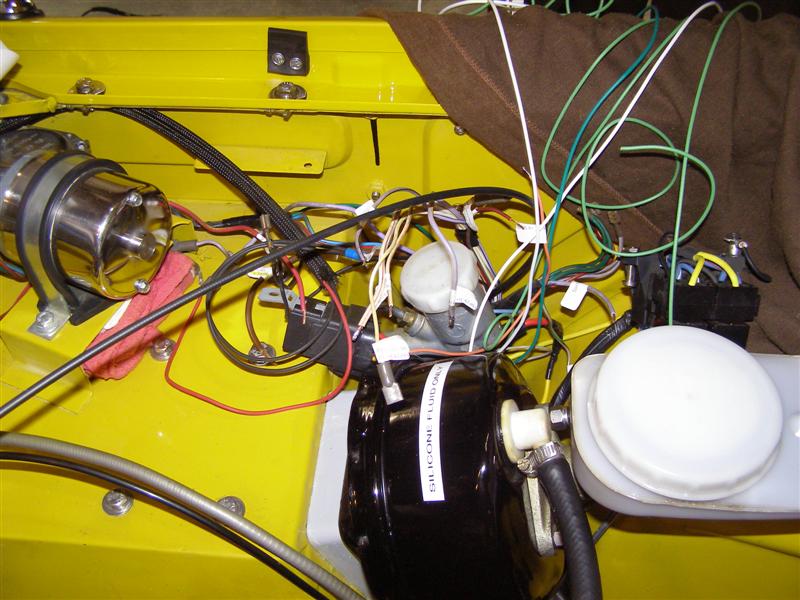
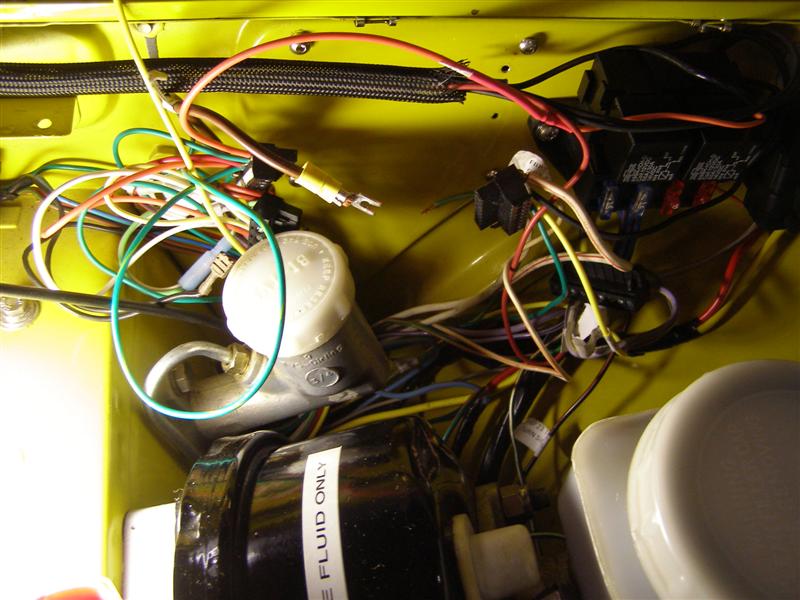
This is the starting picture
with the stock fuse panel, starter relays and my add on headlamp
and coolant fan relays installed.
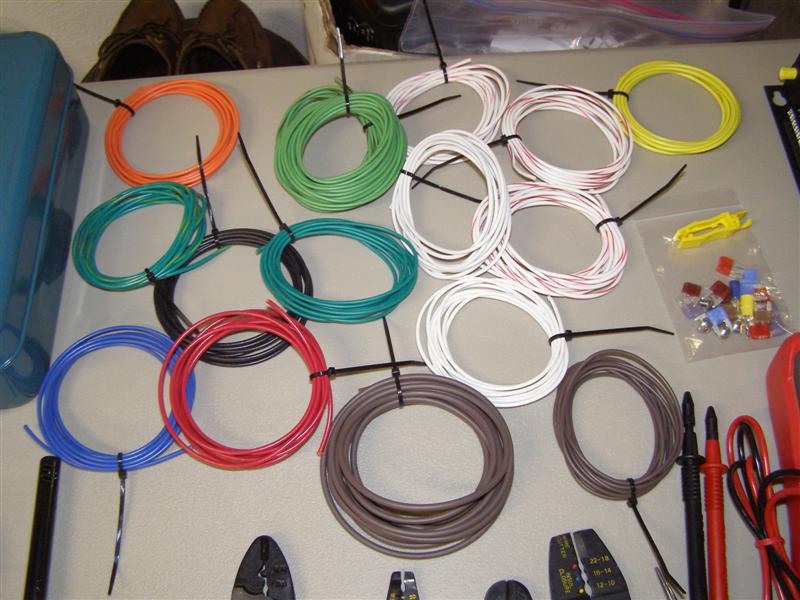
This is about what you need
to get it going as the new wire comes with the kit and the tools
are well within everyone's box.
Dunkin Donuts coffee is
optional. Good wire cutters, soldering gun, jumpers,
Volt/Ohm meter with good test probes, a good cordless
drill with sharp bits, heat shrink and a few solder less
terminals for quick linking and testing. Everything is
soldered for final installation.
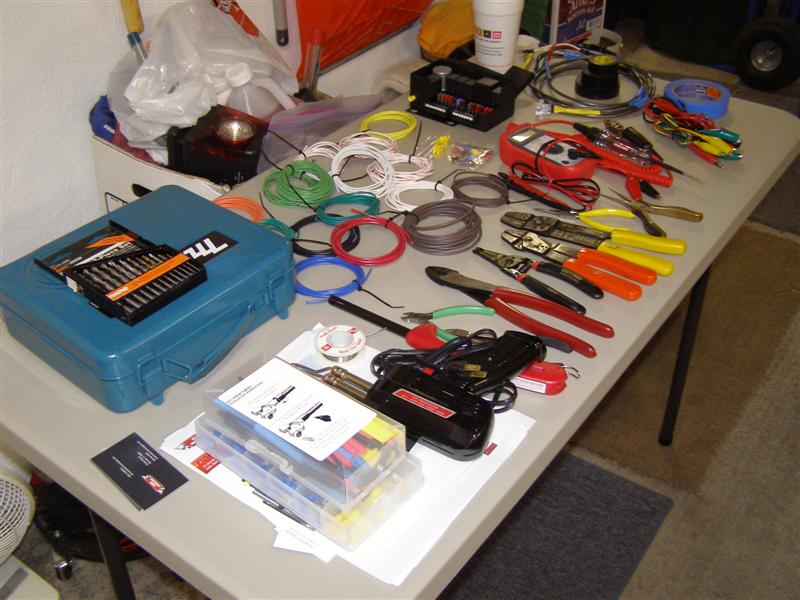
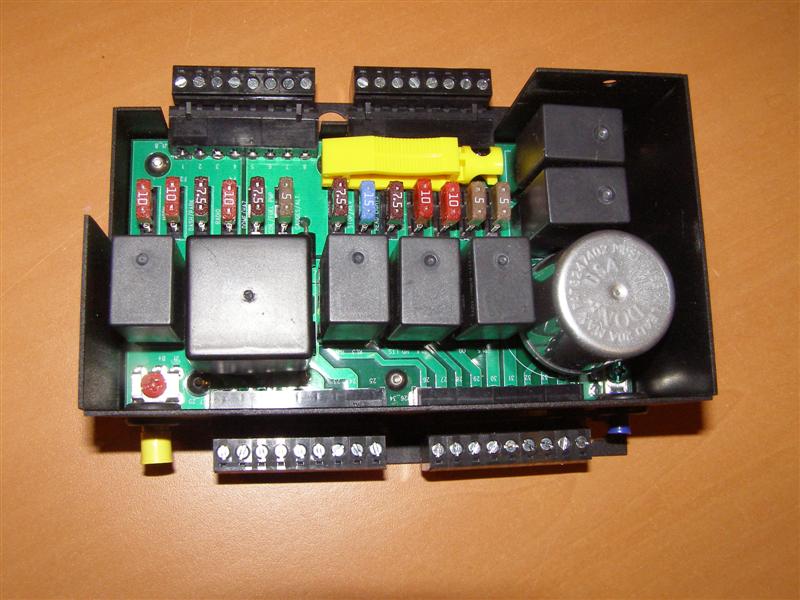
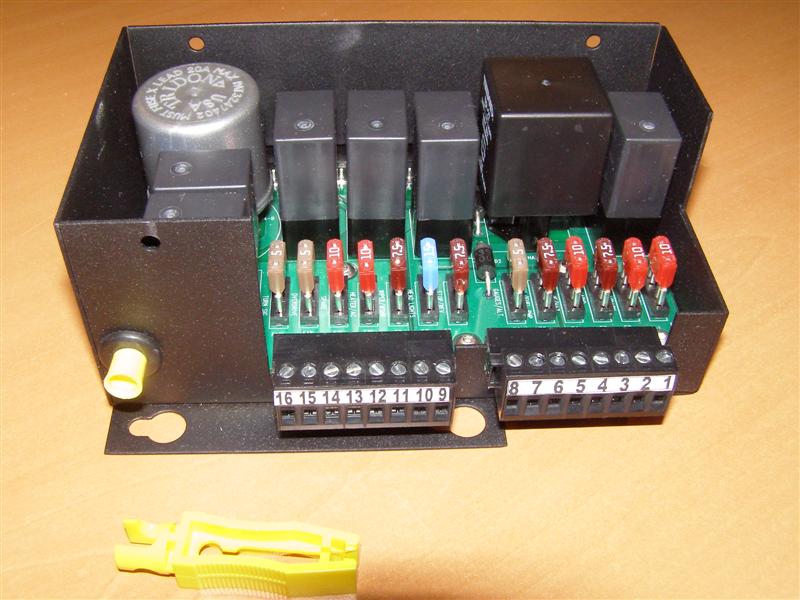
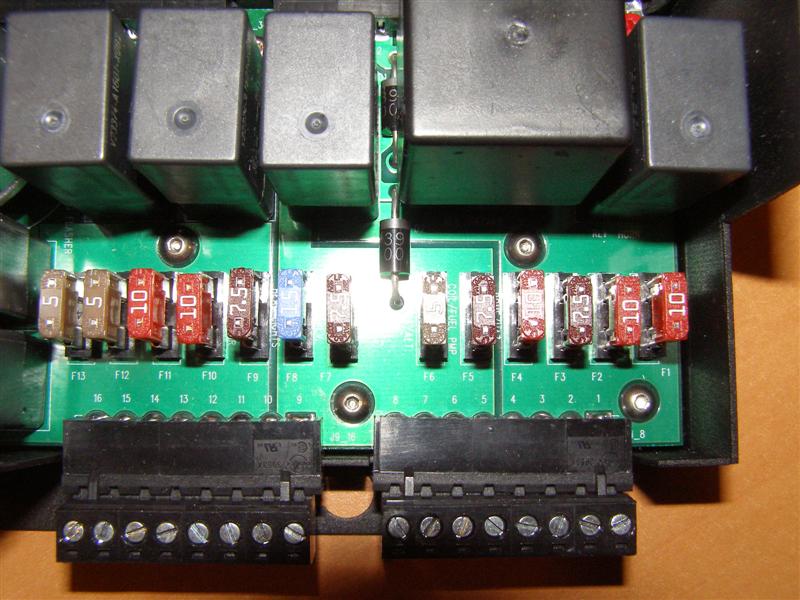
Marc supplies each kit with
the wire that you need to do this right. The clear pack on
the right is spare fuses and a puller.
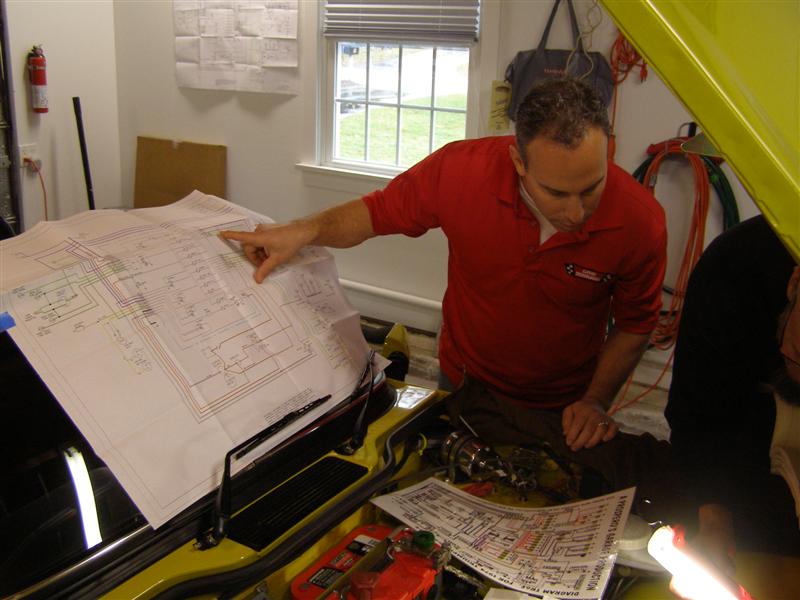
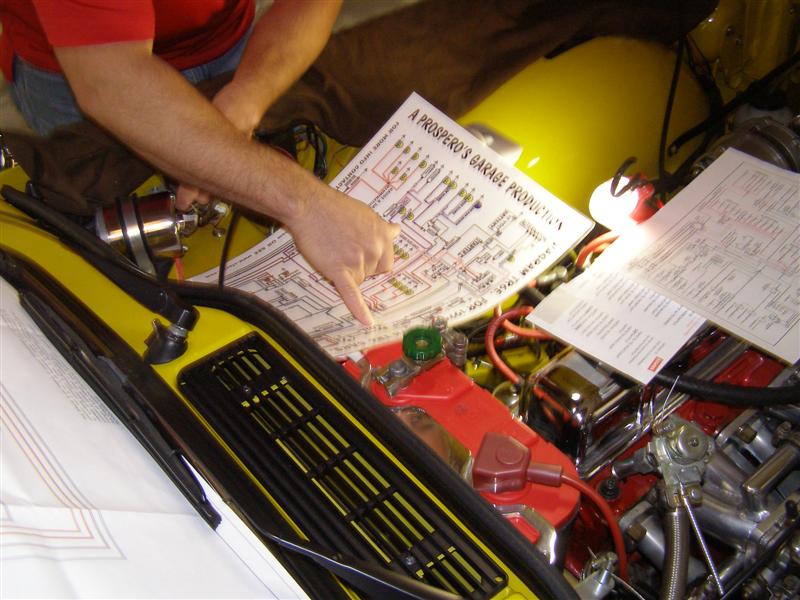
The first
step is to remove all of the old original parts as shown above,
but not without reviewing
the schematic and several other references that proved once
again, every Triumph can be different than the manual.
The next
step is to compare the schematic provided with what your wire
actually looks like. If you are
not the original owner, there may have been repairs or there may
been have things added that won't be color coded.
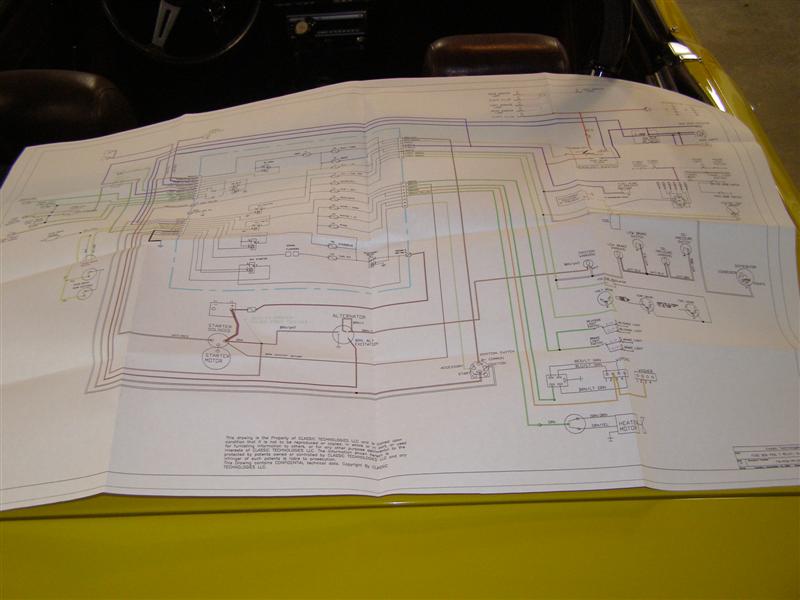
A better look at what the
wiring schematic should look like. My car didn't quite
match this diagram.
The next
step is to indentify and tag each wire with the supplied tags so
you will know what goes where.
It is
better to do this while you can easily identify the wires from
the relays and fuse panel. Marc provides the labels as
well.
This is
what you have to do for the ones that you're not sure about and
NOW is the tie to do that, rather than later.
Three
wiring diagrams and not one is exactly right and no one ever
messed with the wiring on this car.
A good
example of what I said above is my added headlamp wiring kit
with relays, which I decided to keep.
But it was
time to remove all of the old relays and the fuse panel and get
some rewiring done.
A quick test fit of the fuse
panel on its new mounting screws in the original fuse panel
tapped holes.
The next
step is to mark and drill the two new holes to tap with 10X32
threads for the Allen head attachment
screws. This unit uses the two original holes on the left
to mount the panel, so that part is very easy. Just
be careful drilling into the inner panel as there is a fender on
the other side of that reinforcement.
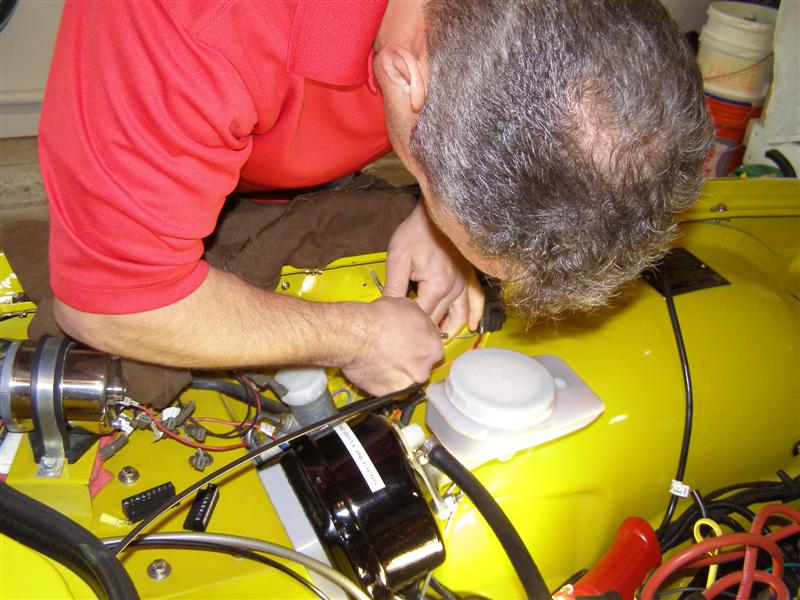
For those
who don't know them, Marc is on the left and Eric is drilling
and avoiding the camera on the right.

This is
Marc tapping them out for a nice professional job. I take
pictures and ask a lot of questions for now.
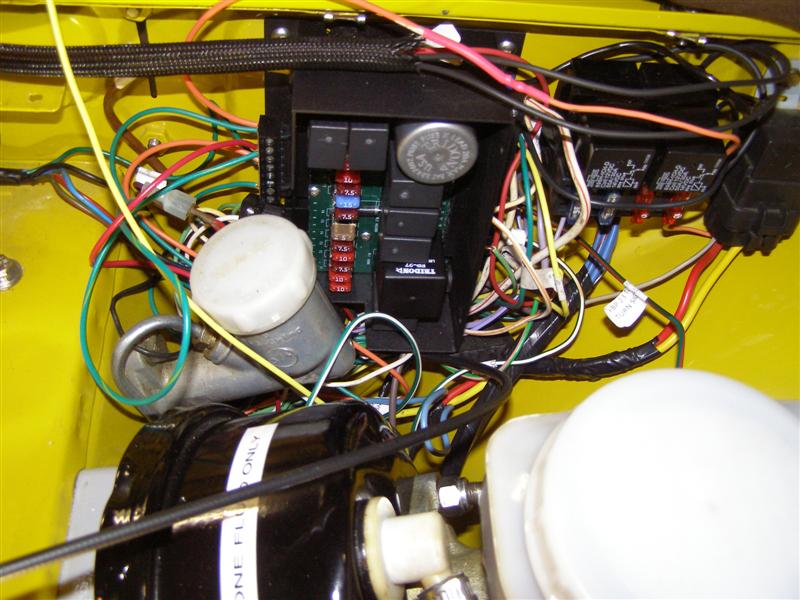
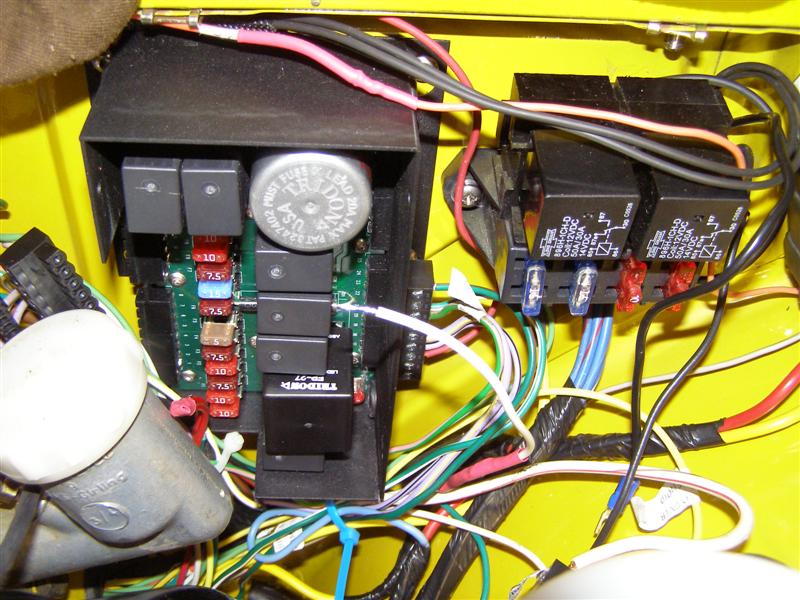
This is a nice neat way to
hang this panel. It will be tight on the right due to my
existing H/L Relay Kit, but others without won't have that
problem.
Before installing the new
fuse panel, I wanted a little insulation to protect the paint.
I can thank my wife for these protector pads.
The box now fits in nicely.

As you can see from this
view, it does fit in their quite well.
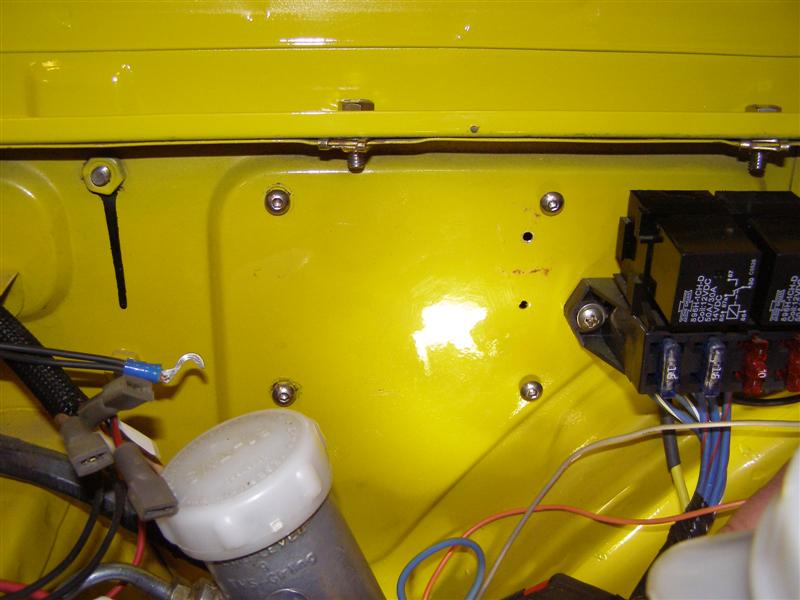
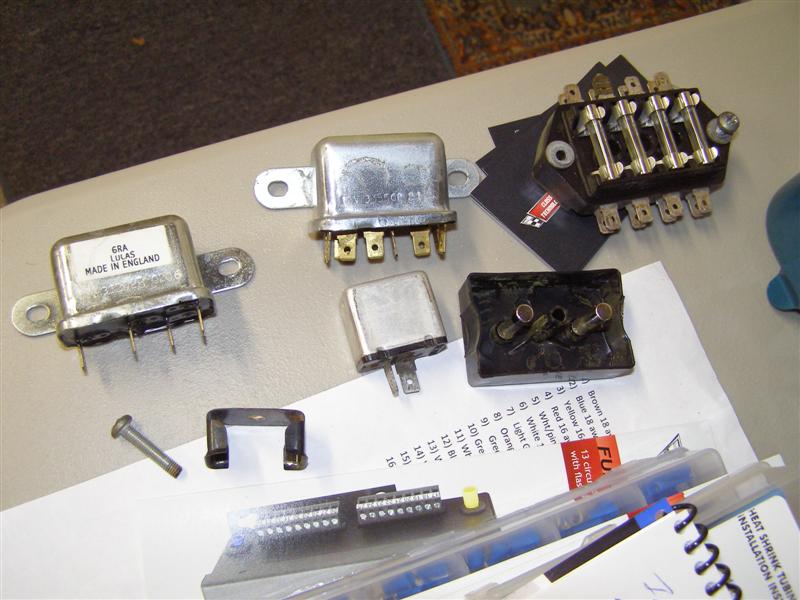
These were all of the old
parts that we removed from the left inner fender well. In
a bag and into my original parts bin.
A look from down under where
the wiring will start to be fed to.
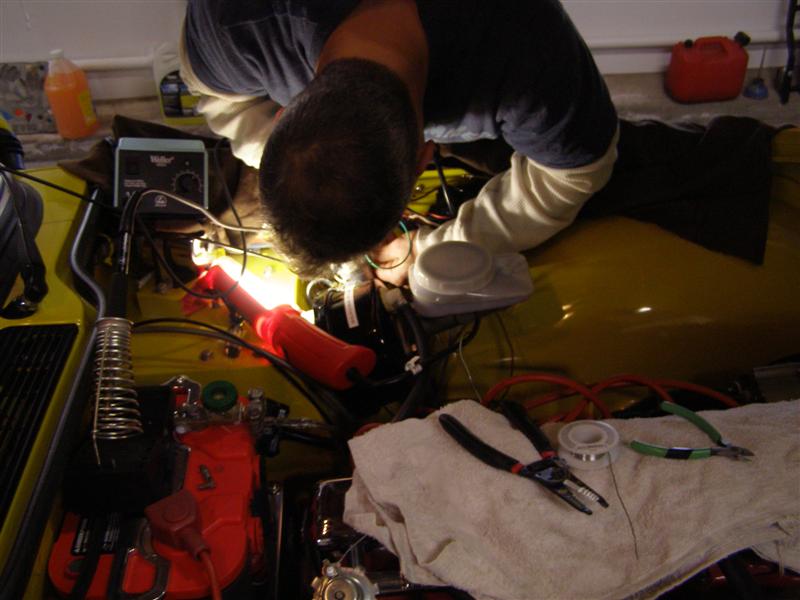
Time to start feeding some
wires down to the interior.
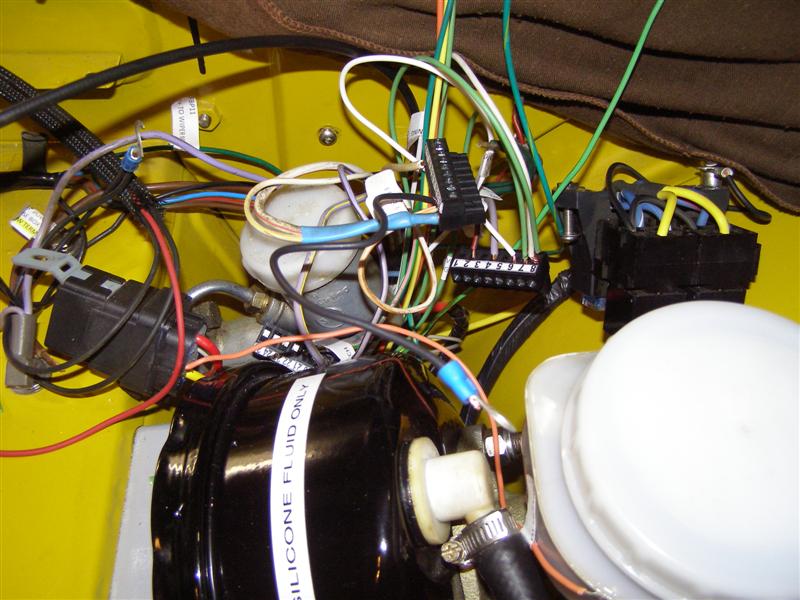
It looks like a giant mess,
but there is a method to doing this, unfortunately it's just not
a neat one at this point in time.
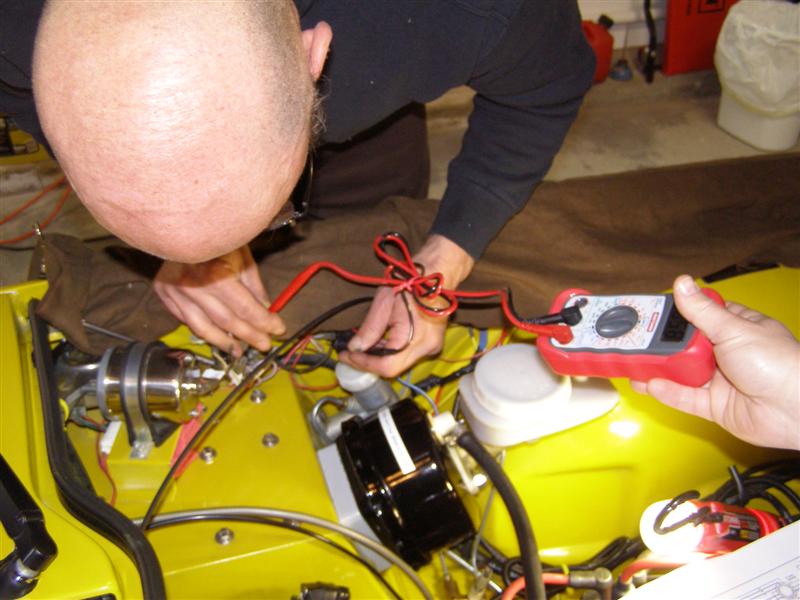
The wires are all hooked up
and only the heater fan is inoperative. Why?? Too
late to do anymore tonight.
I could not get any of my
pictures to come out of the wiring as it was all hanging down
under the dash, so all I have is going back together.
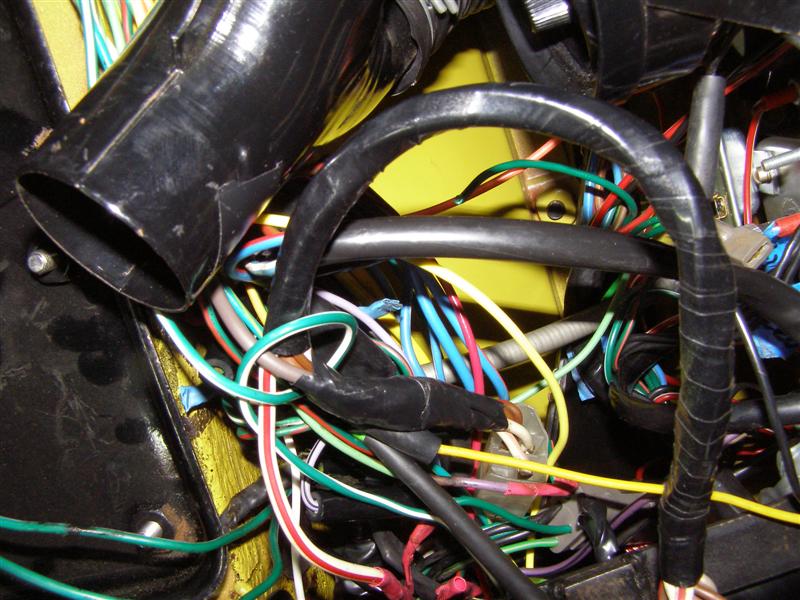
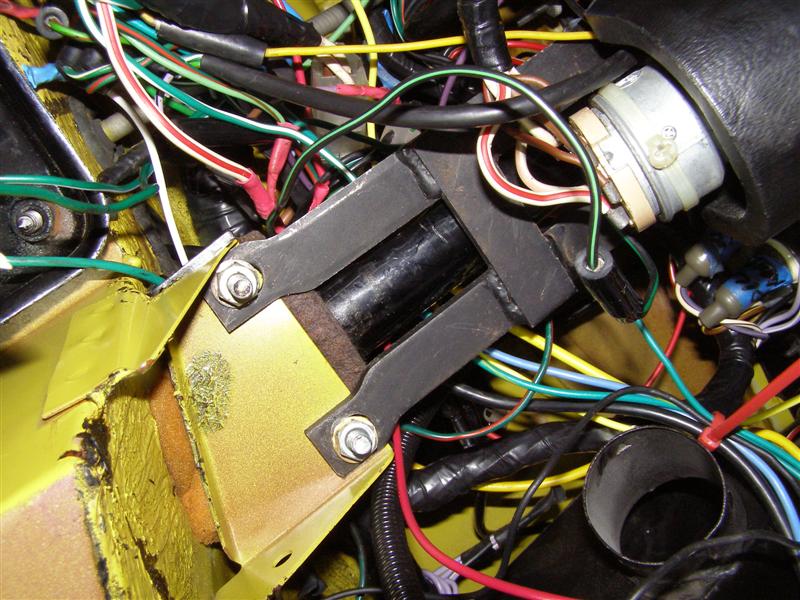
Up in this area is where the
big cluster of green wires is al bundled together for the dash
lights and all of the accessories.
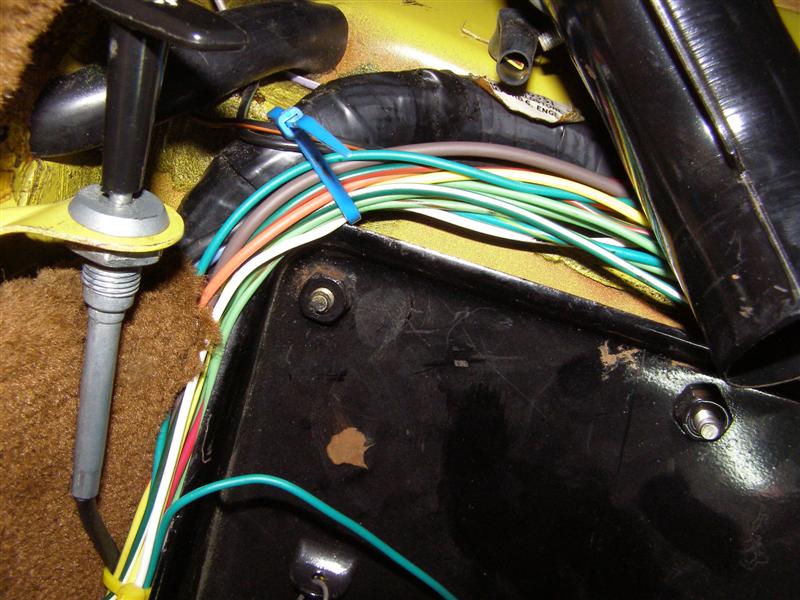
See that yellow spade
sticking down in the rubber boot, next to the duct? That
was the missing heater ground that we found in the morning.
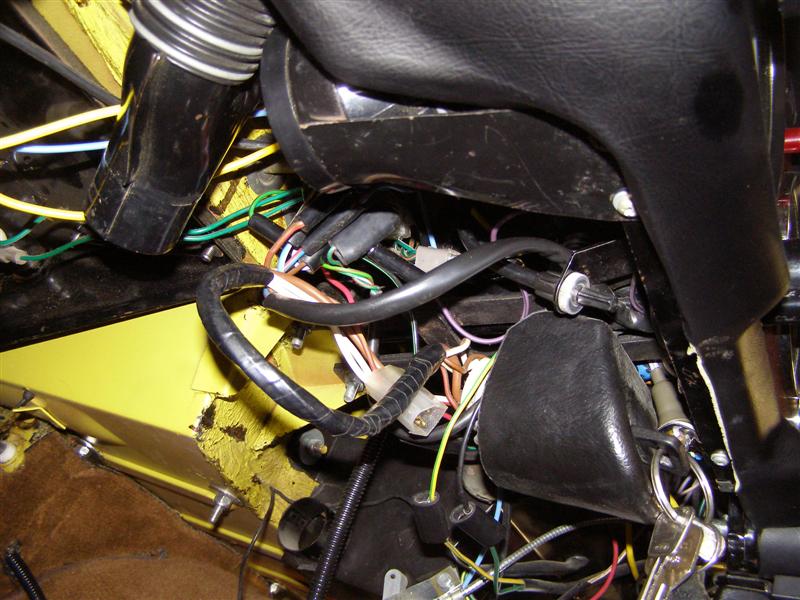
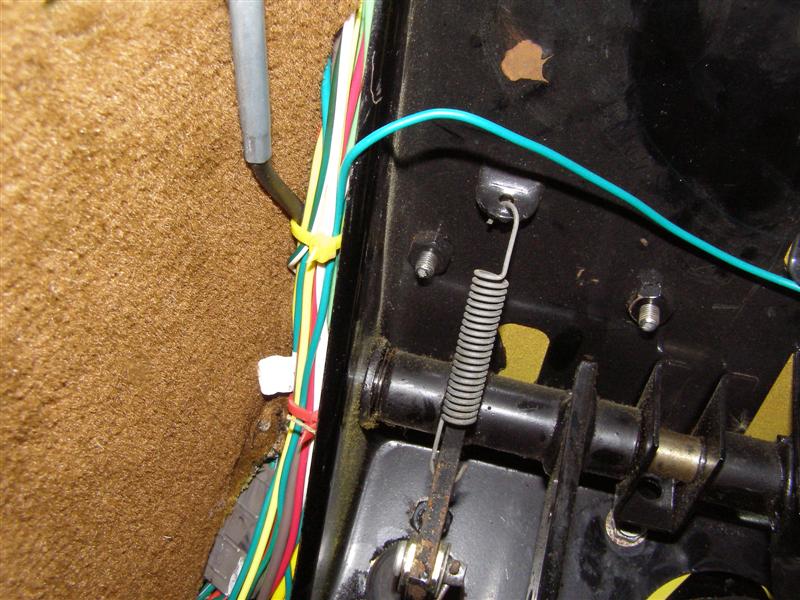
These neatly run wires
replace all of that and allow for a smooth exit out to the
engine compartment.
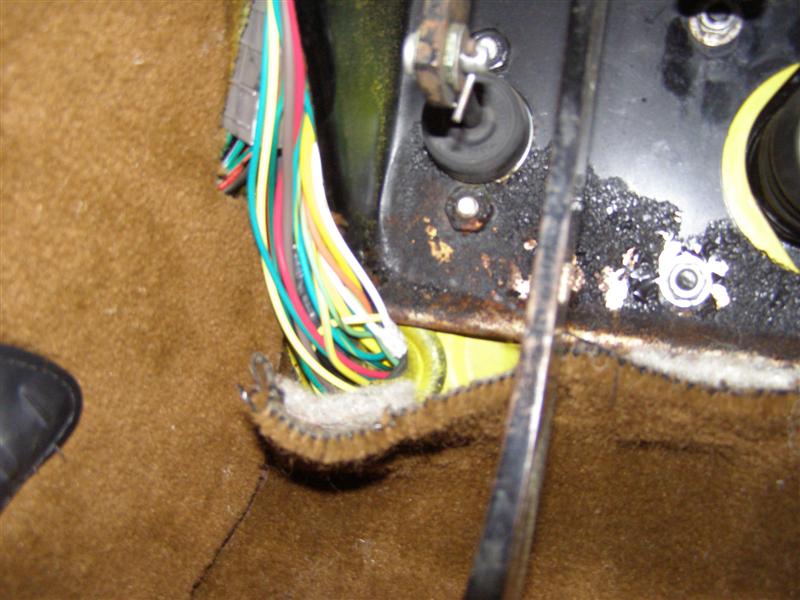
The peeling paint is the
result of a leaking master cylinder back in the late 80's.
Everything now is new and the
fluid is silicone DOT5.
The next step is to fit every
wire to the connectors after cutting to length and solder
"tinning" each end.
Having a bench soldering unit
with a cooling holder saves a lot of bending over and potential
damage from a hot pistol type gun tip.
The shiny tip on the end of
the white wire is "tinned" for better contact under the
connector screws.
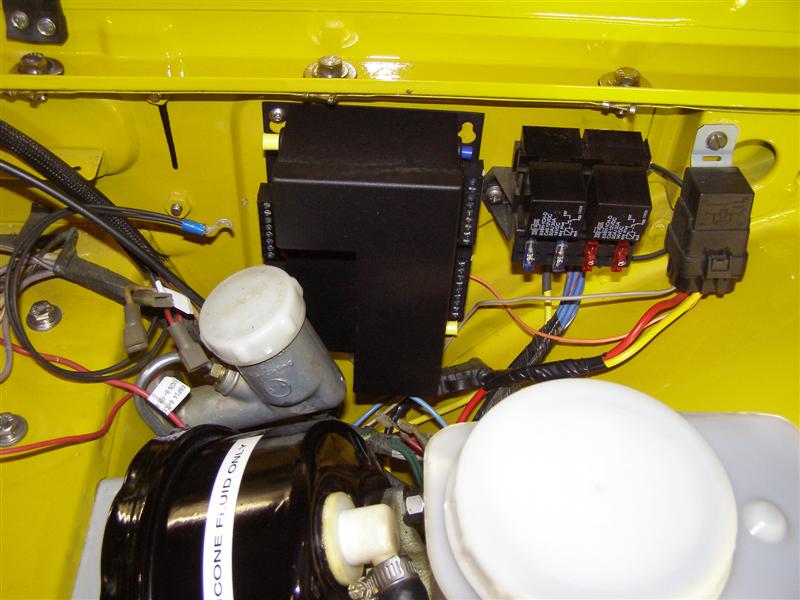
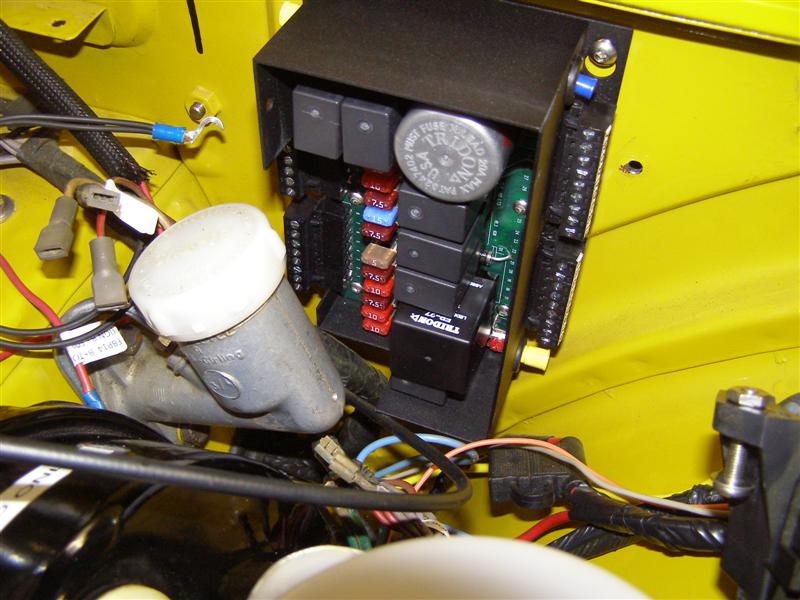
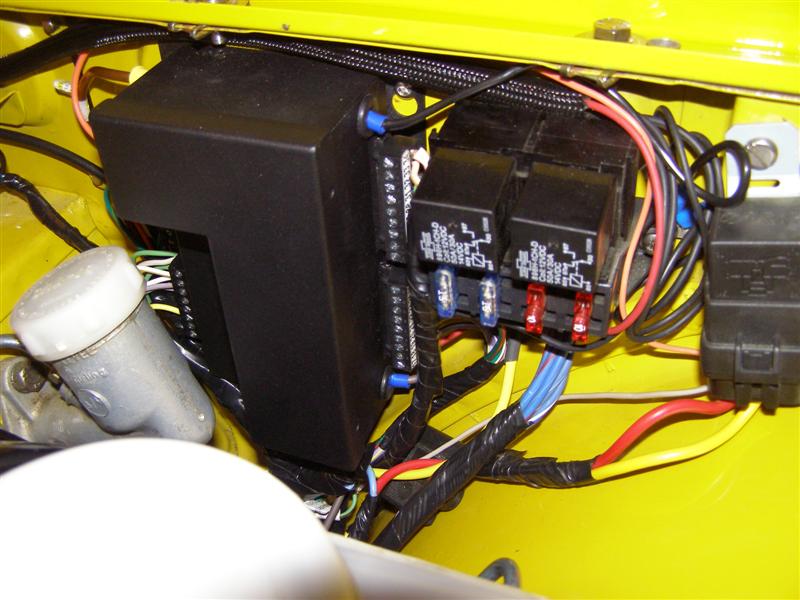
The final installation came
out just great.
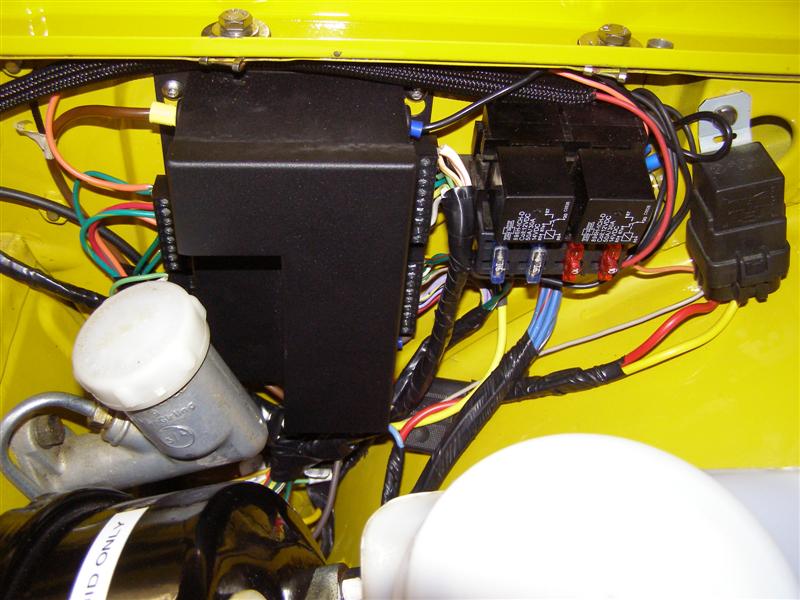
The final product, all
wrapped and tested. A nice modern and neat addition to any
TR6 wiring harness.
Thanks to
Marc and Eric for all of their help and guidance ad hard work to
pull this off so quickly.
Classic Technologies, Inc.
AND
40 Industrial Road
Cranston RI 02920
(401) 352-0888
hermajestysauto@gmail.com
|
