March 19, 2017
|
March 19, 2017 |
||
|
|
|
|
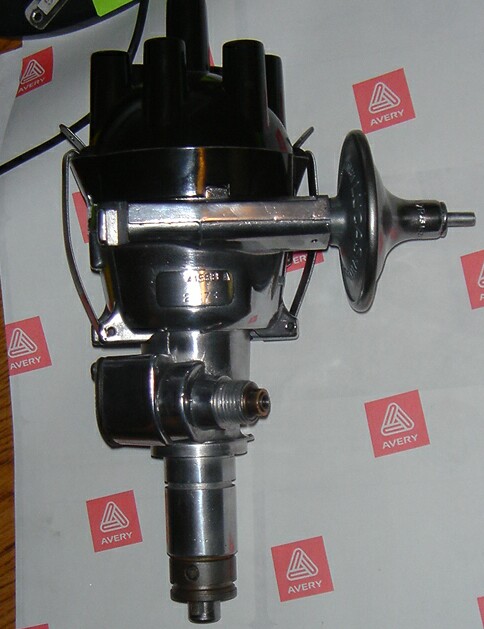
A new project was
developed from the British Car Forum postings. I had been reading
about the performance issues associated with ignition systems and the
pros and cons of conventional versus electronic installations. I
purchased a Pertronix Igniter and Flame Thrower Coil from TRF several months ago, but
never got around to installing it. After reading several posts and
buying a spare distributor on ebay, I decided to send the spare to
Jeff at Advanced Distributors for an estimate and evaluation of what I
wanted to accomplish with the spare. We discussed my options and
though Jeff believes firmly in the design and life expectancy of the
electronic systems, came up with a way to have the electronic and piece
of mind of a spare system "just in case" the worst would happen.
****
Viewers are warned that if they attempt any mechanical repairs or
modifications, or follow procedures referred to here, they do so at
their own risk, and no liability will attach to either myself or
|
74TR6.com © 2017
This site was last updated 03/19/17

.jpg)
.jpg)
.jpg)
.jpg)
.jpg)
.jpg)
.jpg)
.jpg)
.jpg)
.jpg)
.jpg)
.jpg)
.jpg)
.jpg)
.jpeg)
.jpeg)
.jpg)
.jpg)
.jpg)
.jpg)
.jpg)
.jpg)
.jpg)
.jpg)